WhatsApp Campaign Creation
This guide provides step-by-step instructions for creating WhatsApp campaigns in the AI Chat Assist dashboard. WhatsApp campaigns allow you to send targeted messages to your audience using pre-approved templates.
Prerequisites
Before creating a WhatsApp campaign, ensure you have:
- An active AI Chat Assist account
- A connected WhatsApp Business account (refer to WhatsApp Setup for integration details)
- At least one approved WhatsApp template (refer to WhatsApp Template Creation for template setup)
- A Meta Business Portfolio
- A defined audience segment in AI Chat Assist
Campaign Creation Process
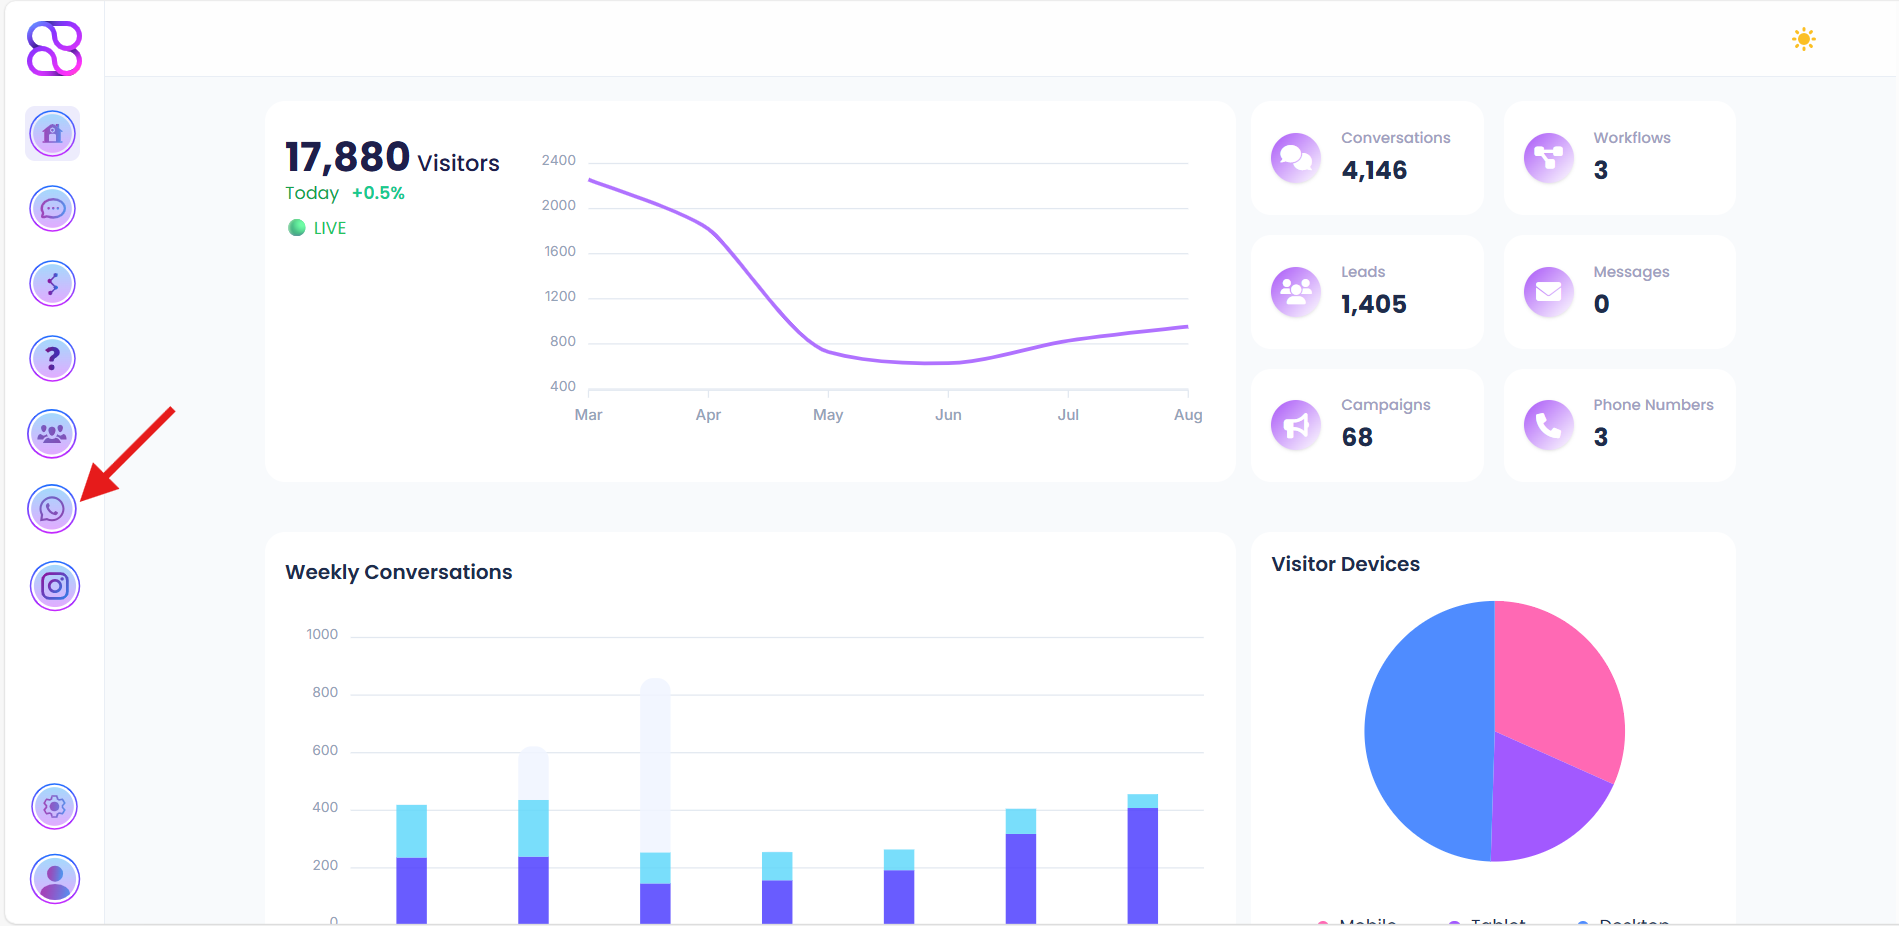
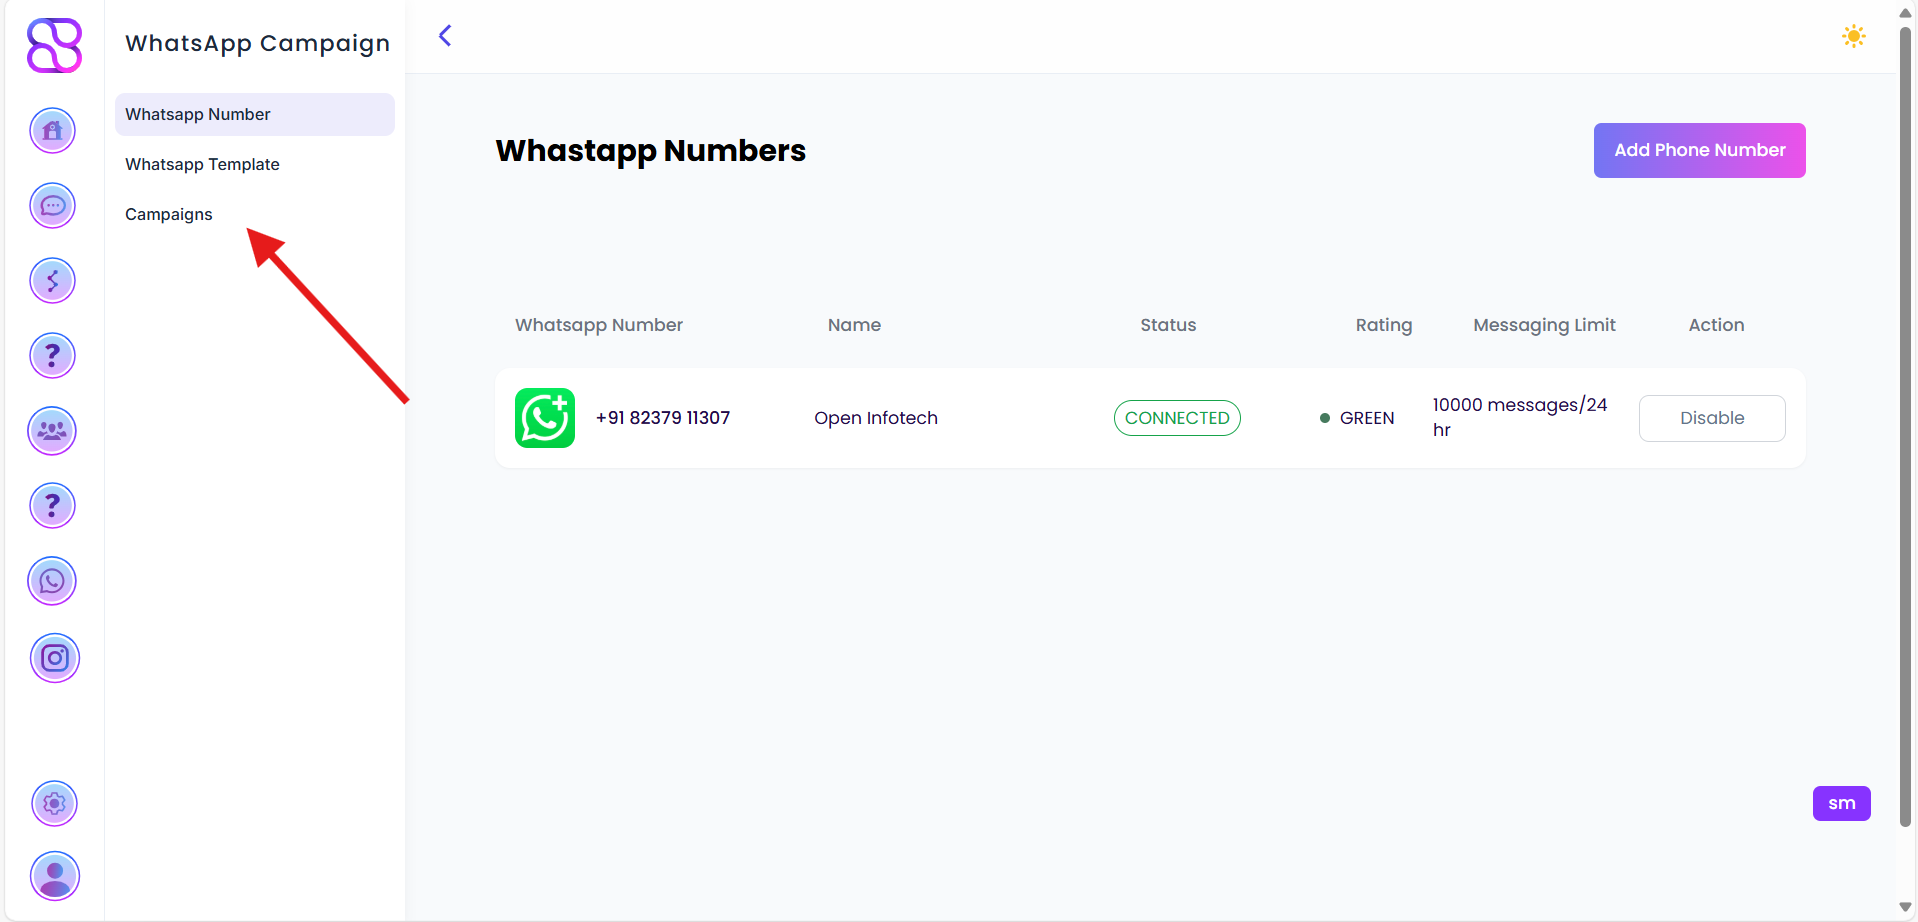
Step 1: Access WhatsApp Campaign Creation
-
Log in to your AI Chat Assist dashboard.
-
Navigate to WhatsApp Campaign > Campaign.
-
Click on Create Campaign.
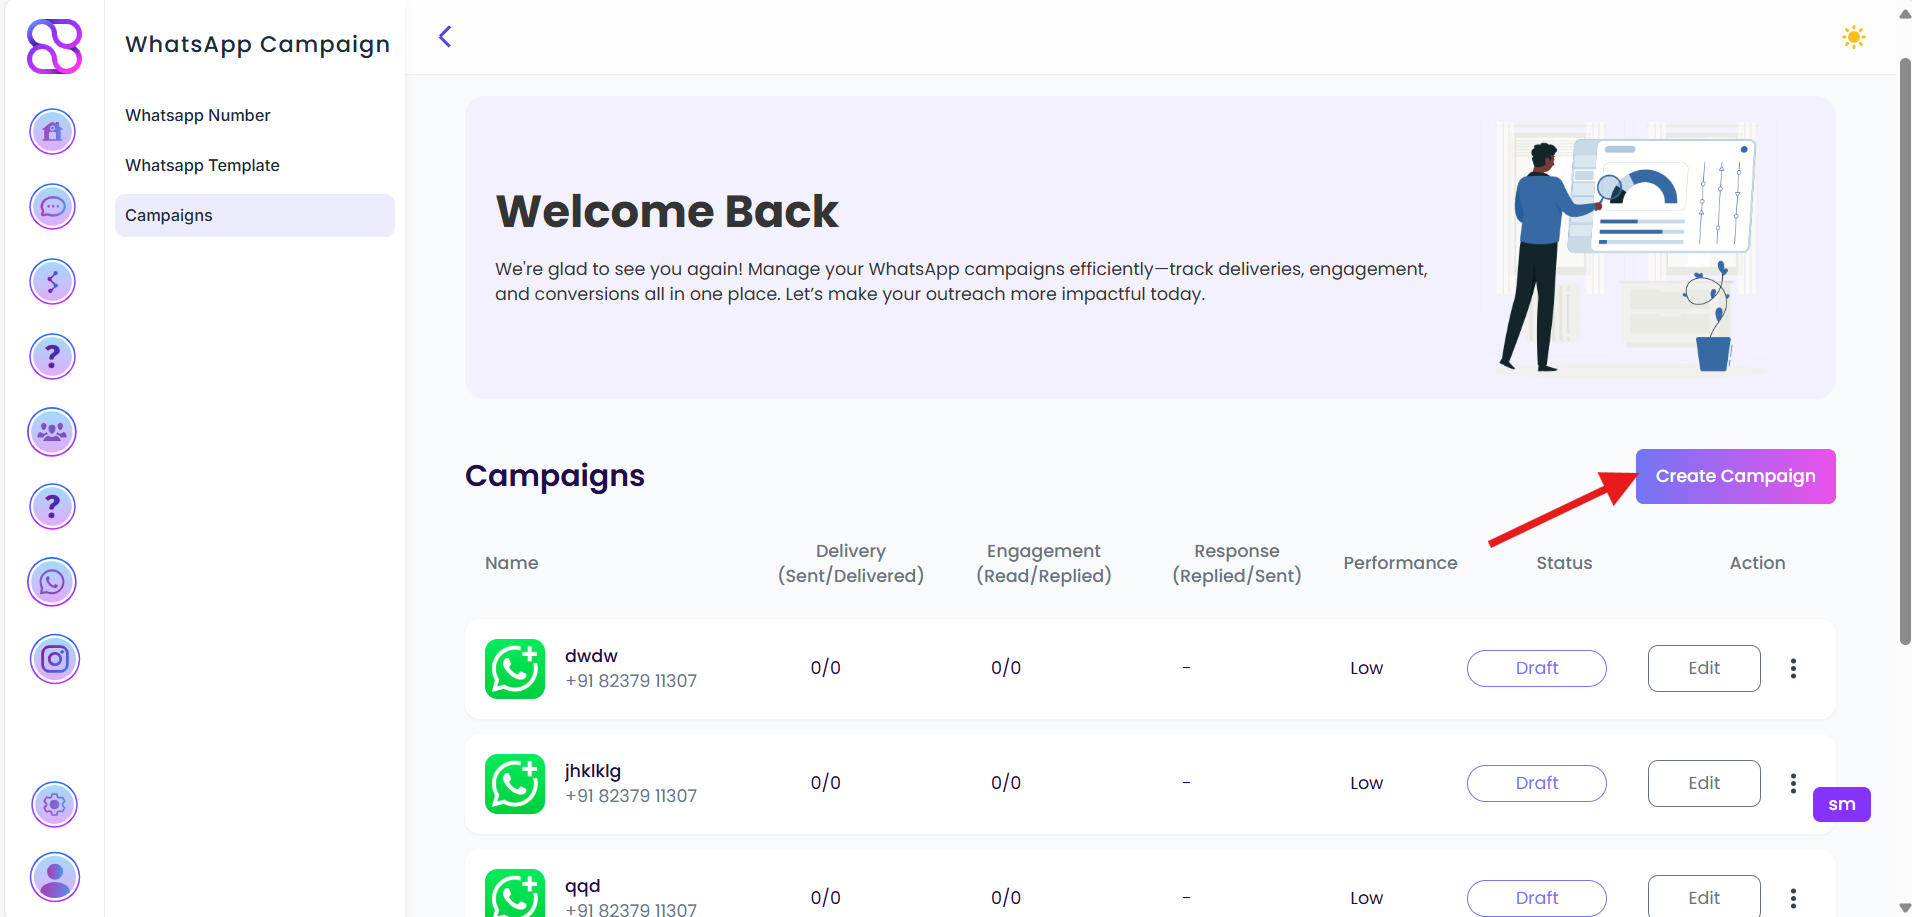
Clicking Create Campaign will redirect you to the campaign creation interface.
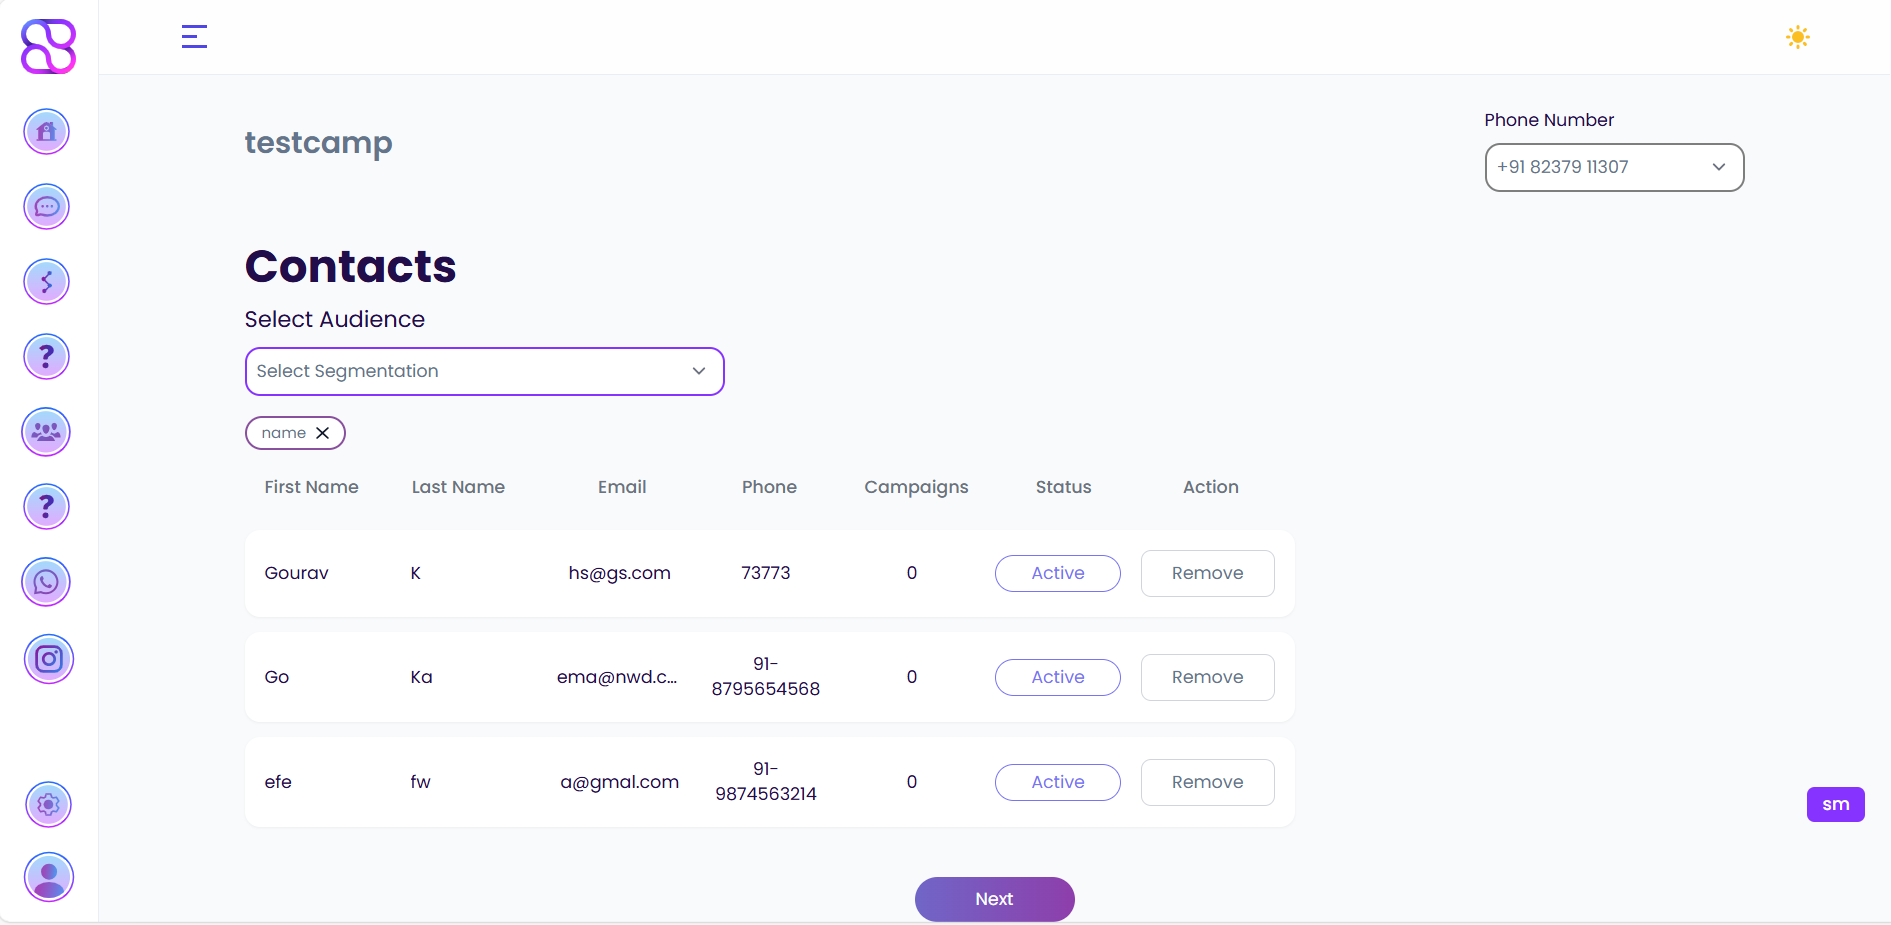
Step 2: Enter Campaign Details
-
Campaign Name: Enter a unique name for your campaign (e.g.,
Summer_Sale_2025). -
Phone Number: Select the phone number associated with your WhatsApp Business account to be used for this campaign.
-
Audience Segment: Choose the target audience segment from the predefined segments in AI Chat Assist (e.g.,
Returning Customers,New Leads). -
Click Next to proceed.
Step 3: Select Template
-
Choose a pre-approved WhatsApp template from the list of available templates.
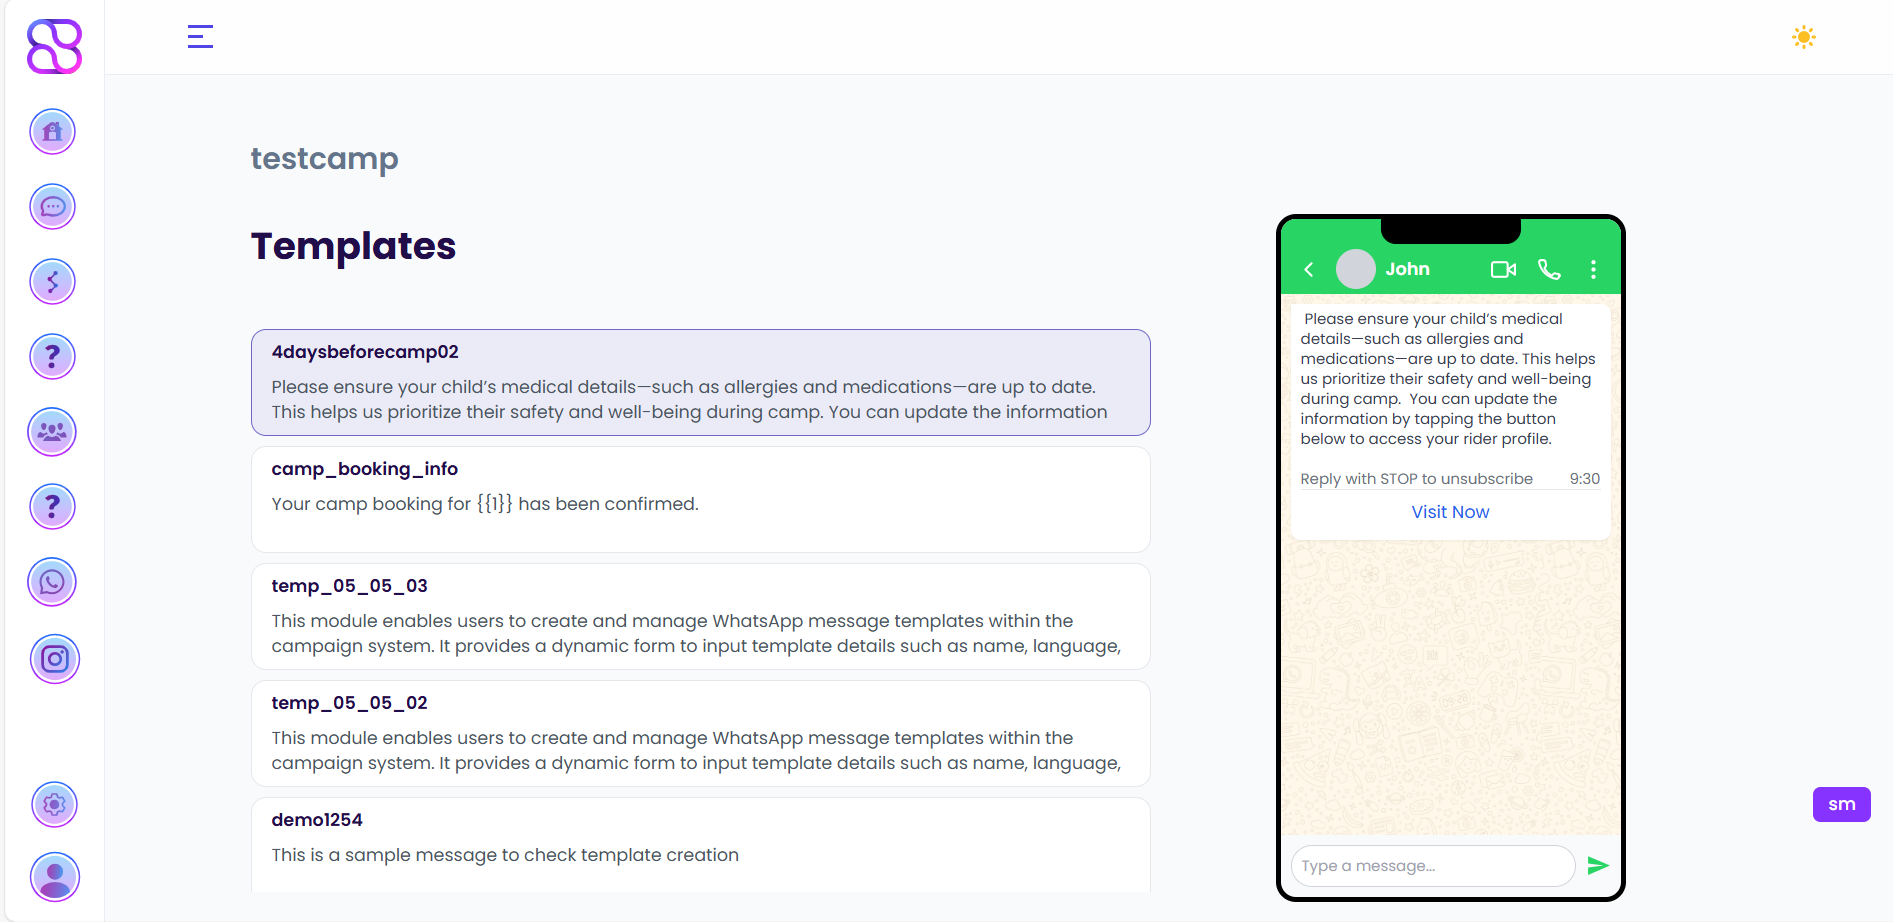
-
If the selected template includes variables (e.g.,
{{1}},{{2}}), a popup will appear prompting you to assign values for each variable (e.g.,first name,last name).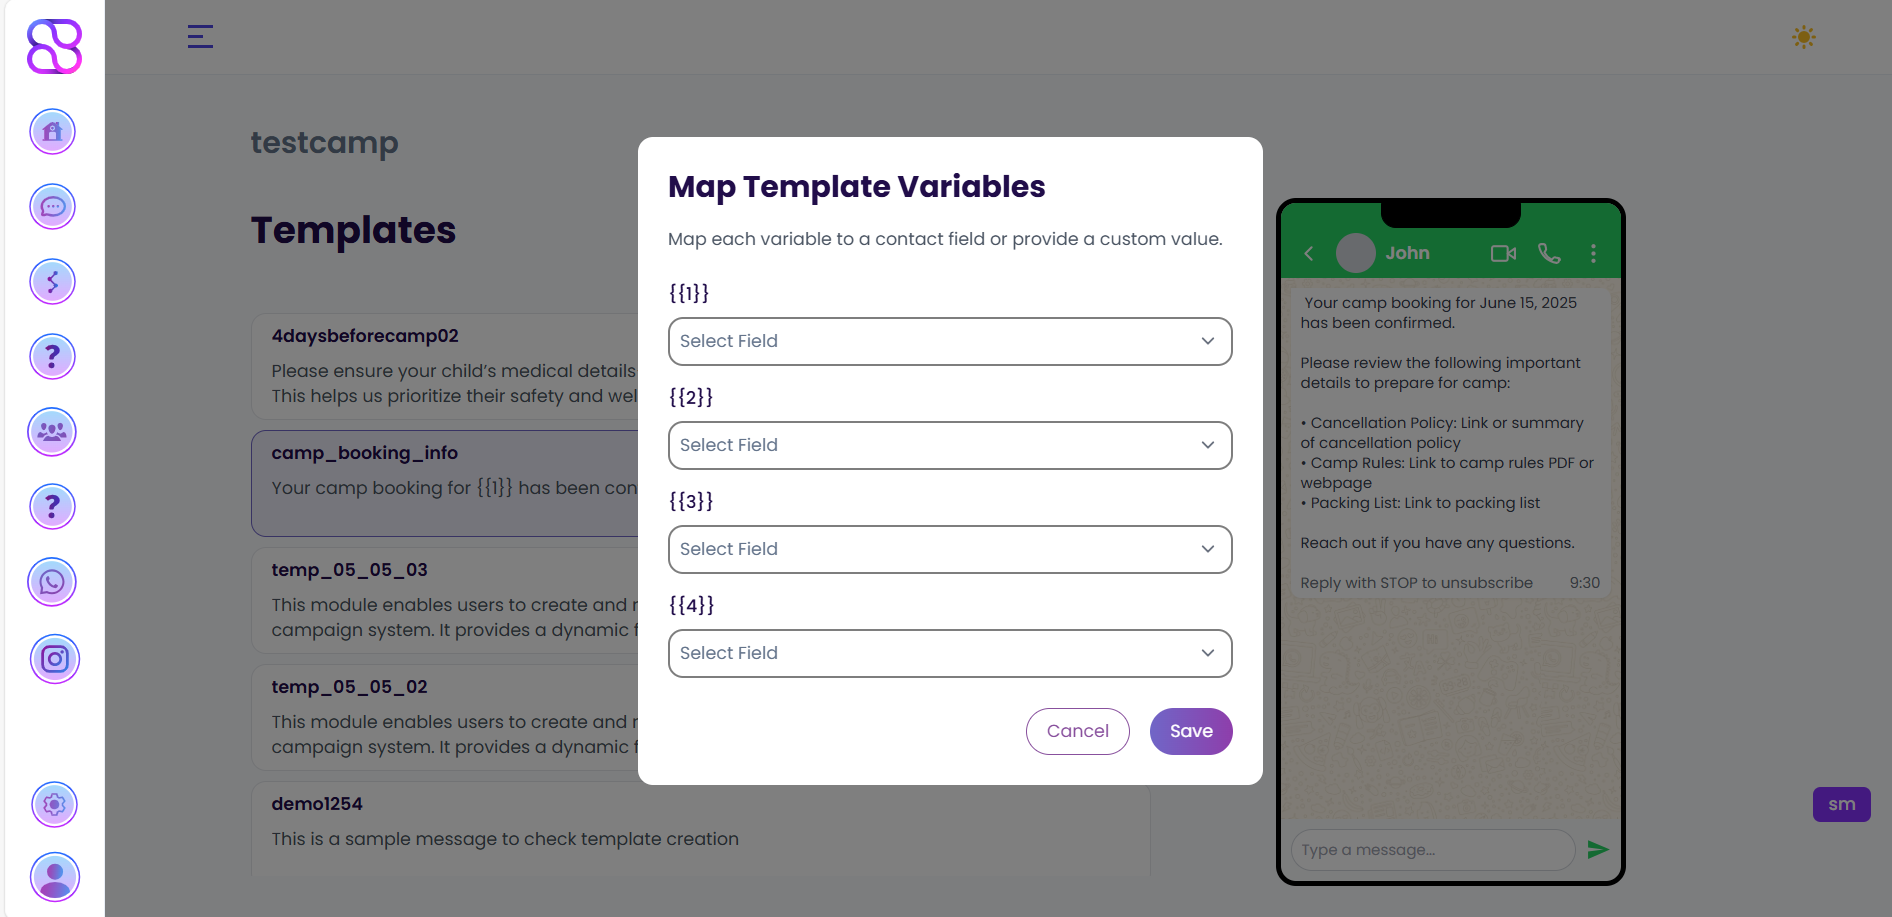
-
Enter the corresponding values for each variable in the popup and confirm.
-
Click Next to proceed.
Ensure the selected template aligns with the campaign’s purpose and audience. The live Template Preview on the right side will display the template with variable values updated in real-time.
Step 4: Select Broadcast Type
-
Choose the broadcast type:
- Broadcast Now: The campaign will be sent immediately after submission.
- Schedule Later: Select a date and time for the campaign to be sent.
-
If Schedule Later is selected, use the date and time picker to set the desired schedule.
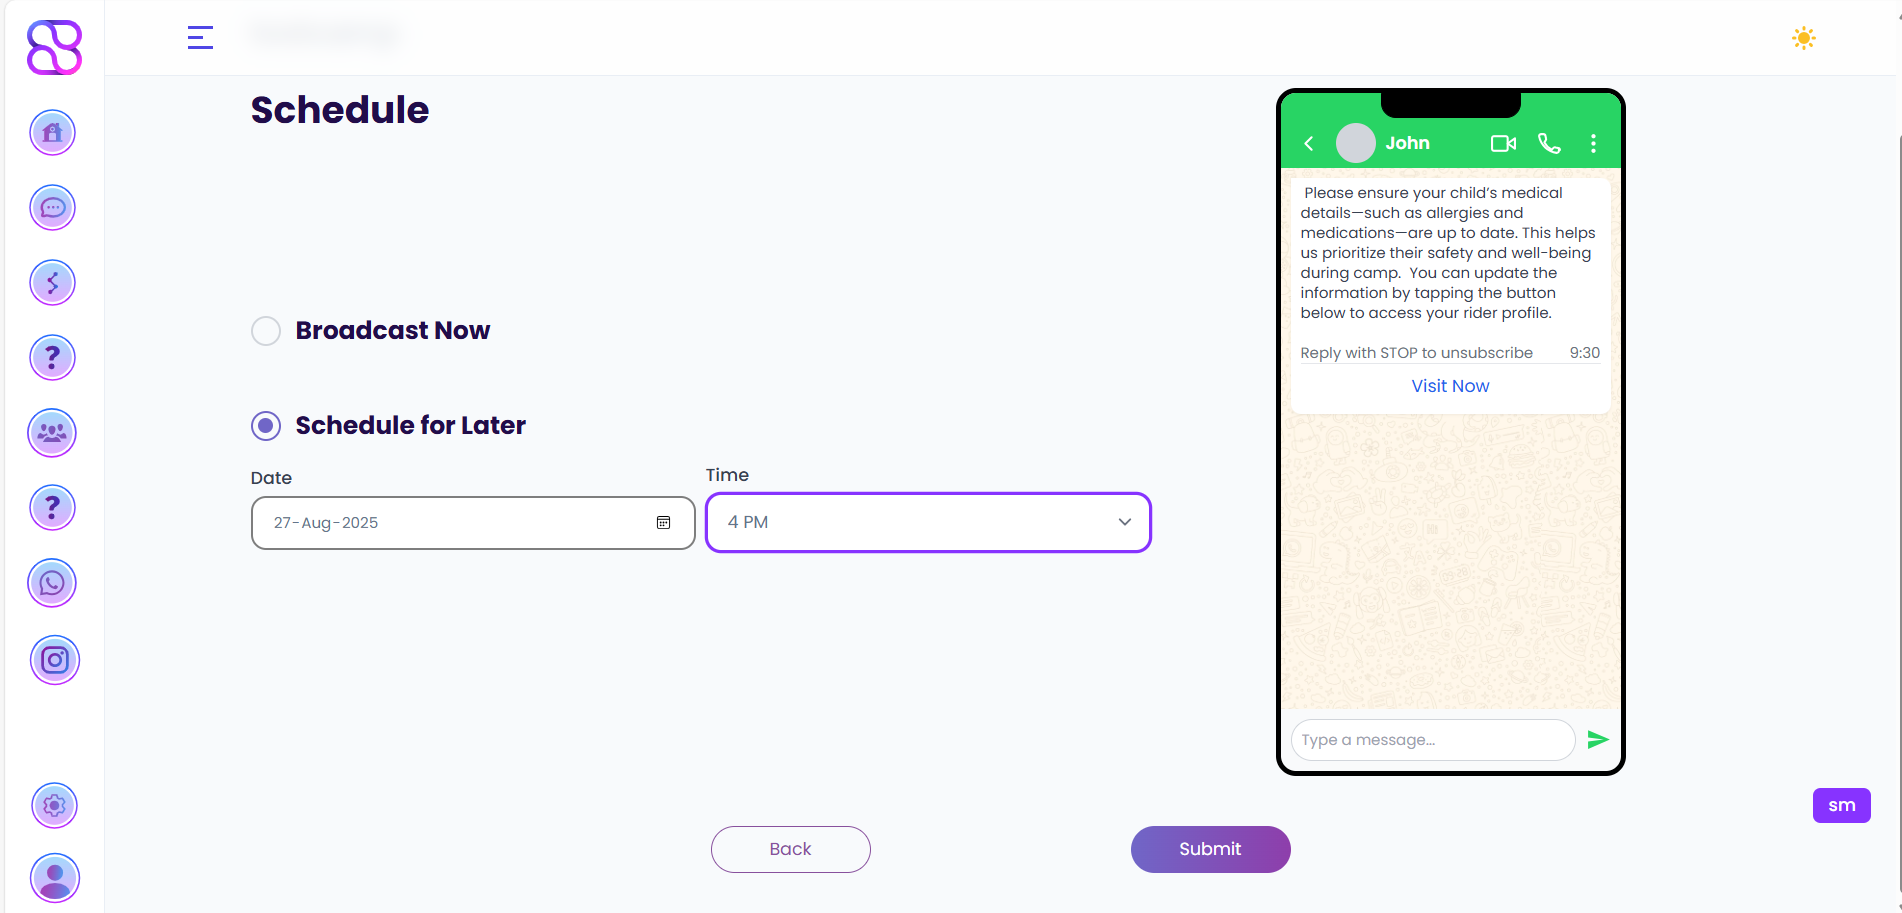
-
Click Submit to finalize the campaign setup.
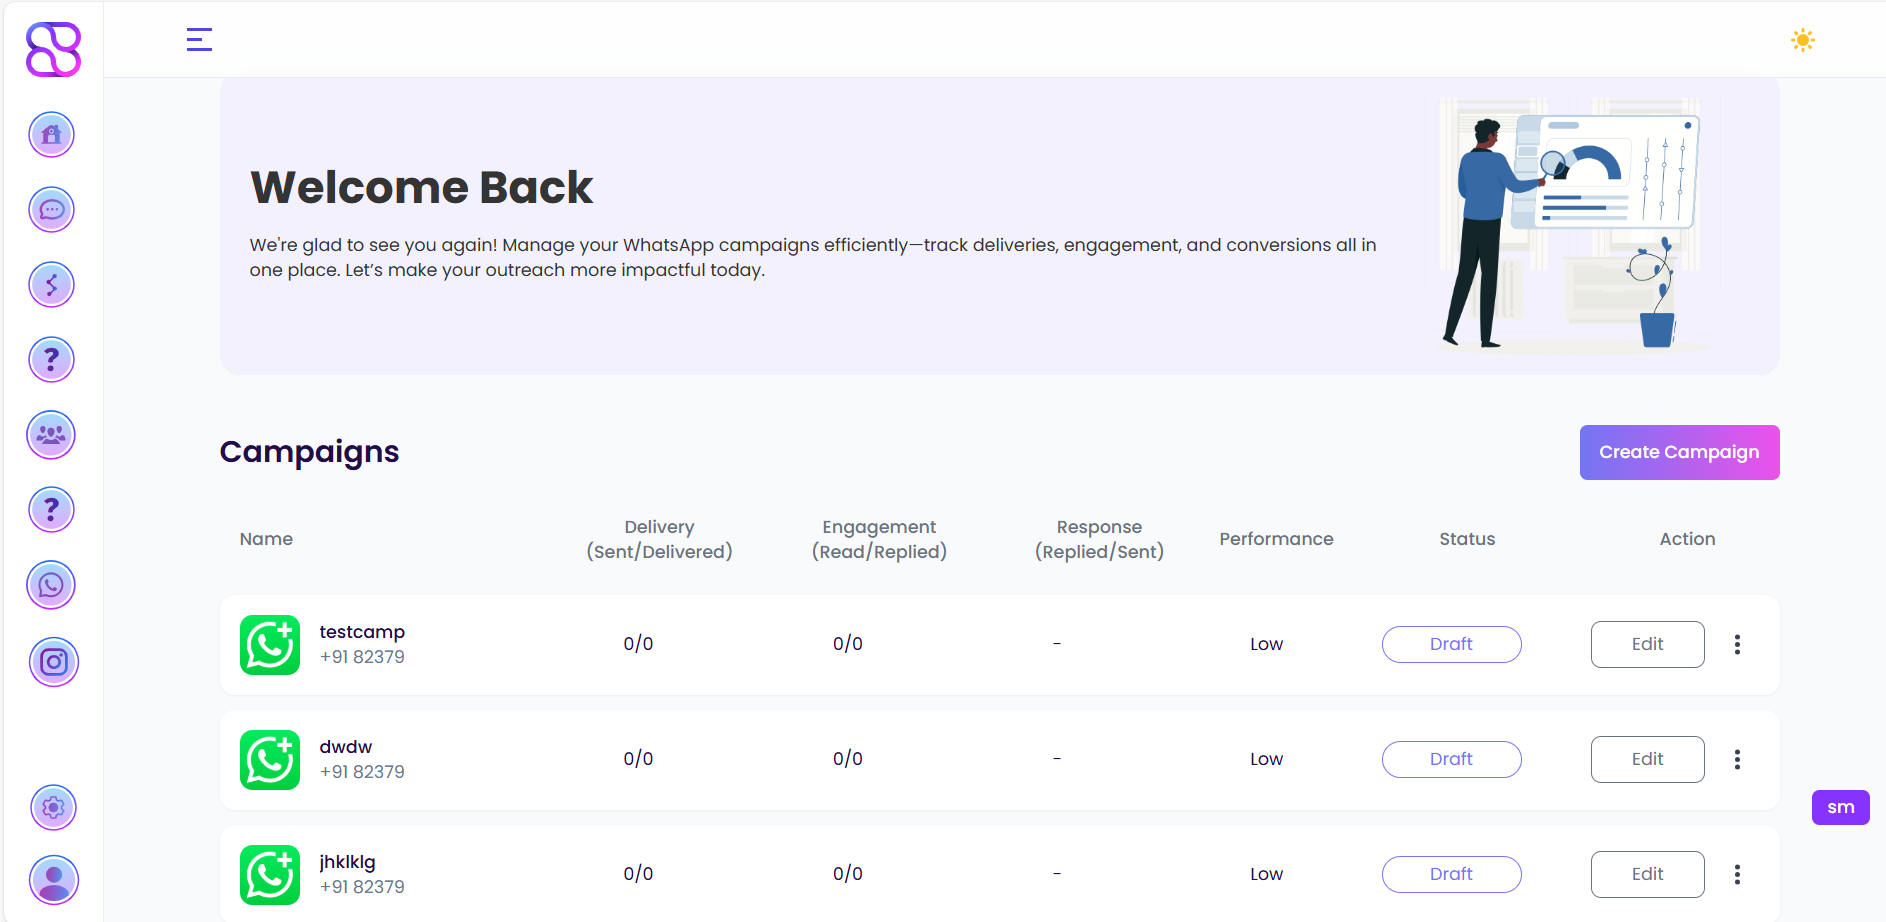
Step 5: Confirmation and Campaign Dashboard
-
After successful submission, you will be redirected to the WhatsApp Campaign Dashboard.
-
The newly created campaign will be listed with the following details:
- Name: The name assigned to the campaign (e.g.,
Summer_Sale_2025). - Delivery (Sent/Delivered): The number of messages sent and successfully delivered to recipients.
- Engagement (Read/Replied): The number of messages read and replied to by recipients.
- Response (Replied/Sent): The response rate, calculated as the percentage of replies relative to messages sent.
- Performance: An overall performance metric (e.g., a score or rating based on engagement and delivery).
- Status: The campaign status (e.g., Pending for scheduled campaigns, Sent for immediate broadcasts, or Completed after execution).
- Action: Available actions for the campaign (e.g., View Details, Edit, Pause, or Delete).
- Name: The name assigned to the campaign (e.g.,
-
Once the campaign is sent, the status and metrics (Delivery, Engagement, Response, Performance) will update automatically based on delivery and engagement data.
Campaign delivery and performance metrics may take time to update. Refer to Meta’s documentation for guidelines on WhatsApp campaign restrictions and messaging limits.
Next Steps
Once your WhatsApp campaign is created and sent, you can: