Custom API Integration
Custom API Integration
The Custom API Node in AI Chat Assist’s Workflow Builder allows you to connect your workflows with external systems and services through API calls. This powerful feature enables you to extend your chatbot’s capabilities by integrating with your existing business systems, third-party services, or custom applications.
Understanding the Custom API Node
The Custom API Node enables you to:
- Make HTTP requests to external APIs
- Pass data collected in your workflow to external systems
- Receive and process responses from external APIs
- Use API responses to determine the next steps in your workflow
- Create seamless integrations between AI Chat Assist and your business systems
Setting Up a Custom API Node
Adding a Custom API Node to Your Workflow
- In the Workflow Builder, click the ”+” button where you want to add the API call
- Select “Custom API” from the input types menu
- The Custom API Node configuration panel will appear
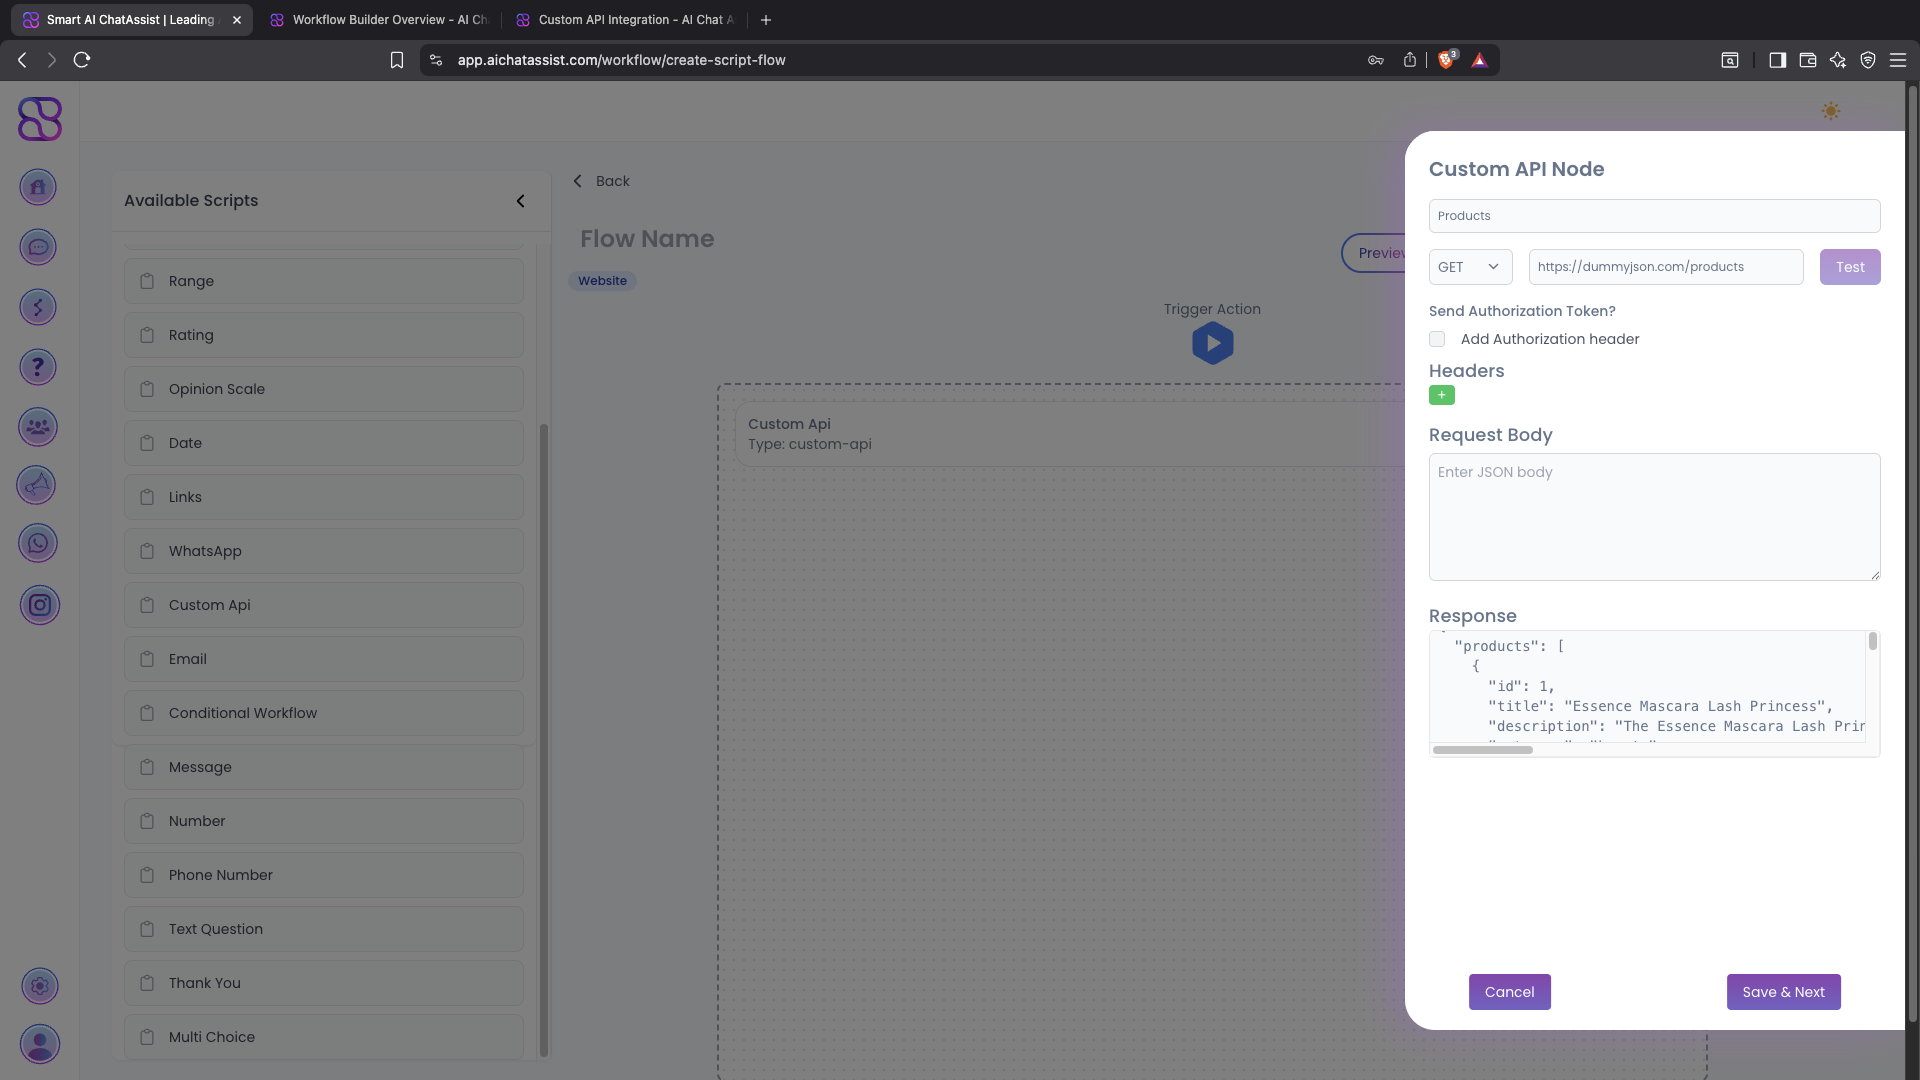
Basic Configuration
Authentication Options
Request Body Configuration
For POST, PUT, and PATCH requests, you’ll need to configure the request body:
- In the Request Body section, enter your JSON payload
- You can include static values or dynamic variables from your workflow
- Use the
{{variable_name}}syntax to include workflow variables
Example request body:
{
  "customer": {
    "name": "{{user_name}}",
    "email": "{{user_email}}",
    "phone": "{{user_phone}}"
  },
  "product": "{{selected_product}}",
  "quantity": {{quantity}},
  "notes": "{{additional_notes}}"
}
Response Handling
The Response section shows a preview of the API response format. After testing your API:
- The response will be stored in a workflow variable
- You can reference specific response data in subsequent workflow steps
- Use conditional logic to create different paths based on the API response
Using API Response Data
Accessing Response Values
Access API response data using the following syntax:
- For simple responses:
{{api_response_name.field}} - For nested responses:
{{api_response_name.parent.child}} - For array responses:
{{api_response_name.items[0].field}}
Example:
"Thank you {{user_name}}! Your order #{{api_response.order_id}} has been created.
Your estimated delivery date is {{api_response.delivery_details.estimated_date}}."
Conditional Logic with API Responses
Create branches in your workflow based on API responses:
If {{api_response.status}} equals "success":
  Show success message
  Proceed to confirmation step
Else:
  Show error message
  Offer alternative options
Practical Examples
CRM Integration Example
E-commerce Integration Example
Testing Your API Integration
Before deploying your workflow, it’s important to test your API integration:
- Configure your API node completely
- Click the “Test” button in the API configuration panel
- Review the response in the Response section
- Verify that the data format matches your expectations
- Test your workflow with the API node to ensure proper data flow
Best Practices
Advanced Features
Chaining Multiple API Calls
Create sophisticated workflows by chaining multiple API calls:
- Use the response from one API call as input for another
- Create sequential API calls that build on previous results
- Implement conditional API calls based on previous responses
Example:
1. Call API to search for customer by email
2. If customer exists, call API to get their order history
3. Based on order history, call product recommendation API
4. Present personalized recommendations to the user
Webhook Support
In addition to making API calls, you can configure your workflow to receive data via webhooks:
- Set up a webhook endpoint in your AI Chat Assist account
- Configure external systems to send data to your webhook URL
- Process incoming webhook data in your workflow
- Trigger specific workflow actions based on webhook events