Create Whatsapp Template
This guide provides step-by-step instructions for creating WhatsApp message templates in the AI Chat Assist dashboard. Message templates are pre-approved messages used for initiating conversations or sending notifications to customers on WhatsApp.
Prerequisites
Before creating a WhatsApp template, ensure you have:
- An active AI Chat Assist account
- A connected WhatsApp Business account (refer to WhatsApp Setup for integration details)
- A Meta Business Portfolio
Template Creation Process
Step 1: Access WhatsApp Template Creation
-
Log in to your AI Chat Assist dashboard.
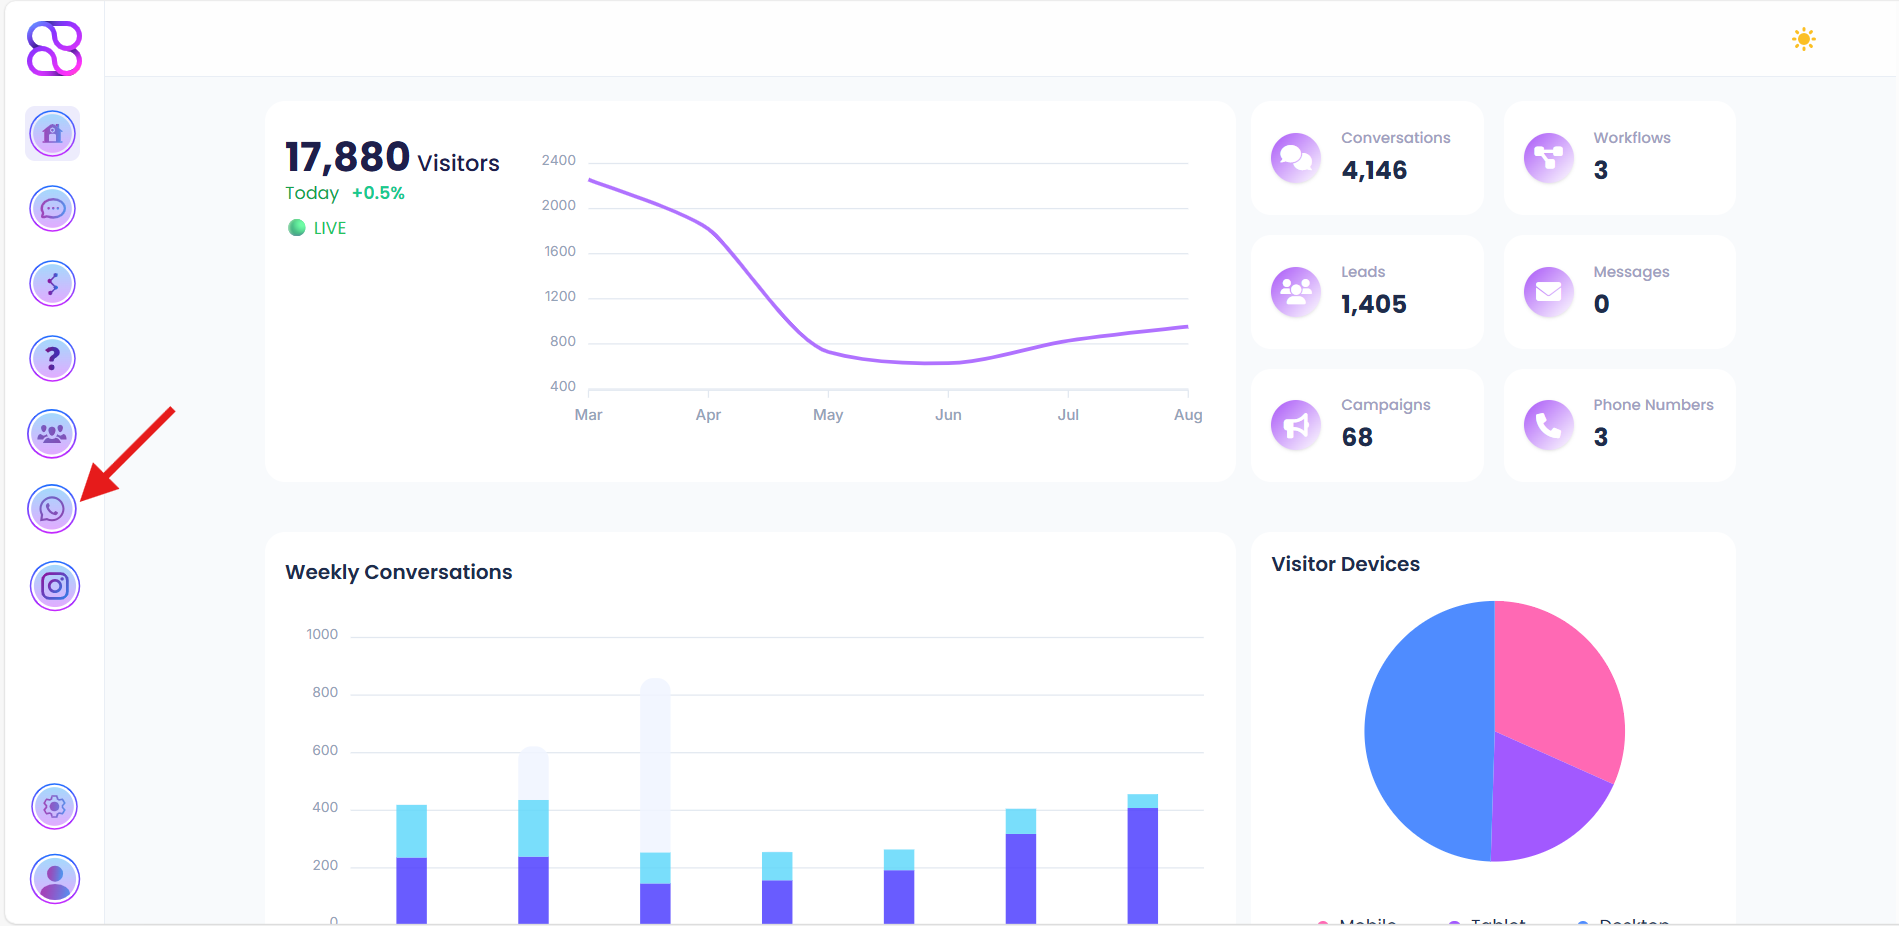
-
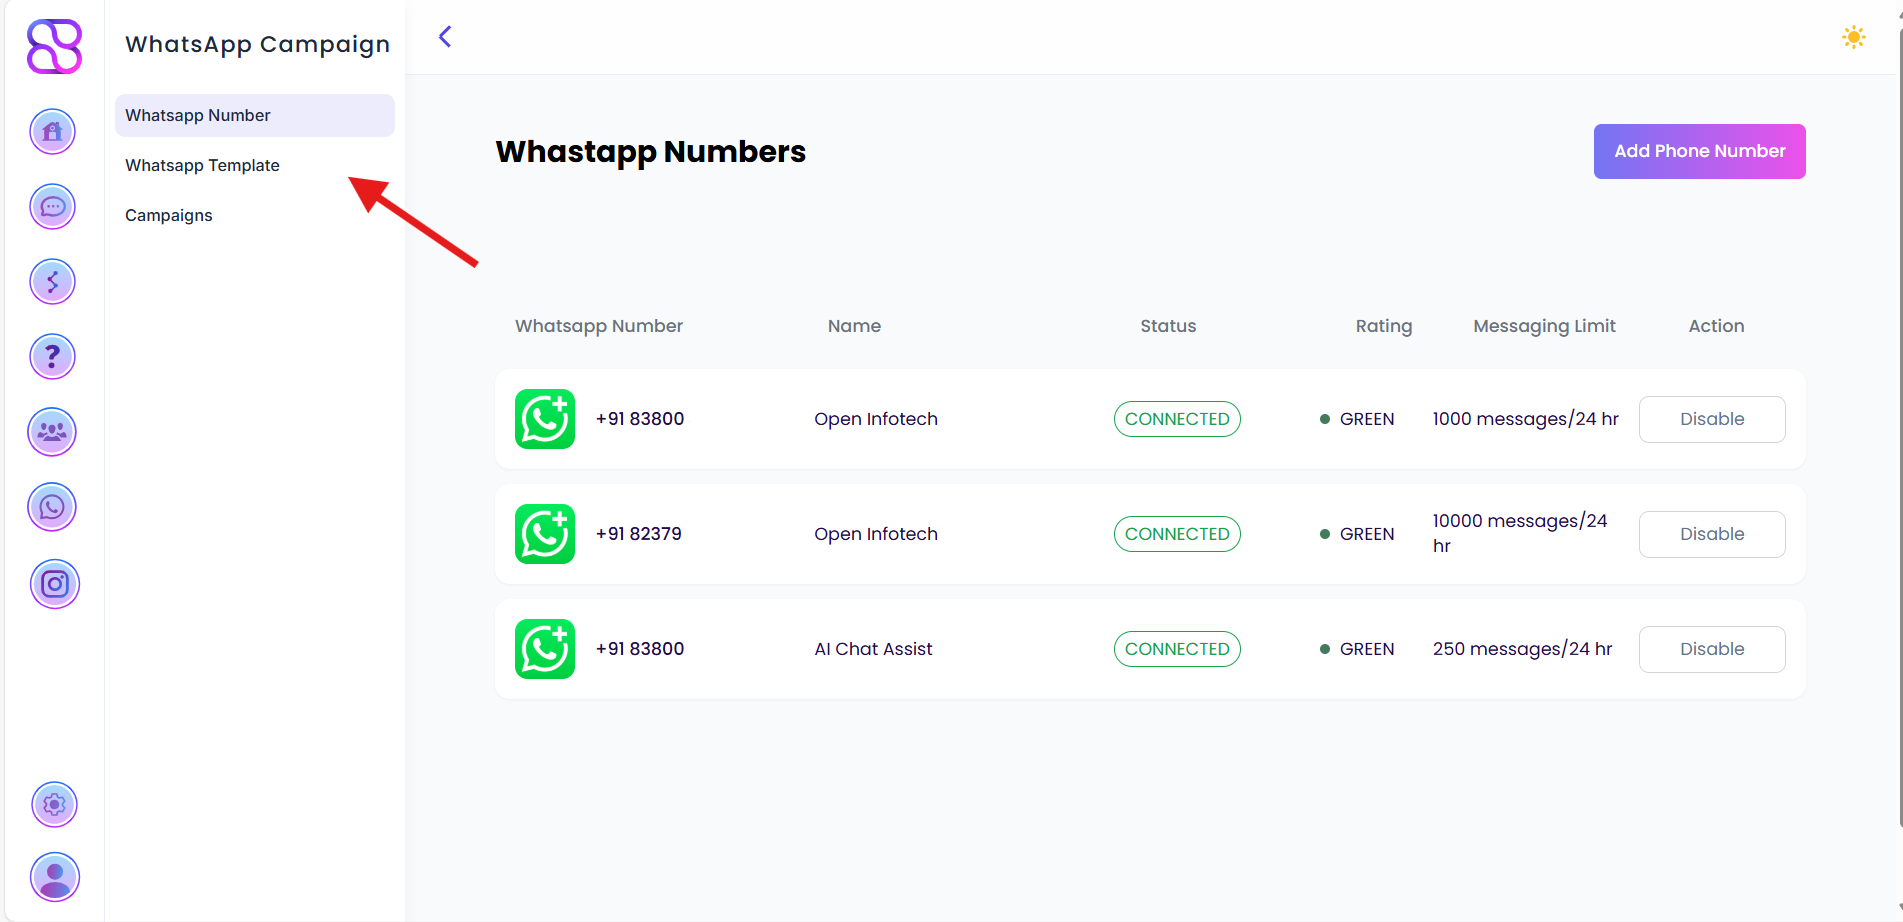
Navigate to WhatsApp Campaign > WhatsApp Template.
-
Click on Create Template.
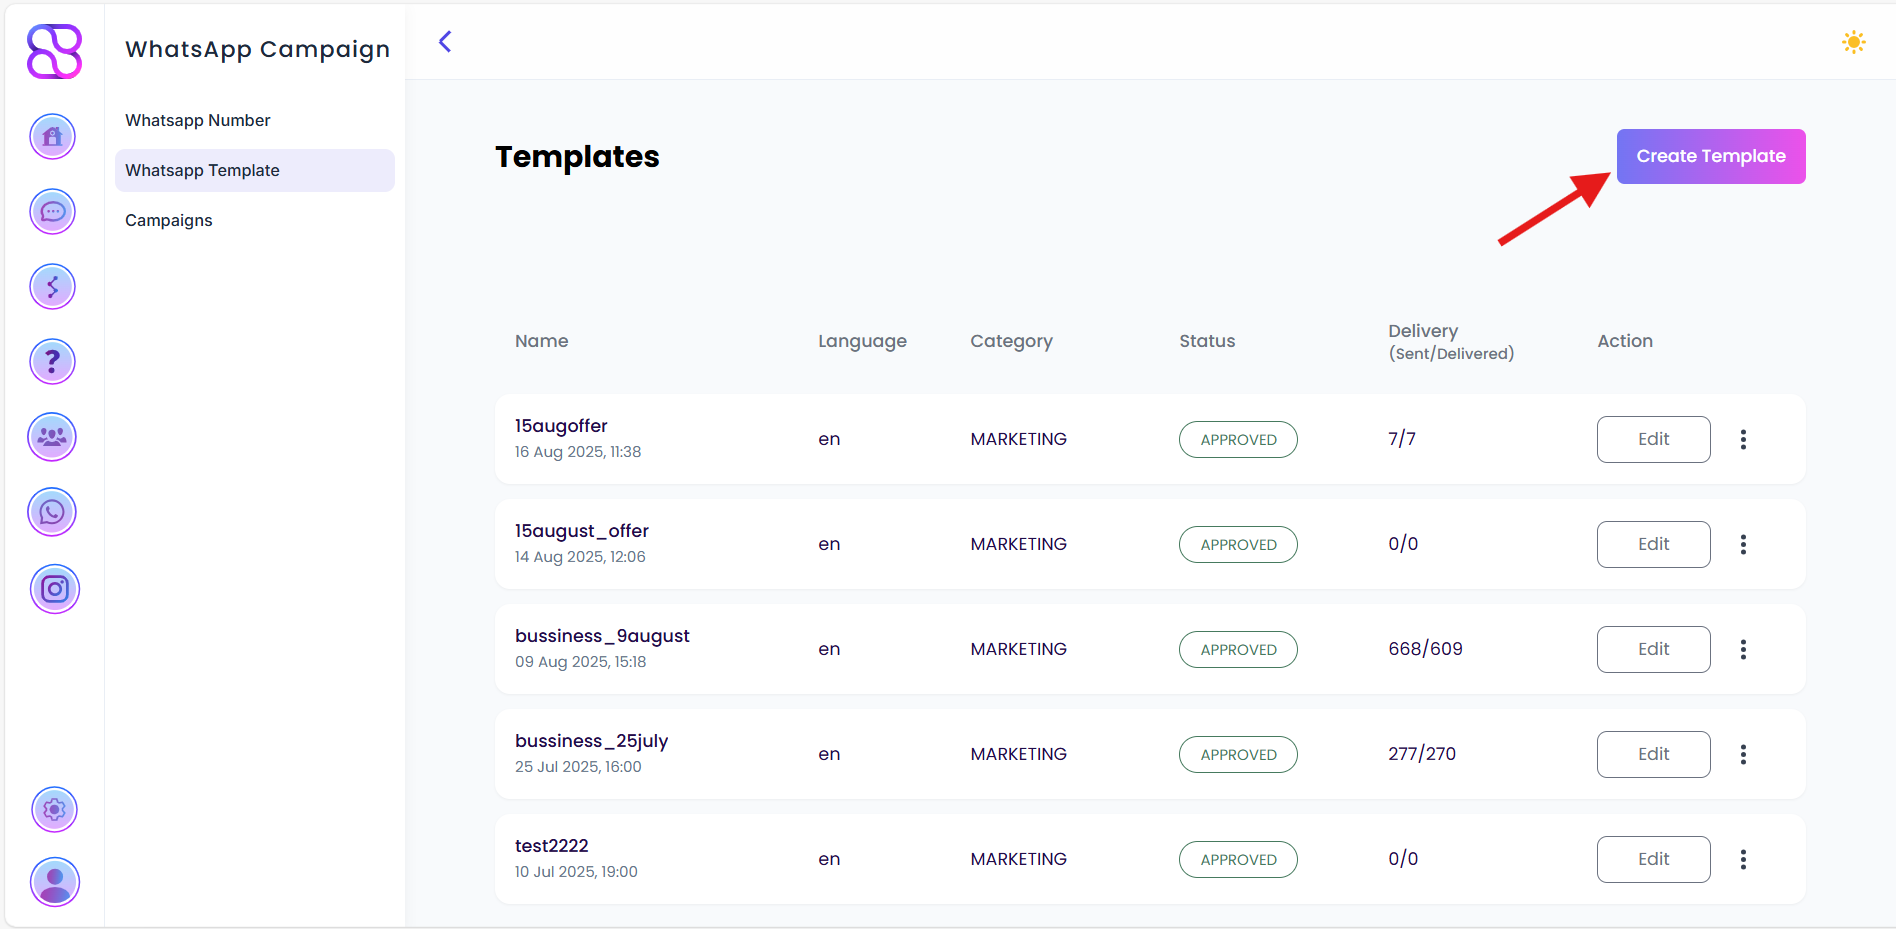
Clicking Create Template will redirect you to the template creation interface.
Step 2: Enter Template Details
- Template Name: Enter a unique name for your template (e.g.,
welcome_message). - Category: Select the appropriate category for the template (e.g., Marketing, Utility, Authentication).
- Language: Choose the language for the template (e.g., English, Spanish).
- Header Type: Select the header type from the following options:
- None
- Text
- Image
- Video
- Document
- If Text, Image, Video, or Document is selected, provide the corresponding content for the header.
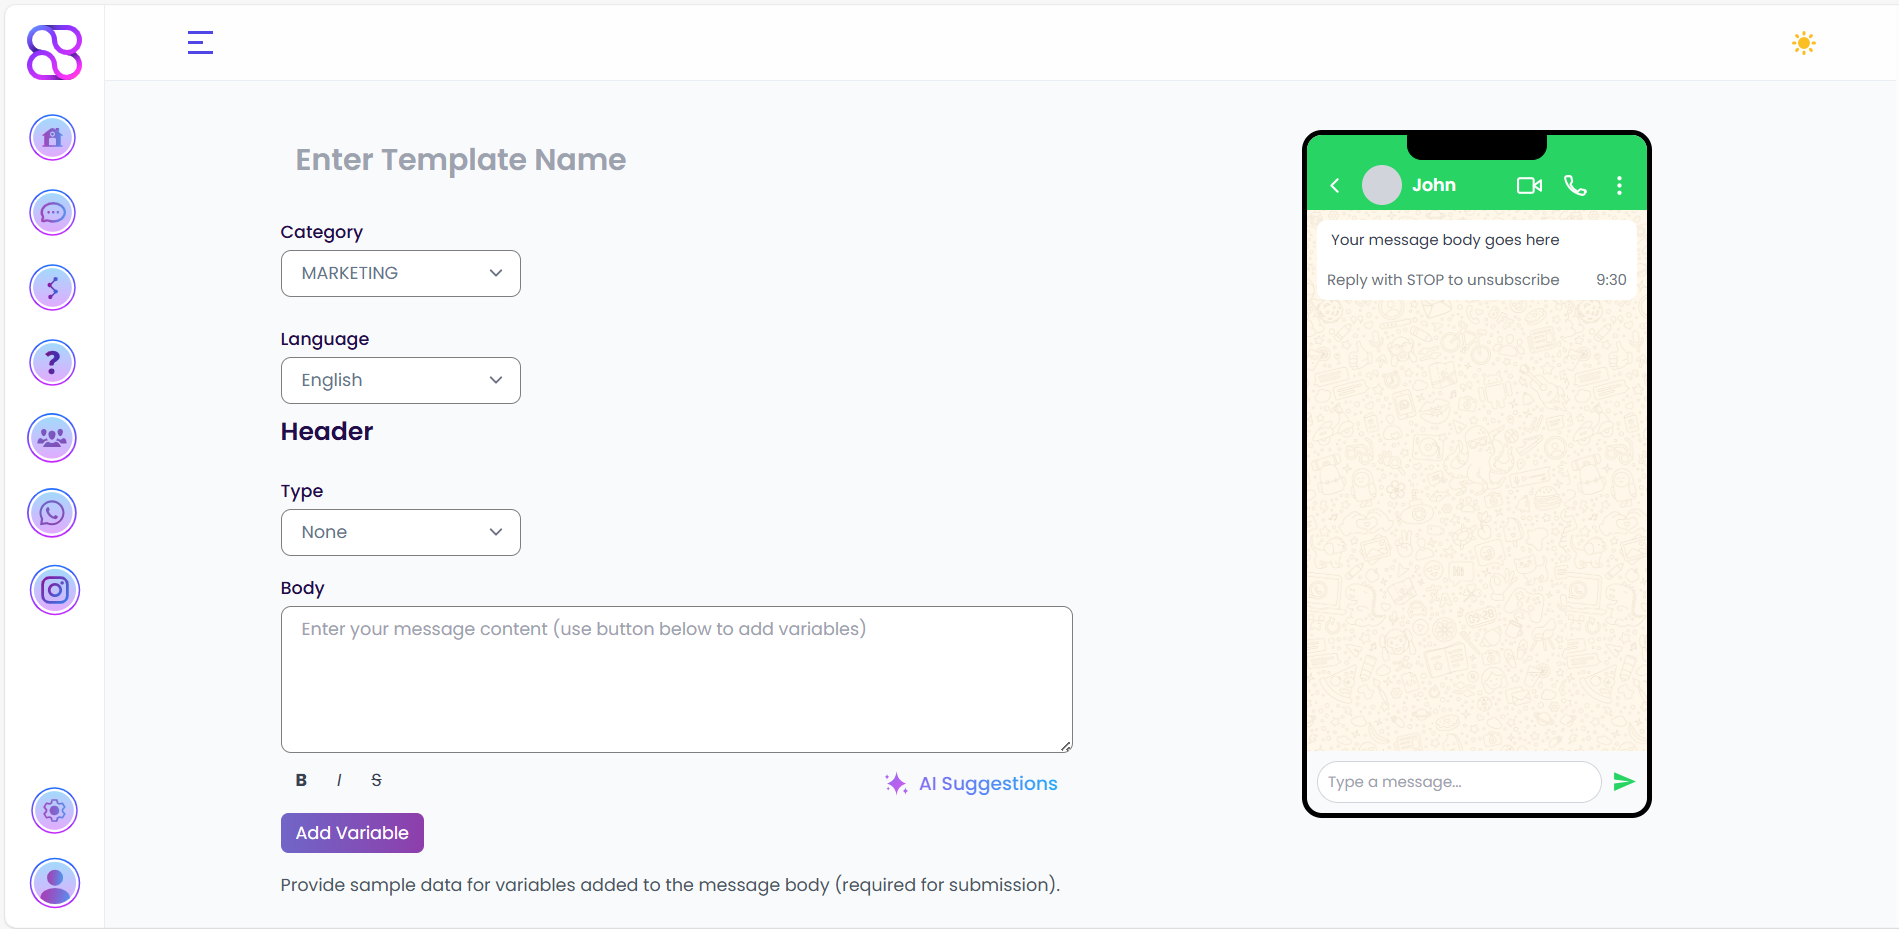
A live Template Preview will be available on the right side of the interface, updating in real-time as you input details.
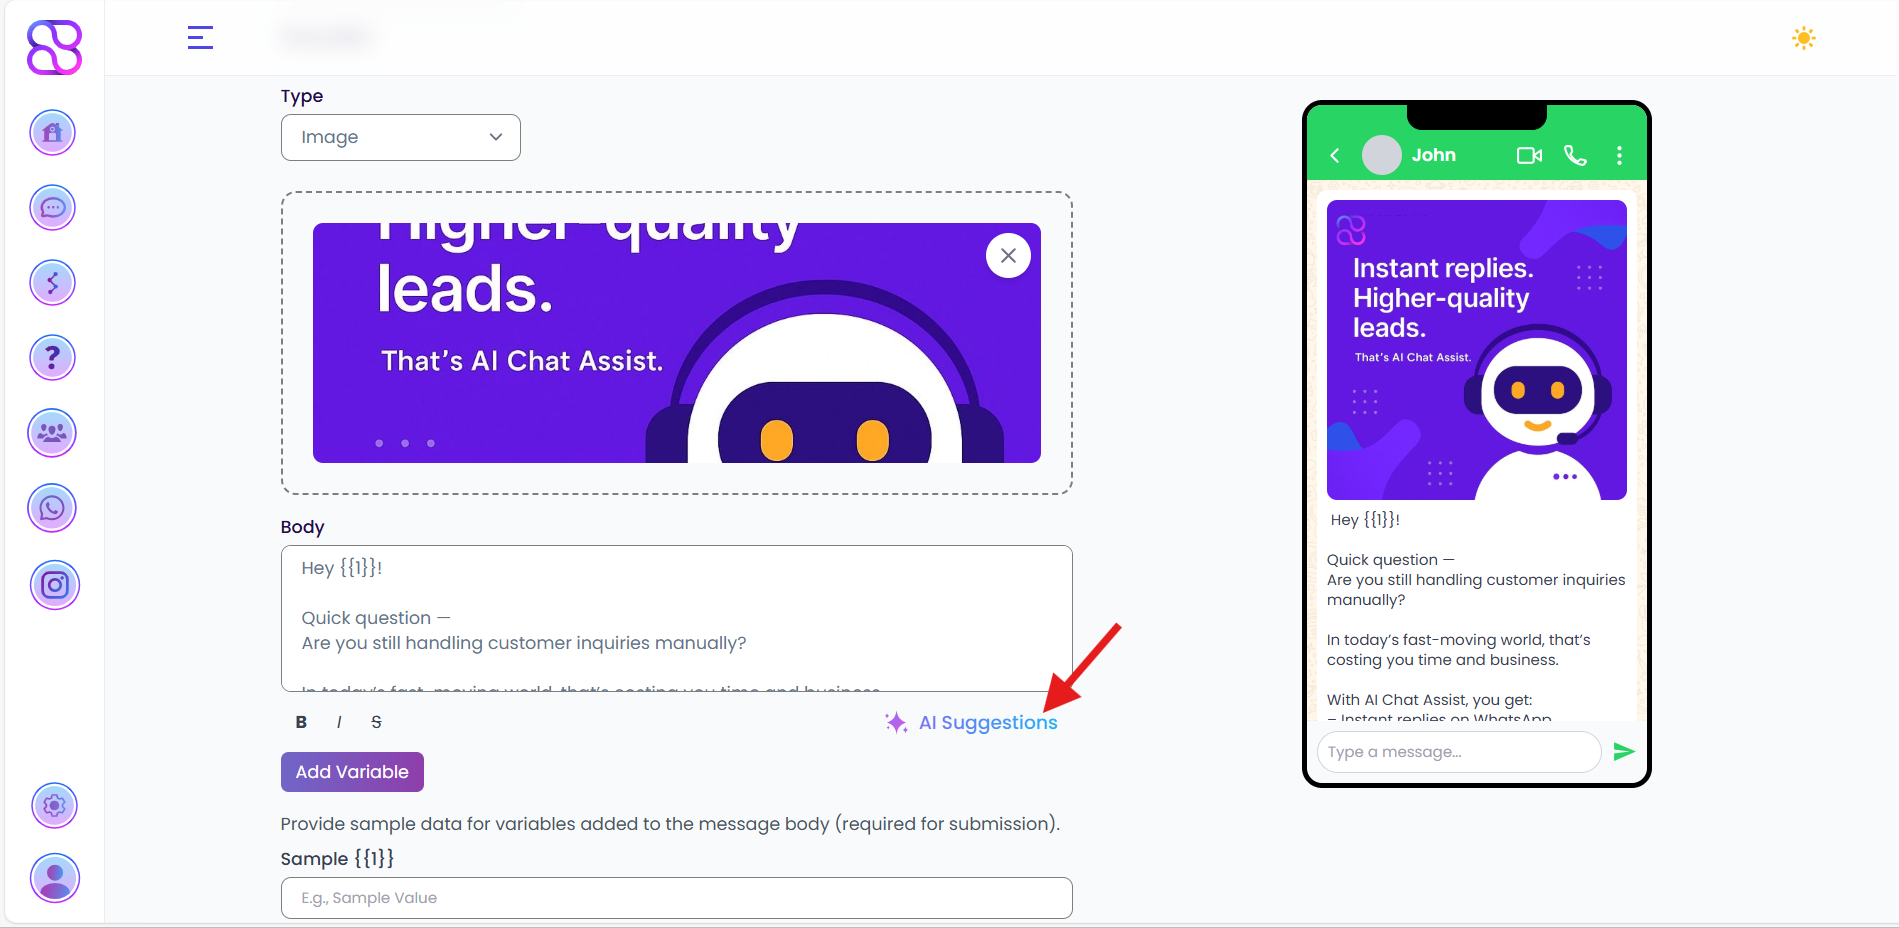
Step 3: Create Template Body
- Enter the main content of the template in the Body field.
- (Optional) Click on the AI Suggestion button to generate AI-powered suggestions for the body text. Review and edit the suggested content as needed.
- To add dynamic content, click the Add Variable button and insert variables (e.g.,
{{1}},{{2}}) in the body where personalized information will be substituted. - (Optional) Enter a Footer if needed to include additional static text (e.g., a disclaimer or contact info).
- Click Next to proceed.
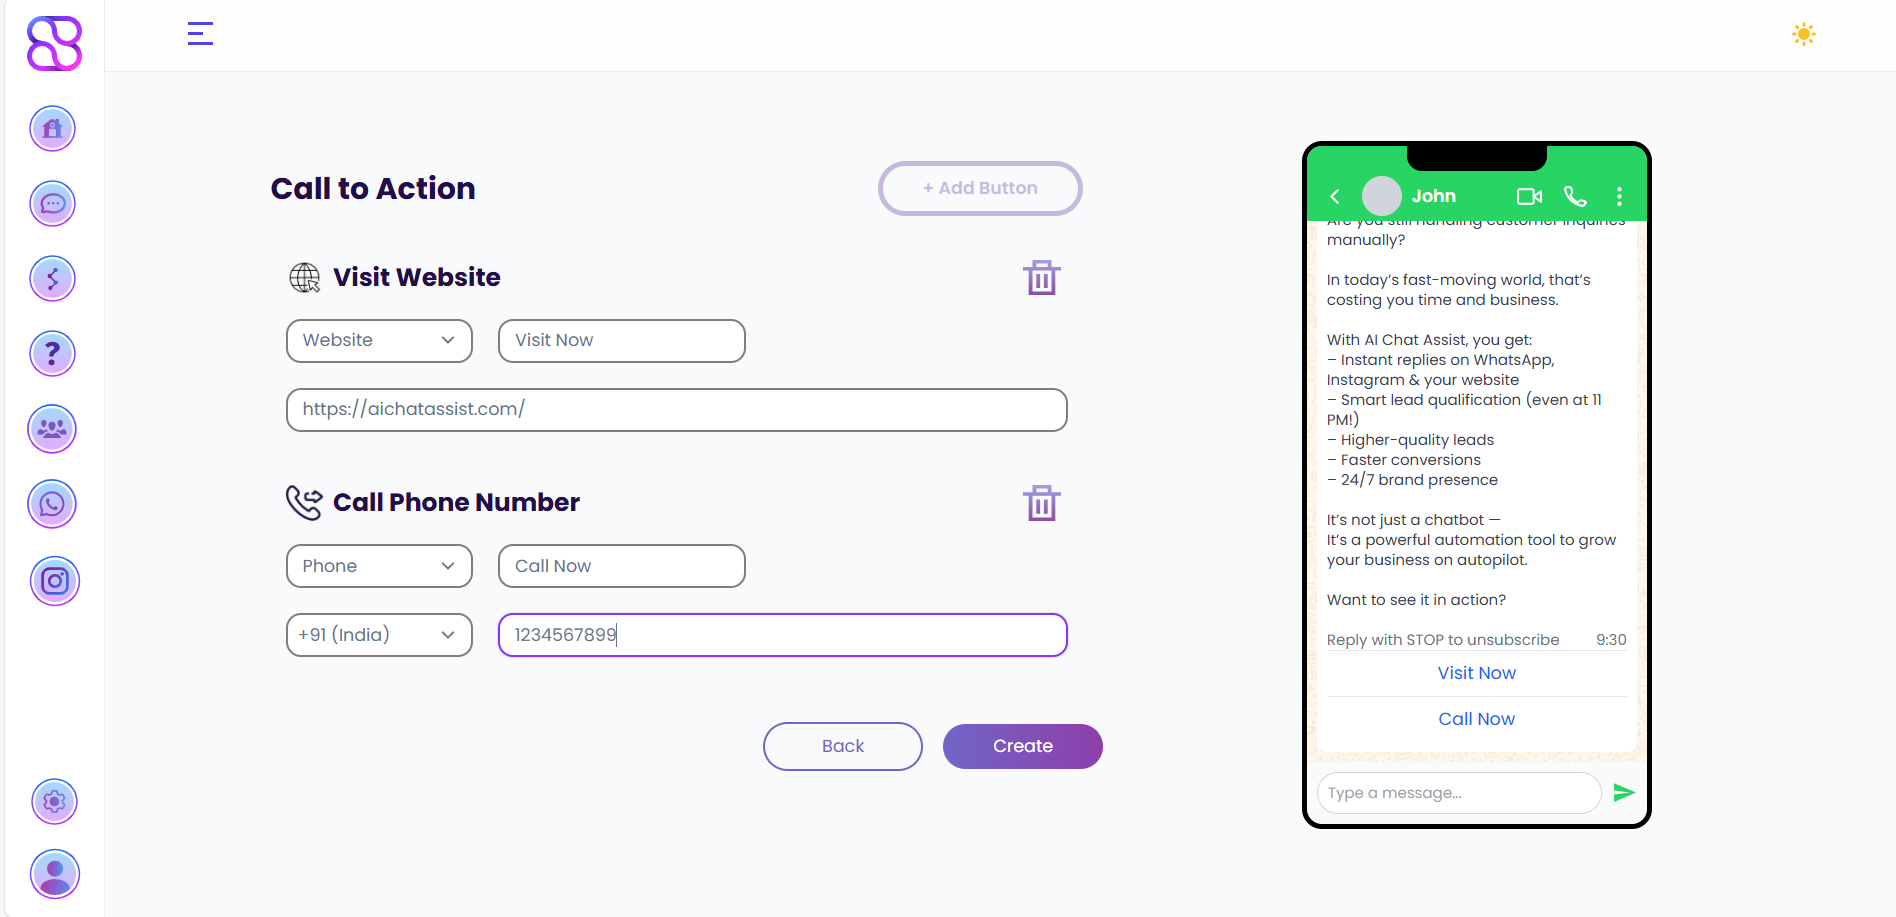
Step 4: Add Call-to-Action (CTA)
- Click the Add Button option to include a call-to-action.
- Select the button type:
- Website: Provide the button text (e.g., “Visit Now”) and enter the website URL.
- Phone: Provide the button text (e.g., “Call Us”), phone number, and select the country code.
- Review all entered details (template name, category, language, header, body, footer, and CTA).
- Click the Create button to submit the template for Meta’s approval.
Step 5: Confirmation and Dashboard Display
-
After successful submission, you will be redirected to the WhatsApp Template Dashboard.
-
The newly created template will be listed with the following details:
- Template Name: The name assigned to the template.
- Category: The selected category (e.g., Marketing, Utility).
- Language: The chosen language.
- Status: Initially set to Pending until Meta approves the template.
-
Once Meta approves the template, the Status will automatically update to Approved, and the template can be used in WhatsApp campaigns.
Template approval times may vary. Check Meta’s documentation for guidelines on template submission and approval criteria.
Next Steps
Once your WhatsApp template is approved, you can: