Create a Campaign
Create a New Campaign
Follow these steps to create and launch a new advertising campaign using AI Campaign Manager.
Before You Begin
- Ensure you have connected your ad accounts
- Have your campaign assets ready (images, videos, ad copy)
- Define your target audience and budget
Step 1: Access Campaign Creation
- Log in to your AI Chat Assist dashboard
- Navigate to Campaign Manager > Campaigns
- Click Create Campaign
Step 2: Define Your Mission
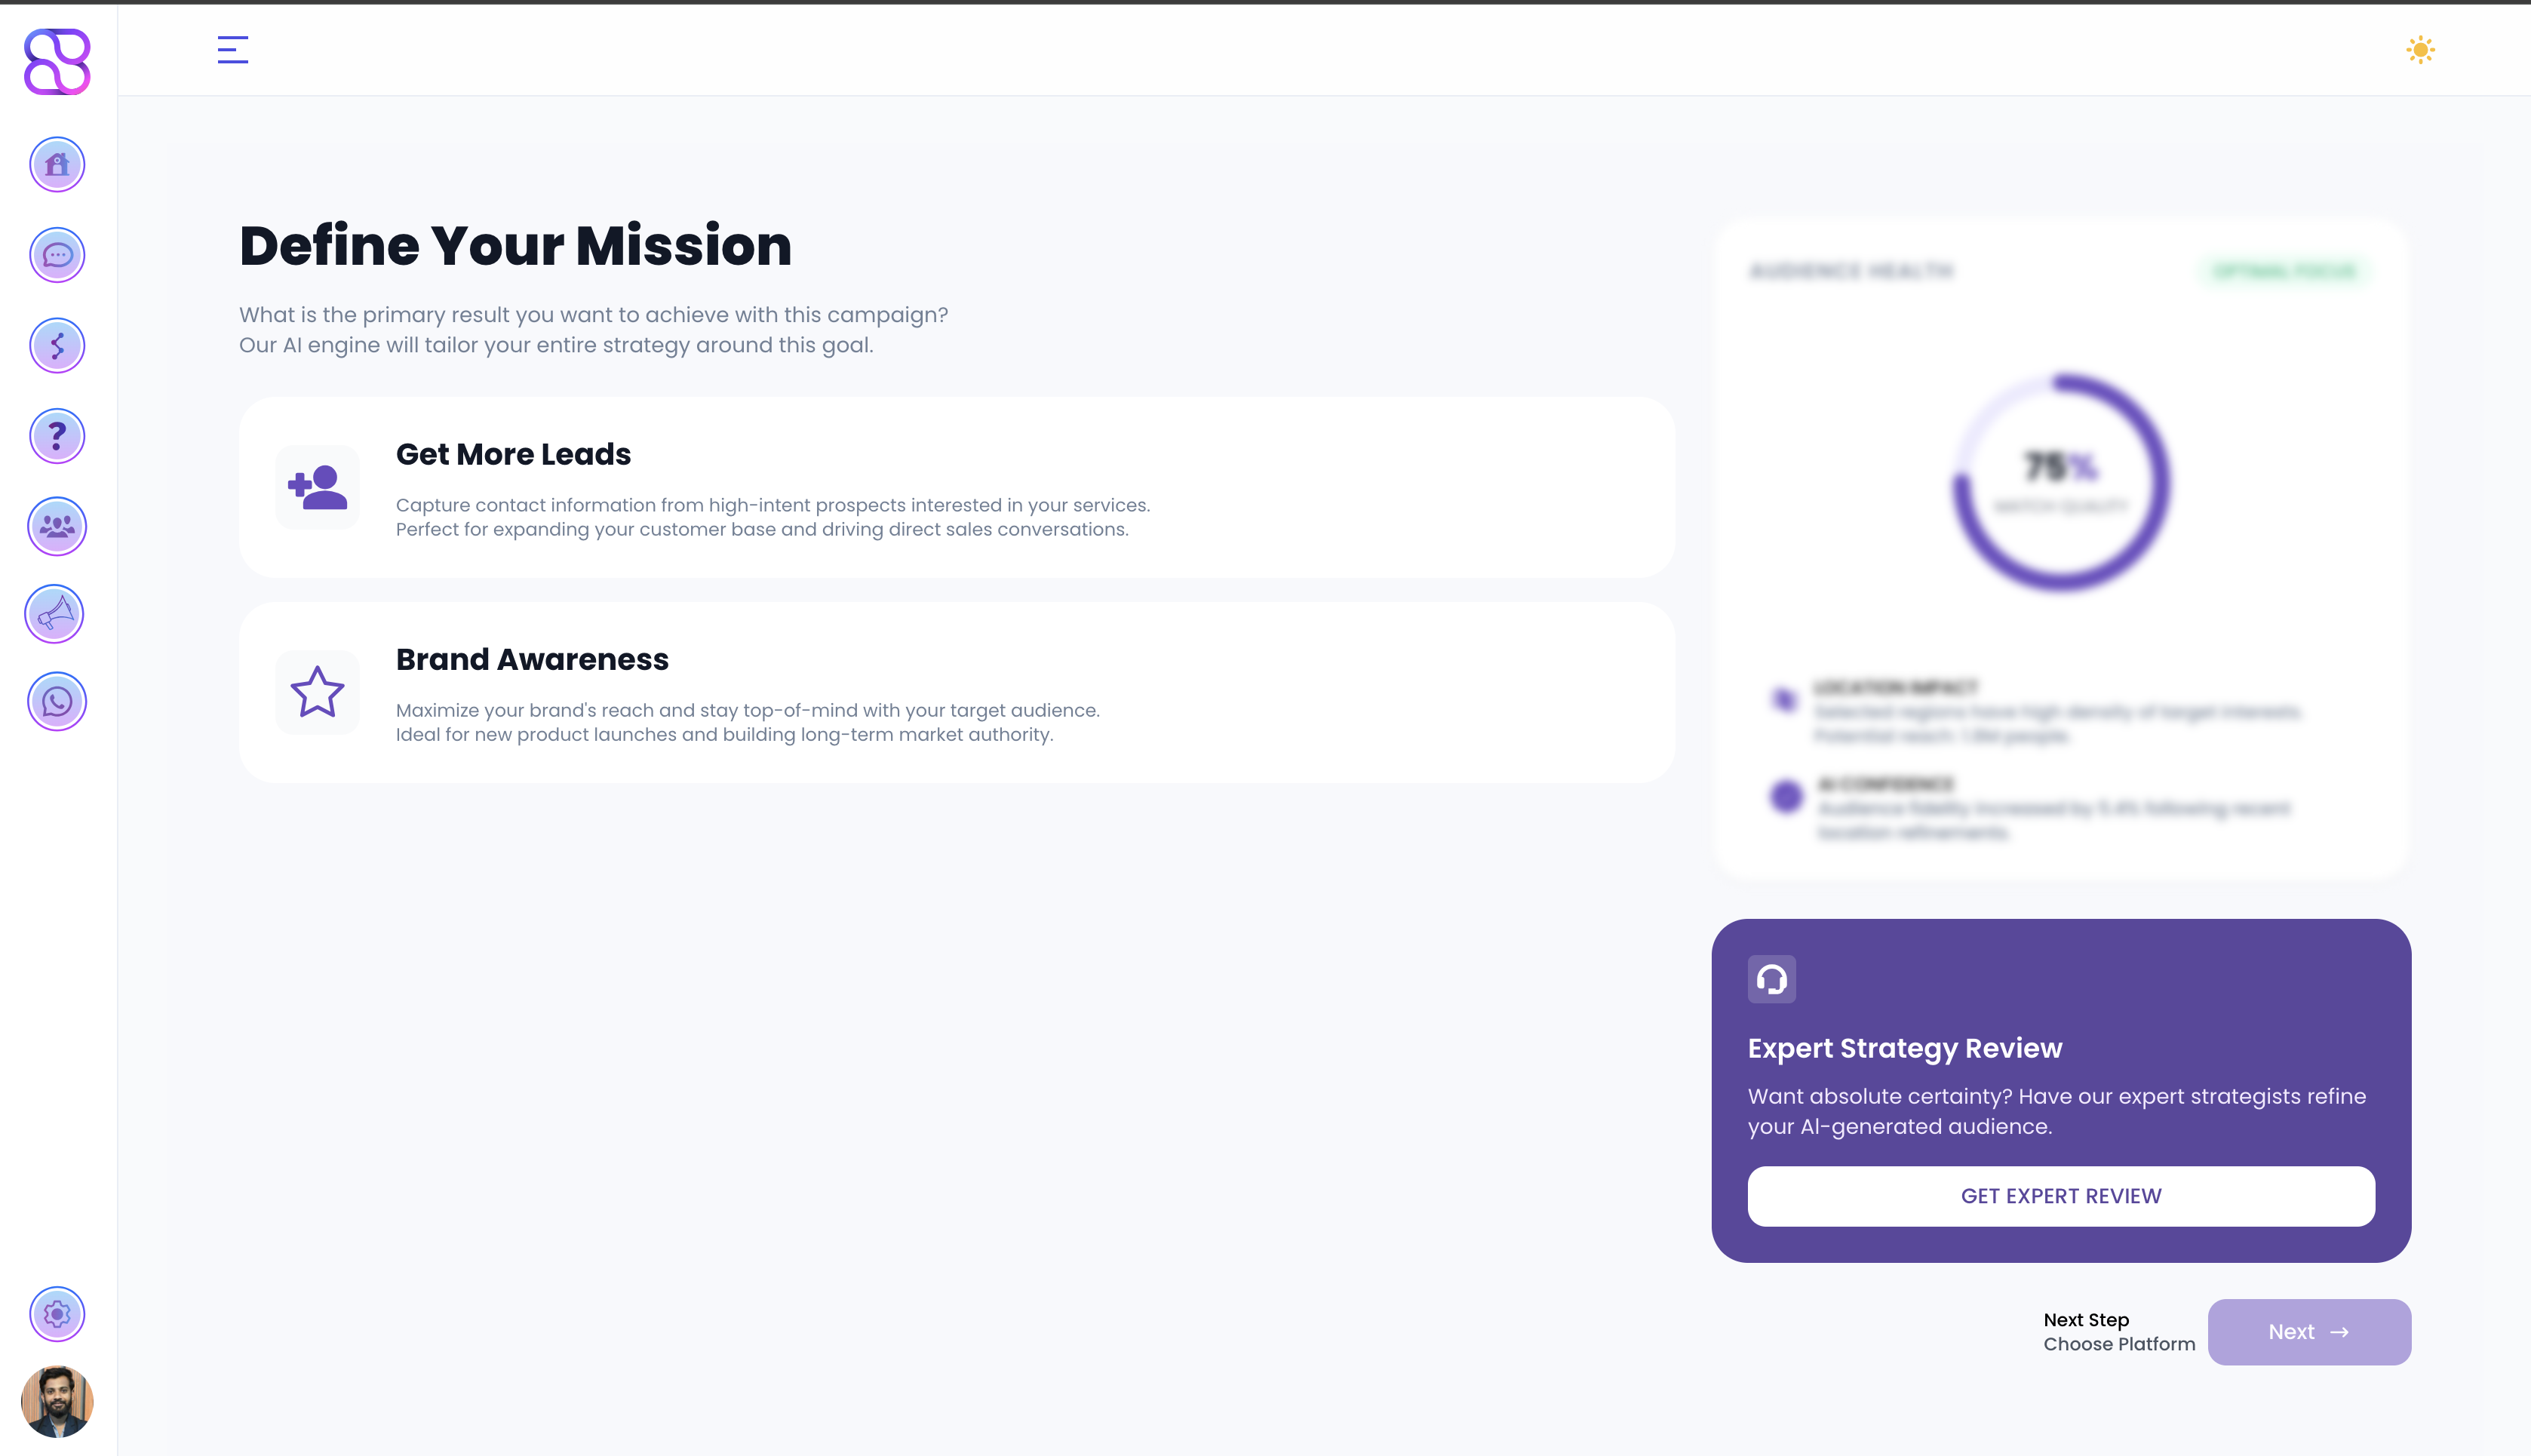
Choose the primary result you want to achieve with your campaign. The AI engine will tailor your entire strategy around this goal.
Get More Leads
Capture contact information from high-intent prospects interested in your services. Perfect for expanding your customer base and driving direct sales conversations.
Brand Awareness
Maximize your brand’s reach and stay top-of-mind with your target audience. Ideal for new product launches and building long-term market authority.
Click Next → Choose Platform to proceed.
Step 3: Visual Channel Placement
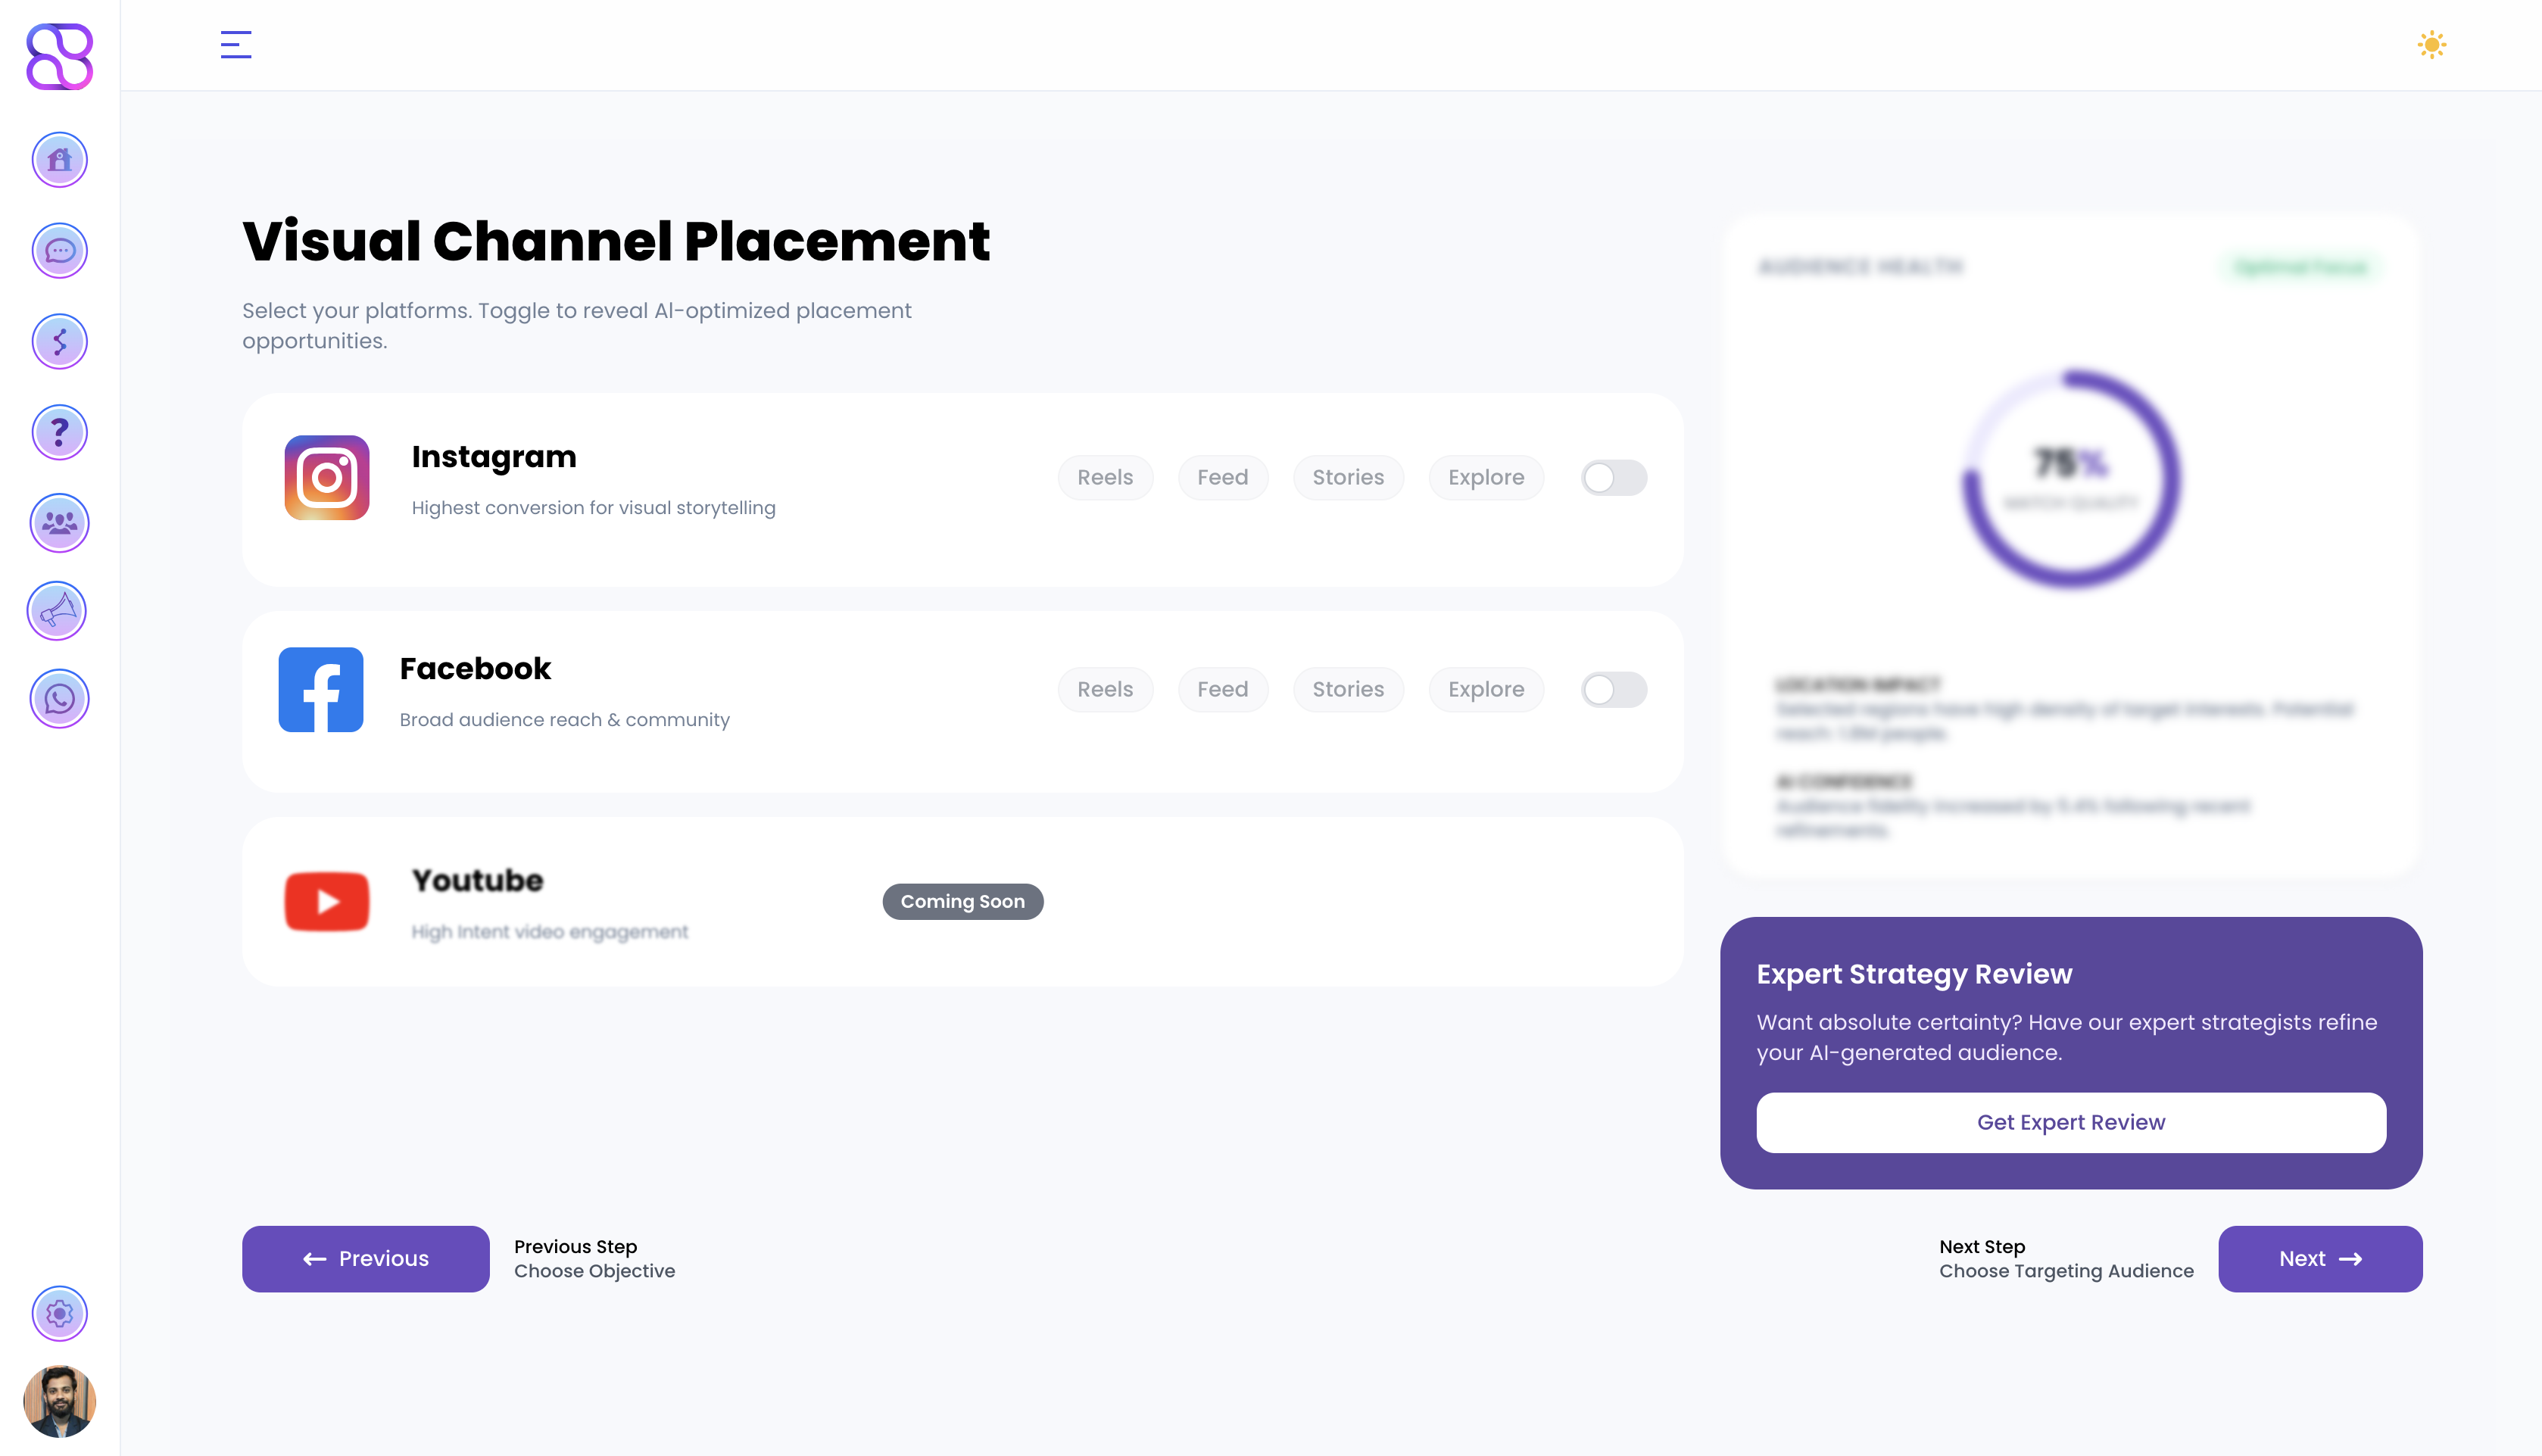
Select the platforms where your ads will run. Toggle each platform to reveal AI-optimized placement opportunities.
| Platform | Description | Placements |
|---|---|---|
| Highest conversion for visual storytelling | Reels, Feed, Stories, Explore | |
| Broad audience reach & community | Reels, Feed, Stories, Explore | |
| YouTube | High intent video engagement | Coming Soon |
Click Next → Choose Targeting Audience to proceed.
Step 4: Who Should See Your Ads?
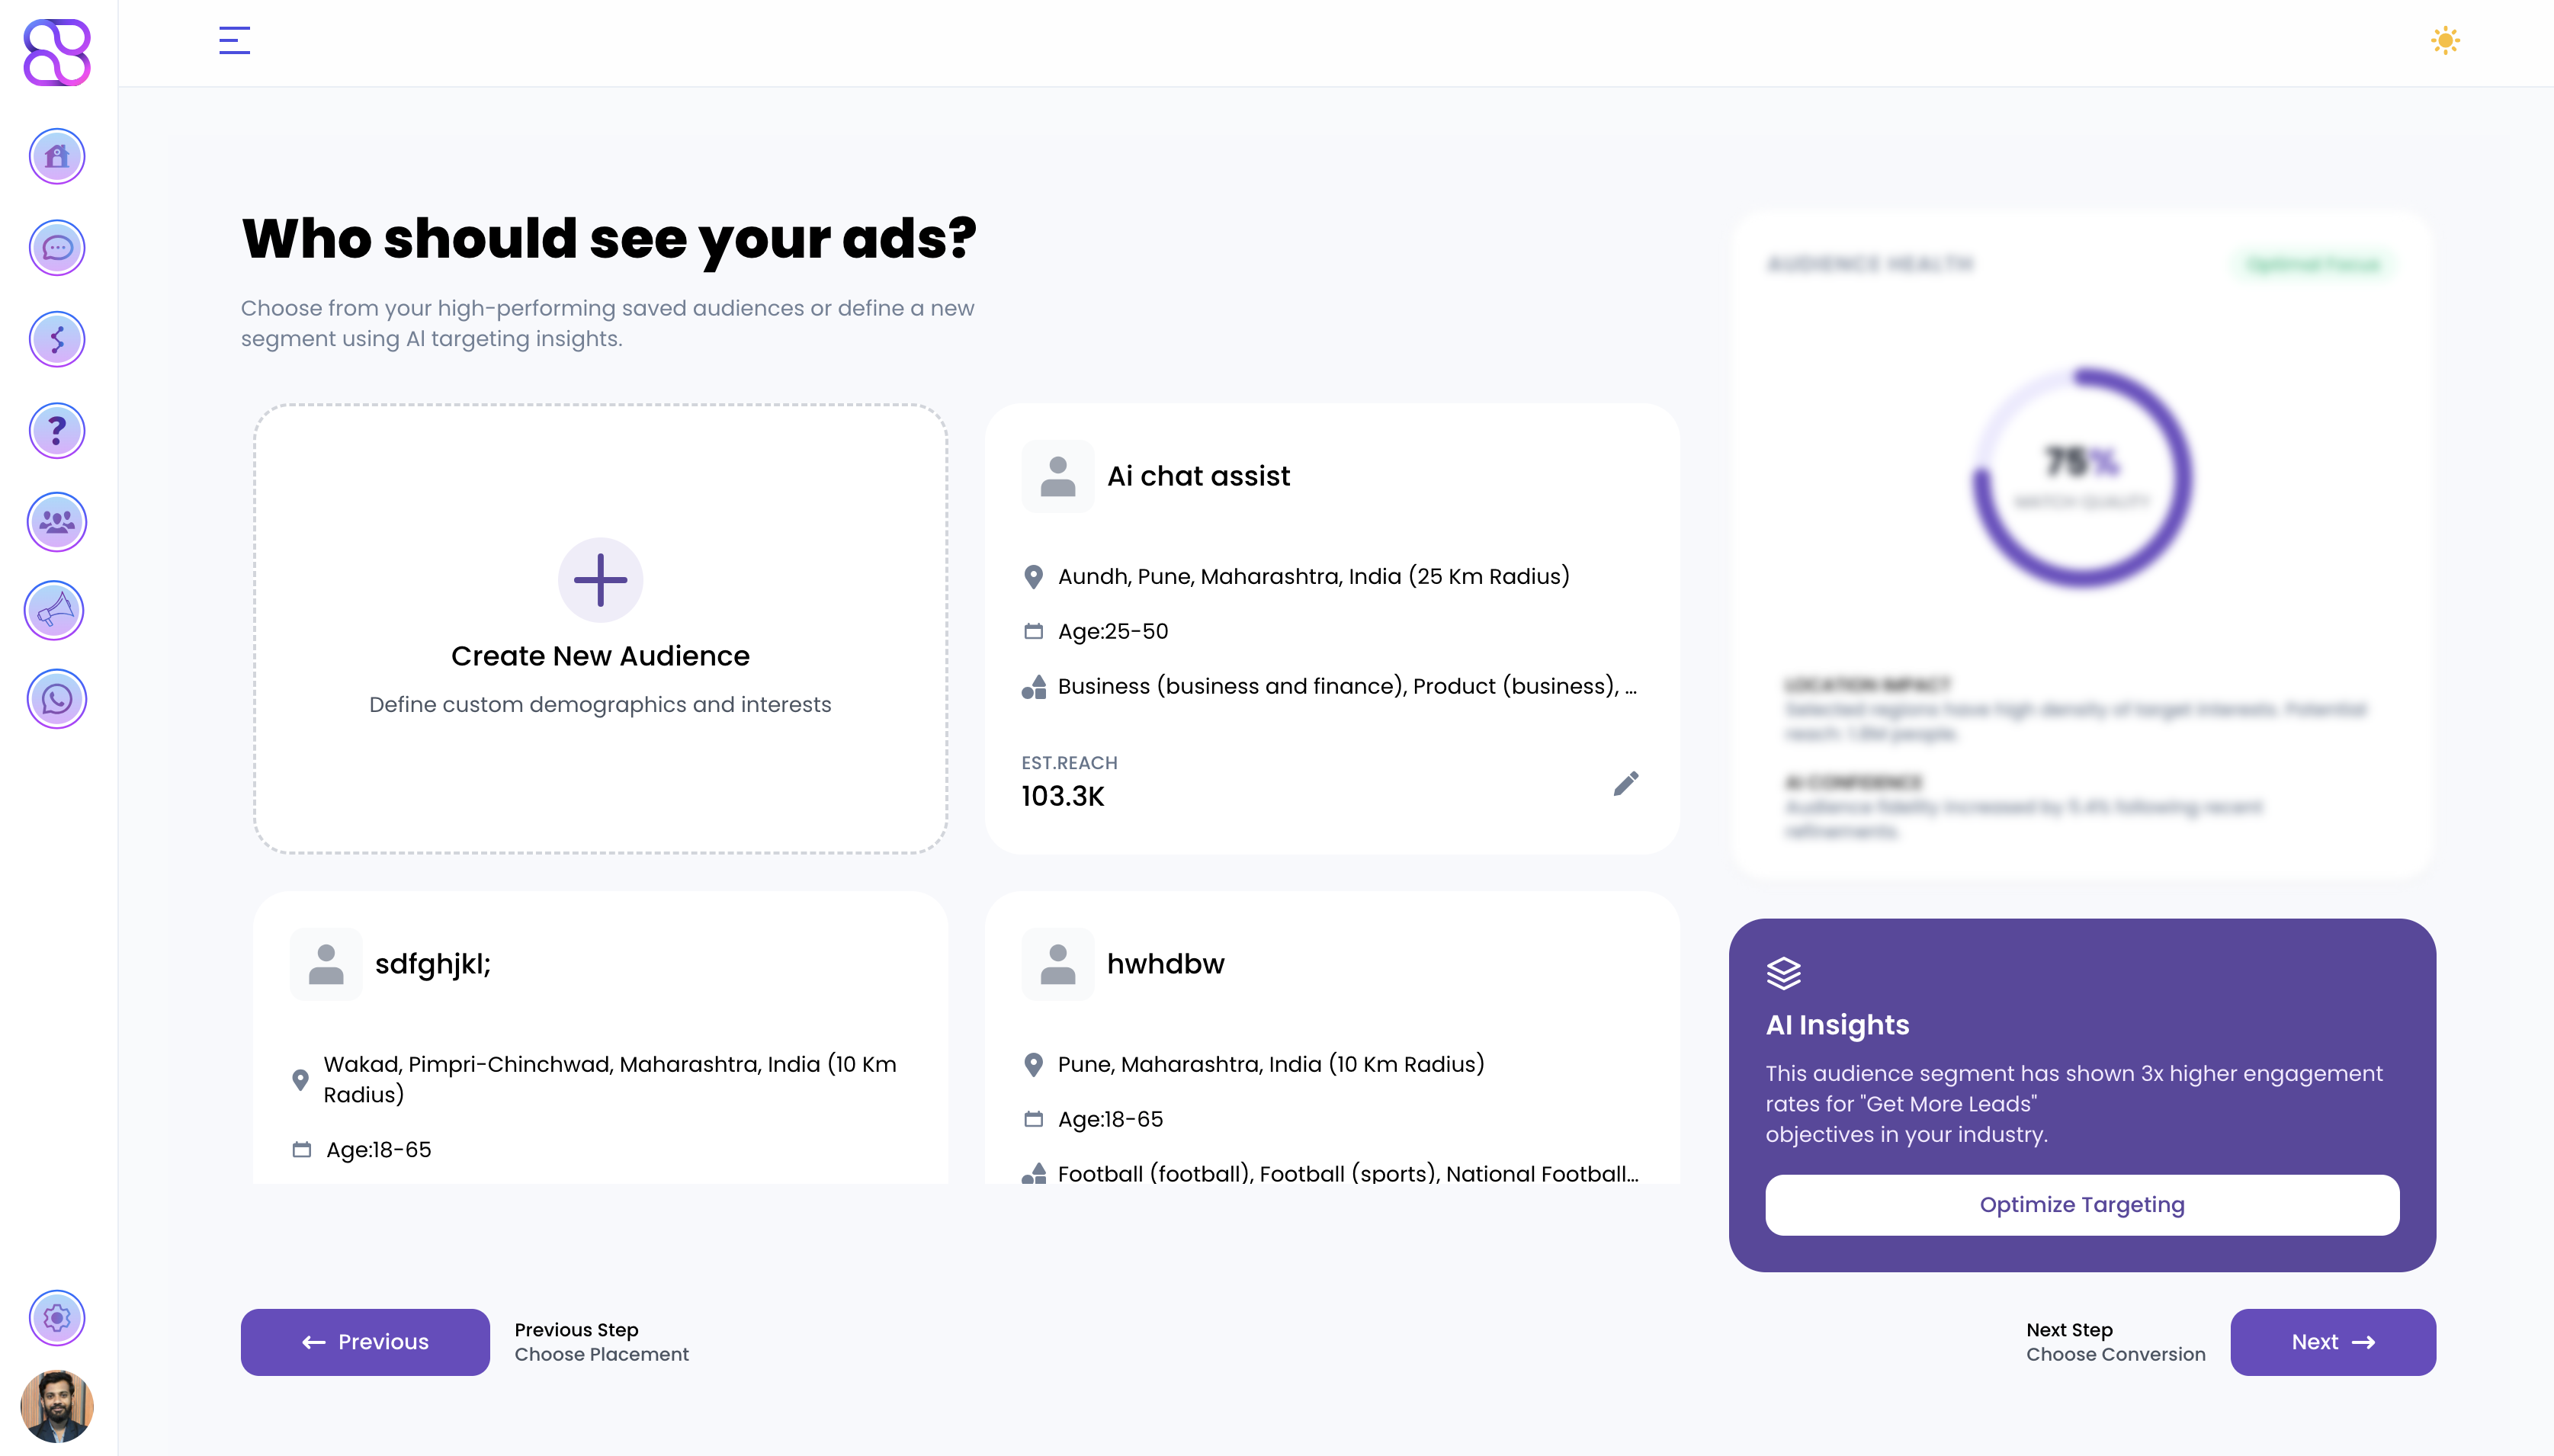
Choose from your saved high-performing audiences or define a new segment using AI targeting insights.
- Create New Audience — Define custom demographics, location, age, gender, and interests from scratch.
- Select a Saved Audience — Pick from previously configured audience segments. Each saved audience shows estimated reach, location, age range, and interest categories.
Click Next → Choose Conversion to proceed.
Step 5: Where Should Your Leads Land?
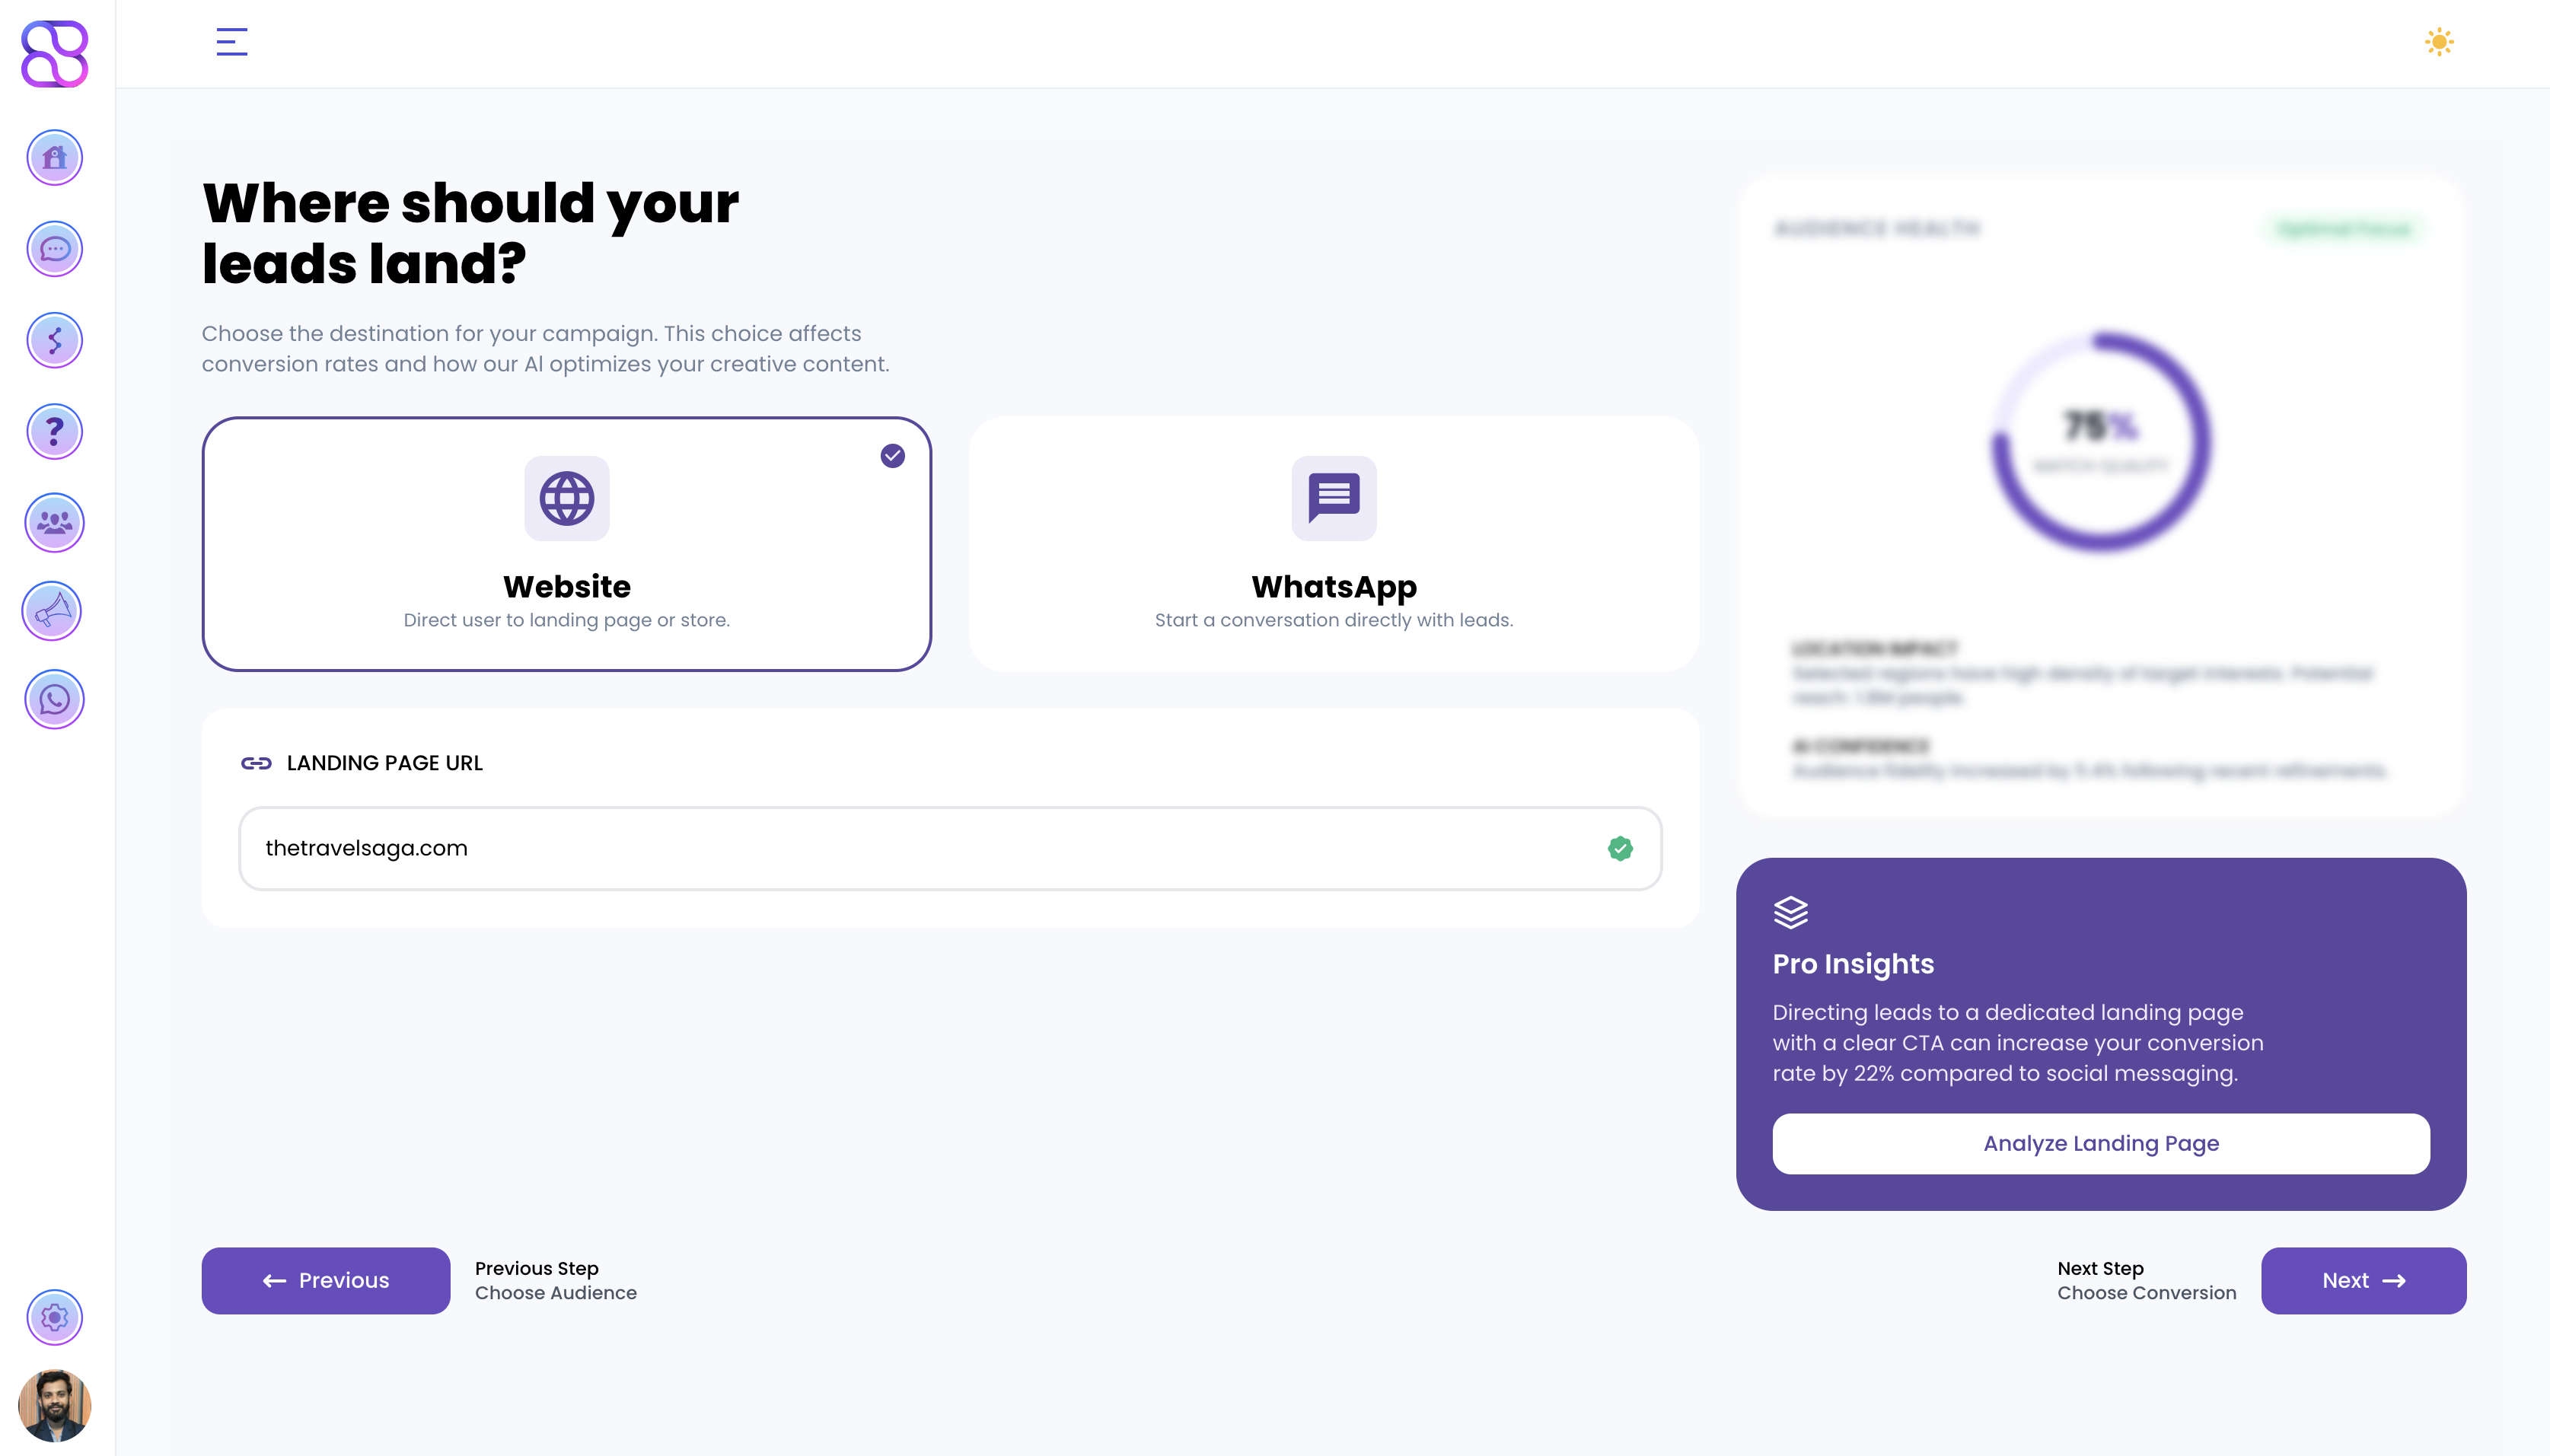
Choose the destination for your campaign. This affects conversion rates and how the AI optimizes your creative content.
Website
Direct users to your landing page or store. Enter your landing page URL to proceed.
Start a conversation directly with leads.
Click Next → Choose Conversion to proceed.
Step 6: AI Creative Studio & Upload Center
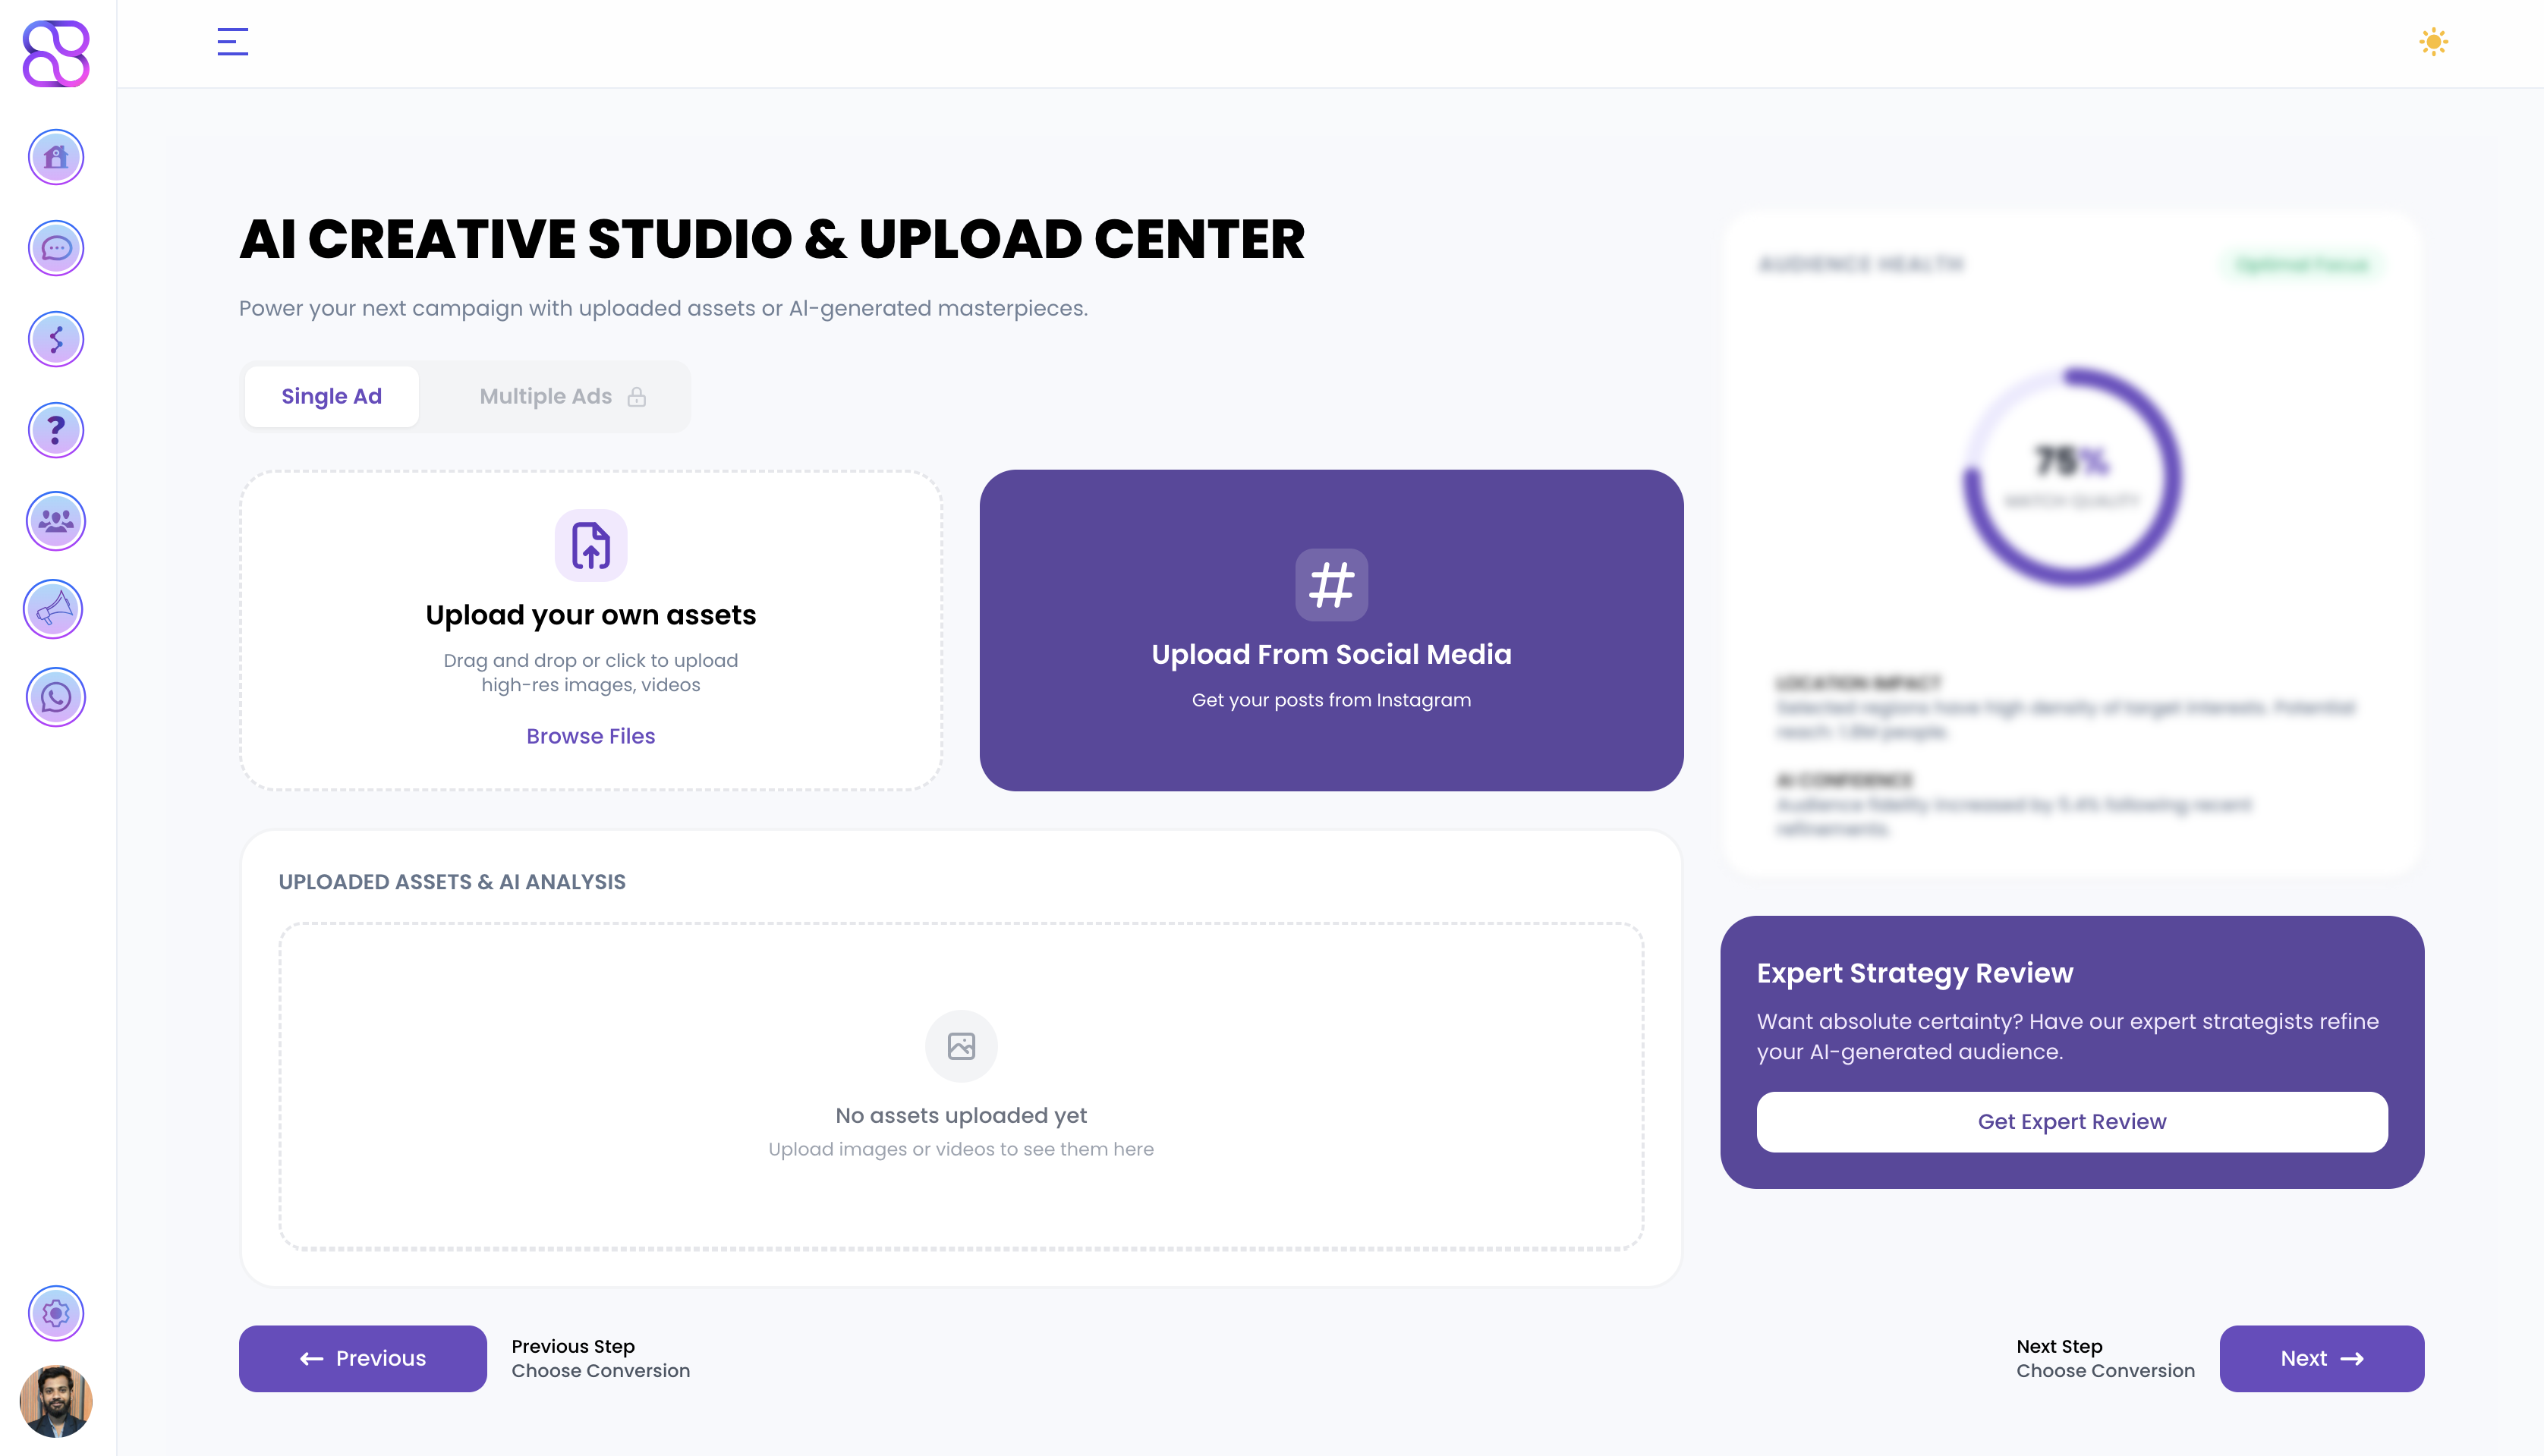
Power your campaign with uploaded assets or AI-generated creatives.
Choose your ad type:
- Single Ad — One creative for your campaign
- Multiple Ads (Pro) — Run several creatives simultaneously for A/B testing
Upload your creative assets:
Upload Your Own Assets
Drag and drop or click to upload high-res images and videos. Click Browse Files to select from your device.
Upload From Social Media
Pull existing posts directly from your connected Instagram account.
Uploaded assets appear in the Uploaded Assets & AI Analysis section where the AI scores and analyzes your creative for performance.
Click Next → Choose Conversion to proceed.
Step 7: Reach Optimizer
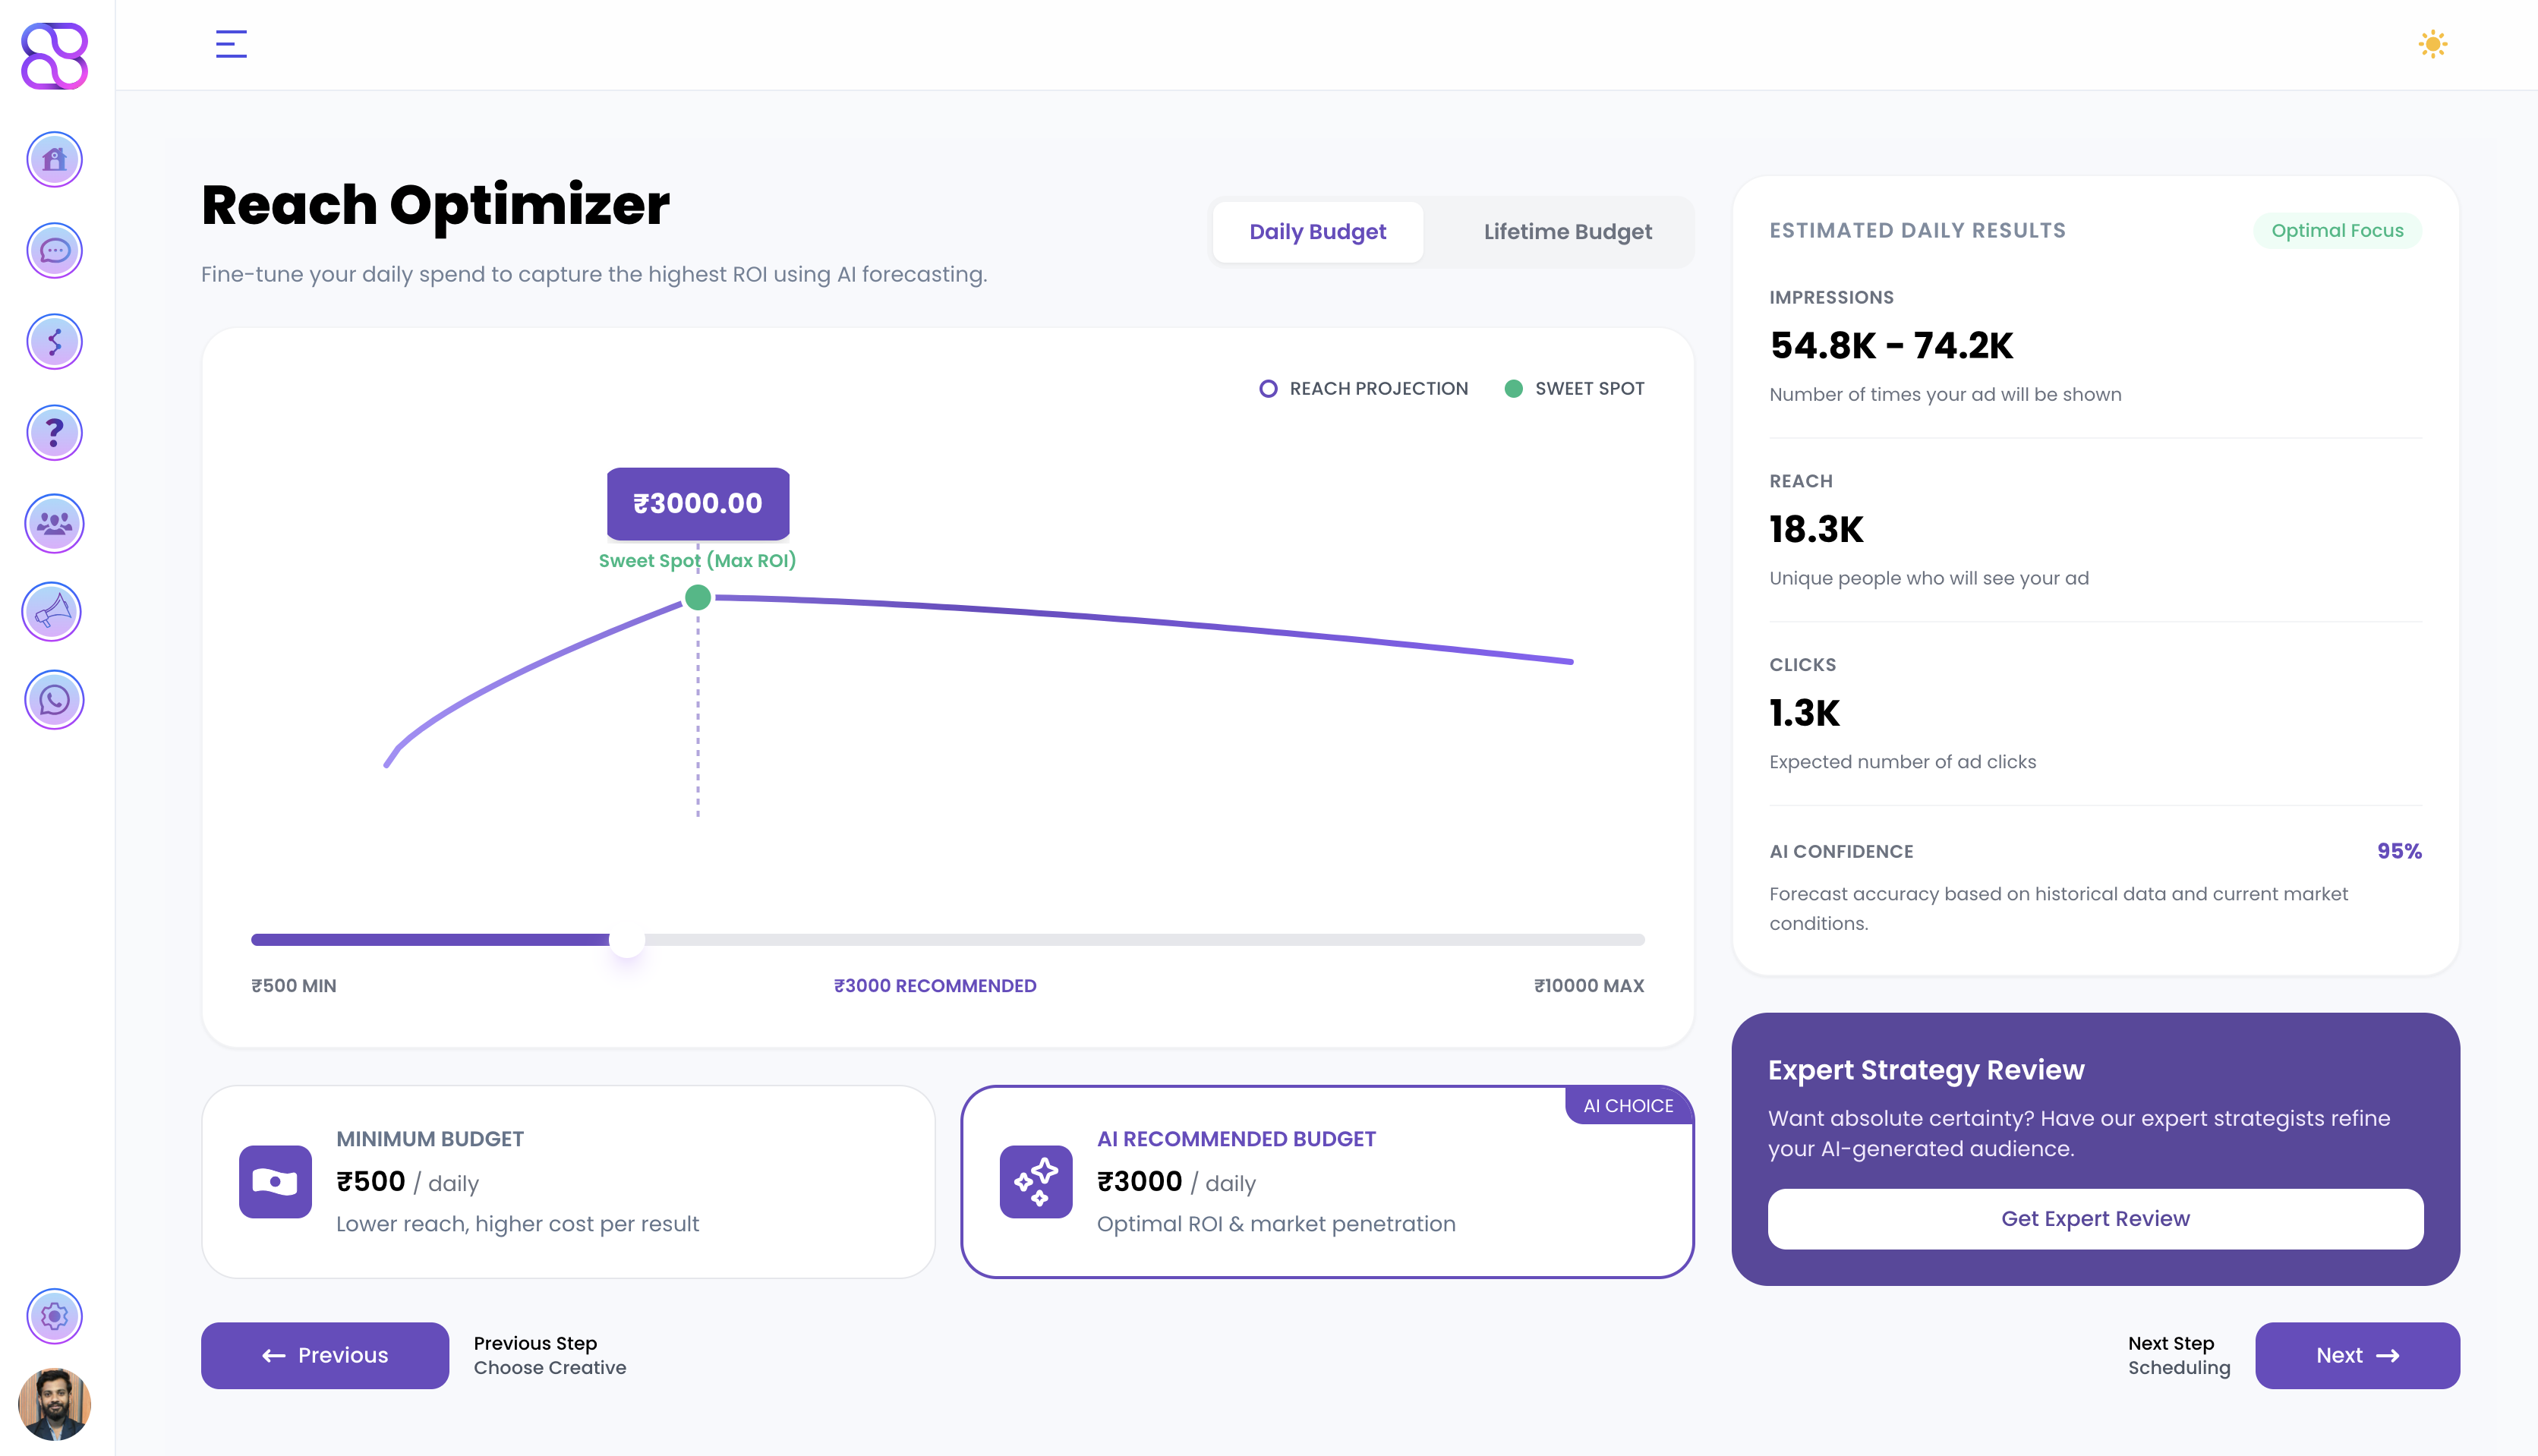
Fine-tune your daily spend to capture the highest ROI using AI forecasting.
Budget options:
- Daily Budget — Set a fixed amount to spend each day
- Lifetime Budget — Set a total amount for the full campaign duration
The AI forecasting chart shows your Reach Projection and highlights the Sweet Spot — the budget point that delivers maximum ROI.
| Budget Option | Details |
|---|---|
| Minimum Budget | Lower reach, higher cost per result |
| AI Recommended Budget | Optimal ROI & market penetration (AI Choice) |
The Estimated Daily Results panel on the right shows projected Impressions, Reach, Clicks, and AI Confidence score for your selected budget.
Click Next → Scheduling to proceed.
Step 8: Precision Scheduling
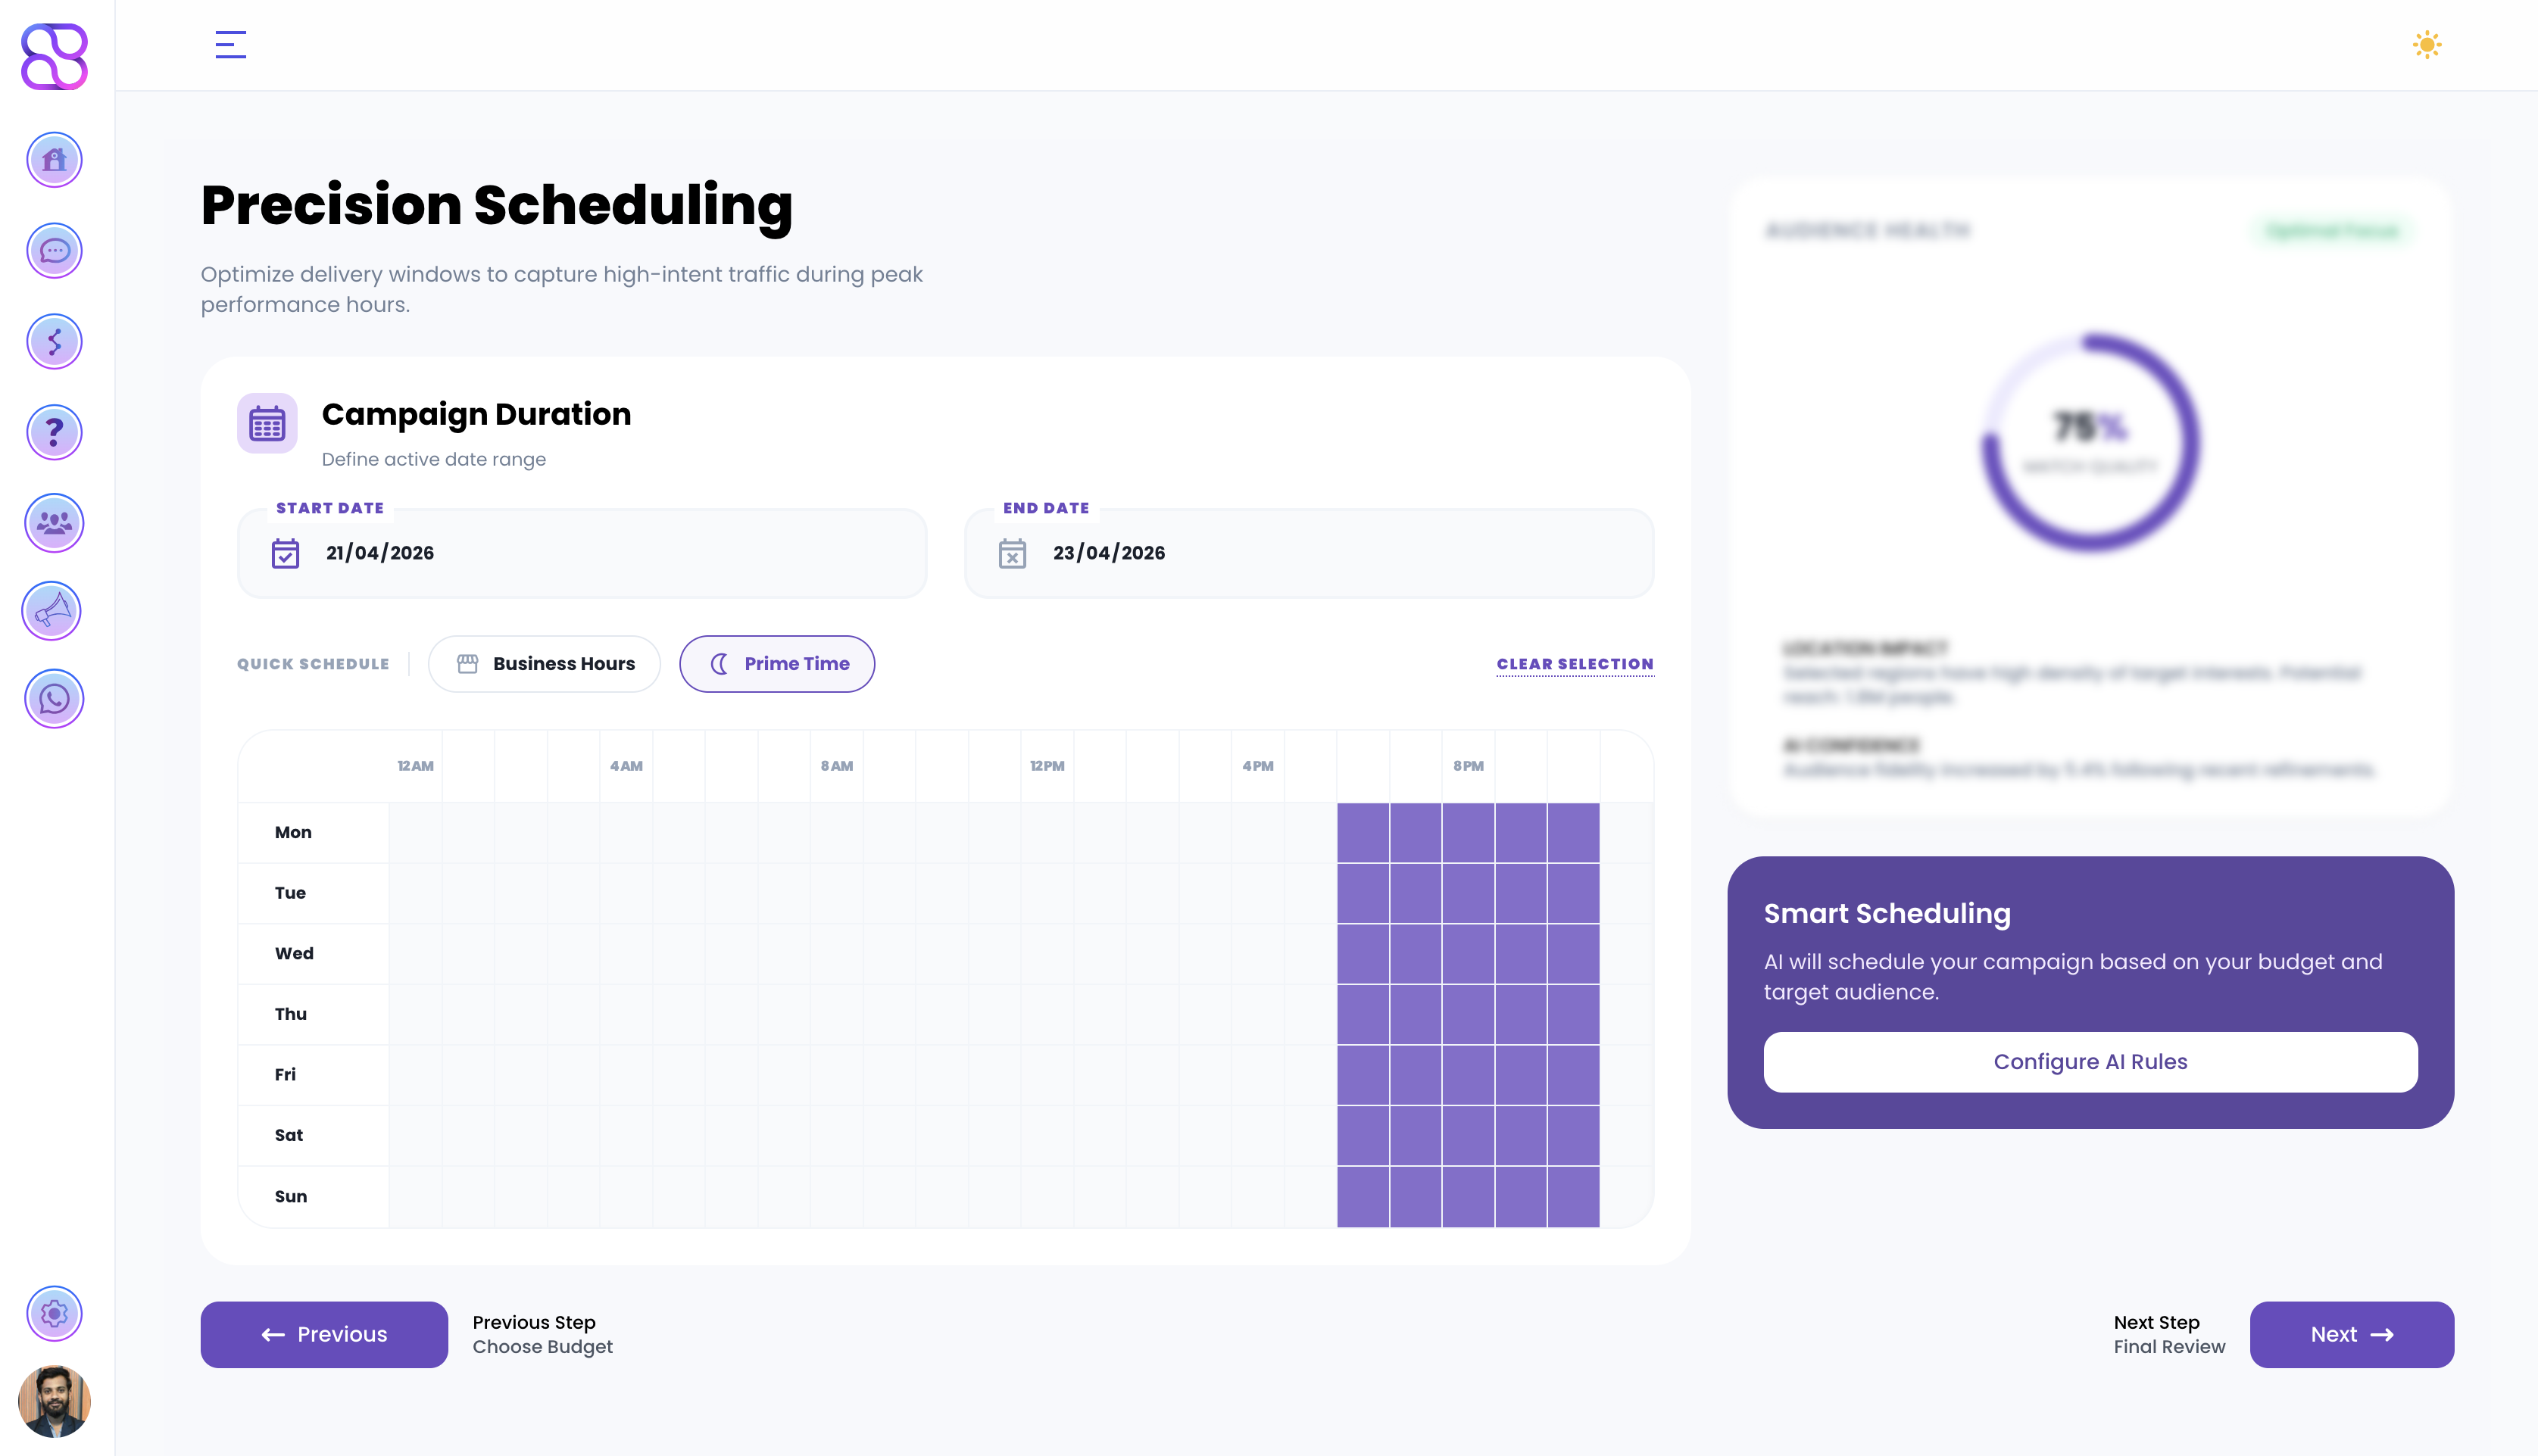
Optimize delivery windows to capture high-intent traffic during peak performance hours.
-
Campaign Duration — Set your campaign’s Start Date and End Date
-
Quick Schedule — Apply a preset schedule:
- Business Hours — Run ads during standard working hours
- Prime Time — Run ads during peak engagement windows
-
Custom Schedule — Use the day/hour grid to manually select exactly when your ads run across the week (Mon–Sun, 12AM–11PM).
Click Next → Final Review to proceed.
Step 8b: Instant Form (Get More Leads only)
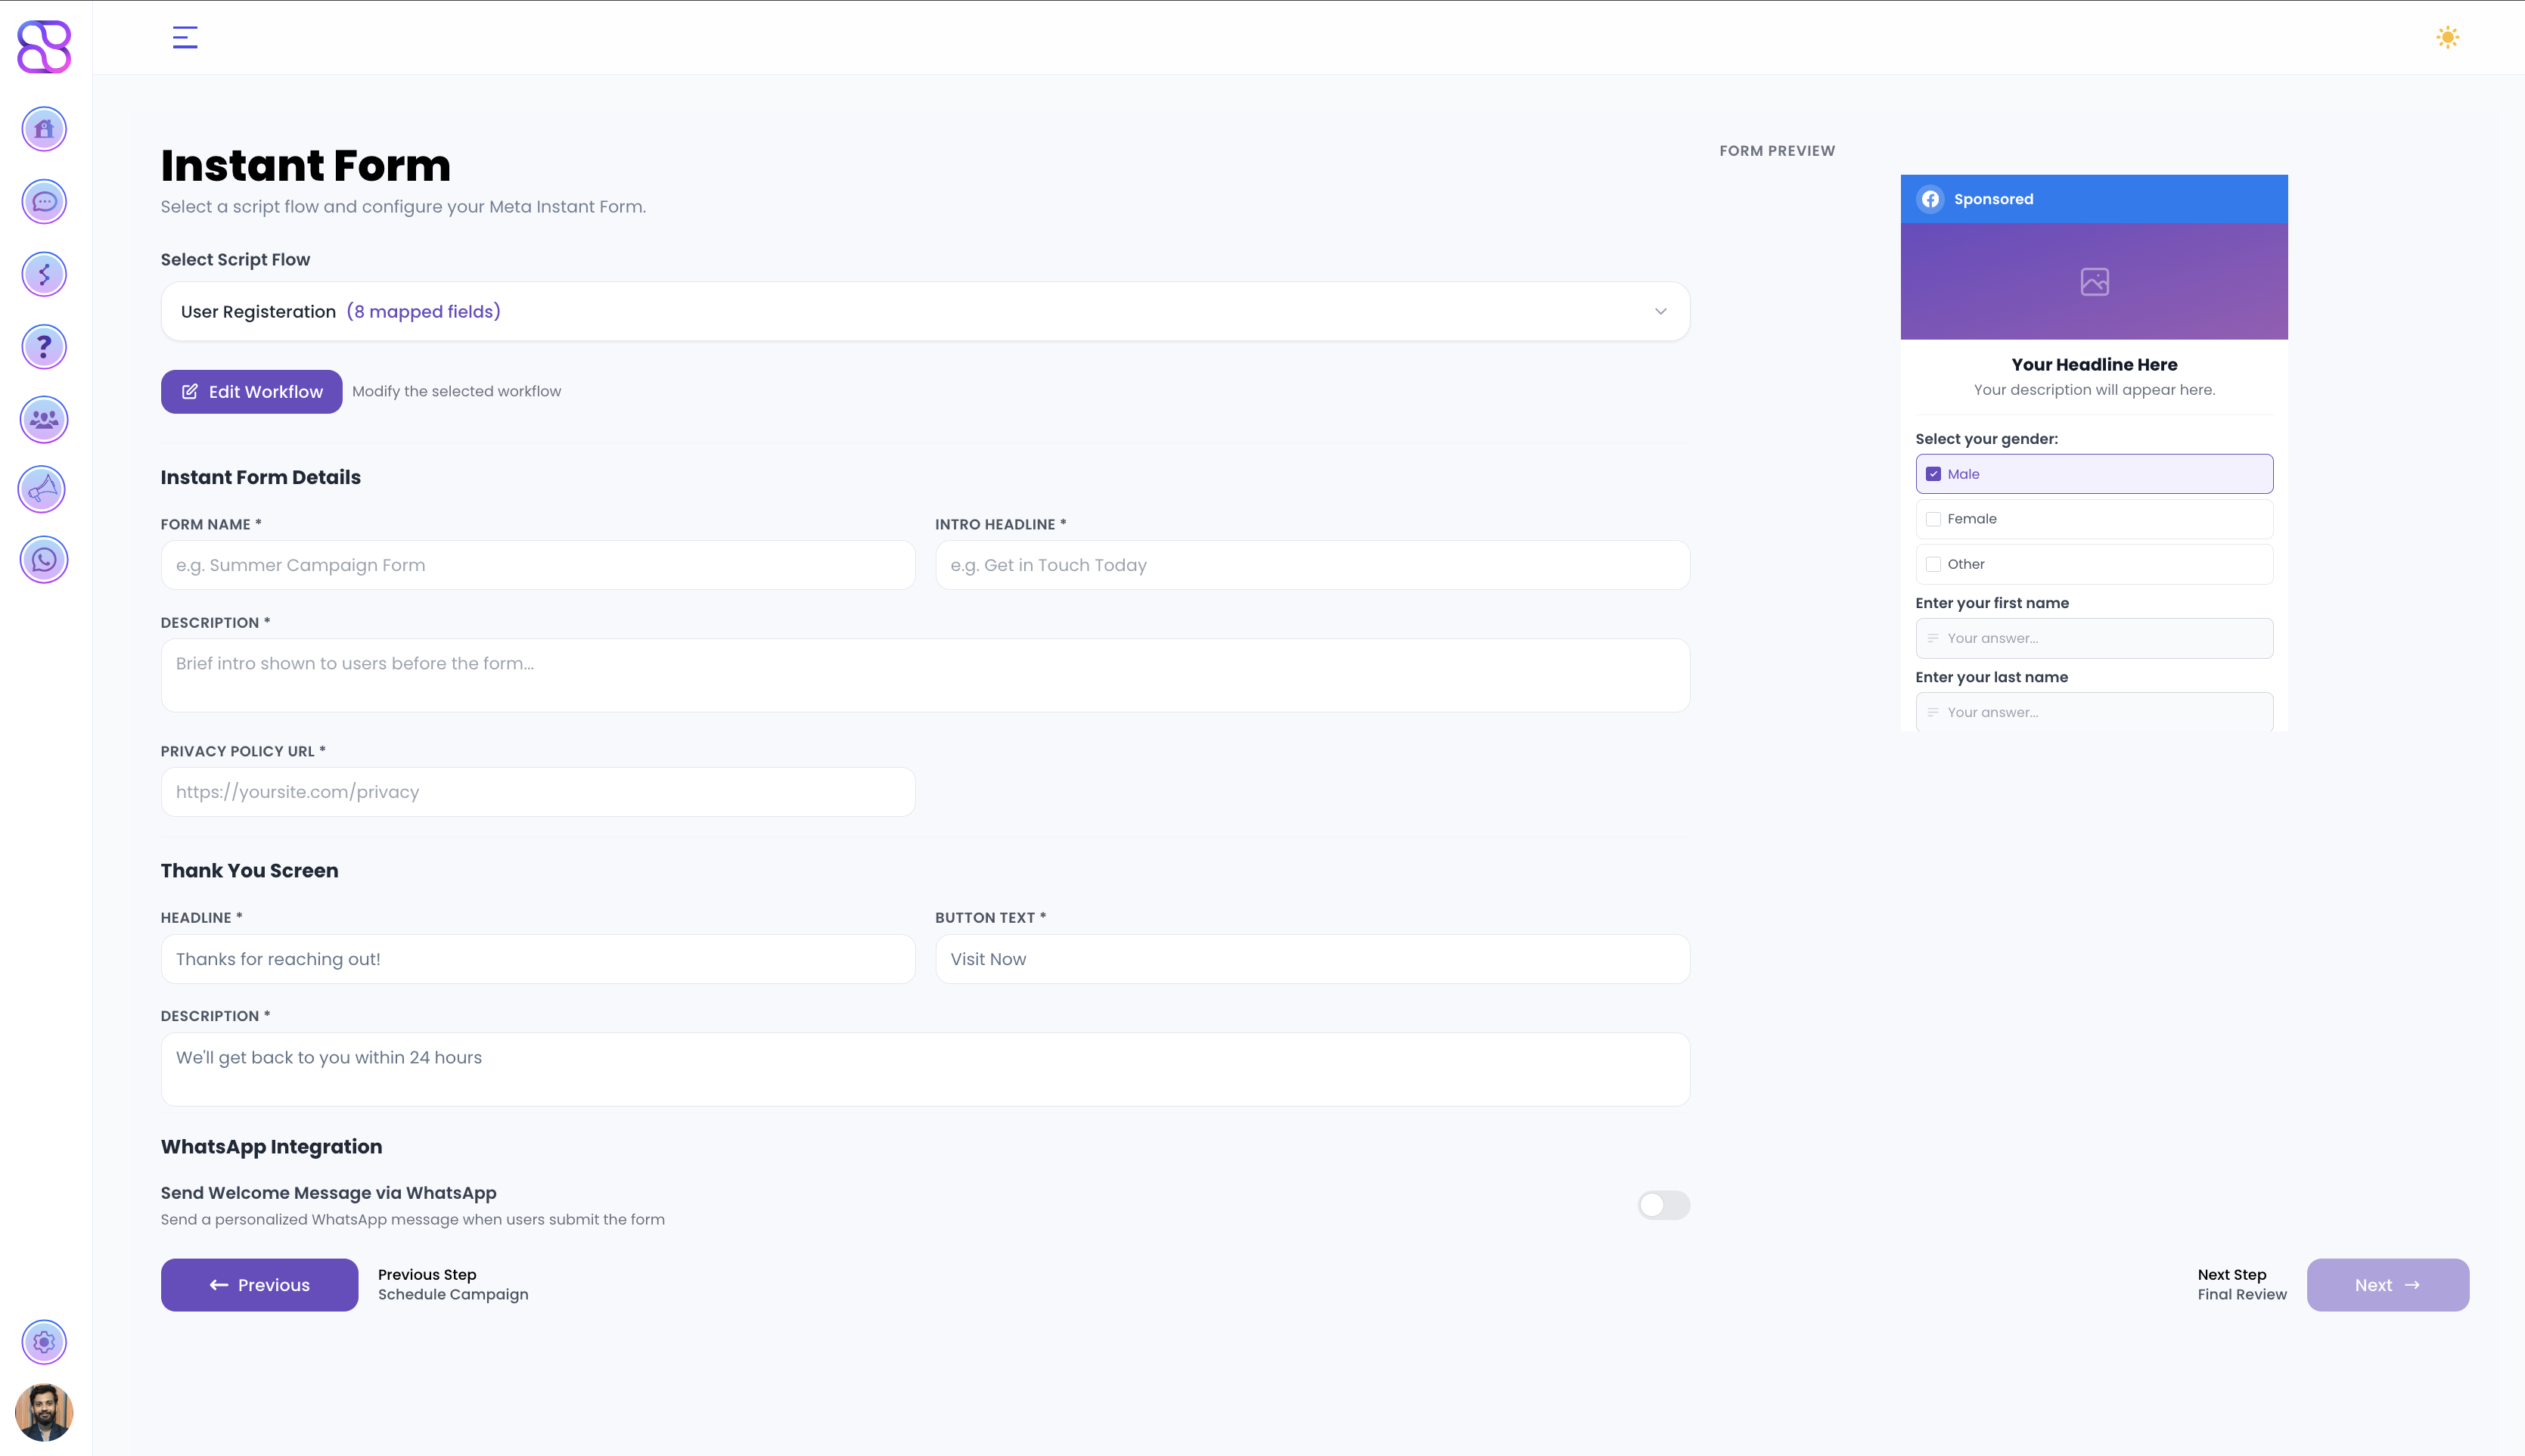
This step only appears if you selected Get More Leads as your campaign objective.
Configure a Meta Instant Form to capture lead information directly within the ad — no landing page required. A live Form Preview updates on the right as you configure each section.
1. Select Script Flow
Choose a pre-built form flow from the dropdown. Each flow defines the sequence of question types shown to users. Available flow types include:
| Flow | Fields | Best For |
|---|---|---|
| User Registration | Multi Choice, Text Questions, Phone Number, Email, Thank You | Detailed lead capture |
| nano | Custom API, Thank You | Lightweight / API-driven forms |
| Test | Message, Multi Choice, Text Question, Phone Number, Email, Thank You | Testing & QA |
| A | Message | Minimal single-field forms |
Once selected, the field count (e.g. 8 mapped fields) is shown next to the flow name. Click Edit Workflow to modify the selected flow’s questions and logic.
2. Instant Form Details
Fill in the core form metadata:
- Form Name (required) — Internal name for this form, e.g. “Summer Campaign Form”
- Intro Headline (required) — The headline shown at the top of the form, e.g. “Get in Touch Today”
- Description (required) — A brief intro shown to users before the form questions
- Privacy Policy URL (required) — Link to your privacy policy, e.g.
https://yoursite.com/privacy
3. Thank You Screen
Customize the confirmation screen shown after a user submits the form:
- Headline (required) — e.g. “Thanks for reaching out!”
- Button Text (required) — e.g. “Visit Now”
- Description (required) — e.g. “We’ll get back to you within 24 hours”
4. WhatsApp Integration
Toggle Send Welcome Message via WhatsApp to automatically send a personalized WhatsApp message when a user submits the form.
Click Next → Final Review to proceed.
Step 9: Final Campaign Review & Launch
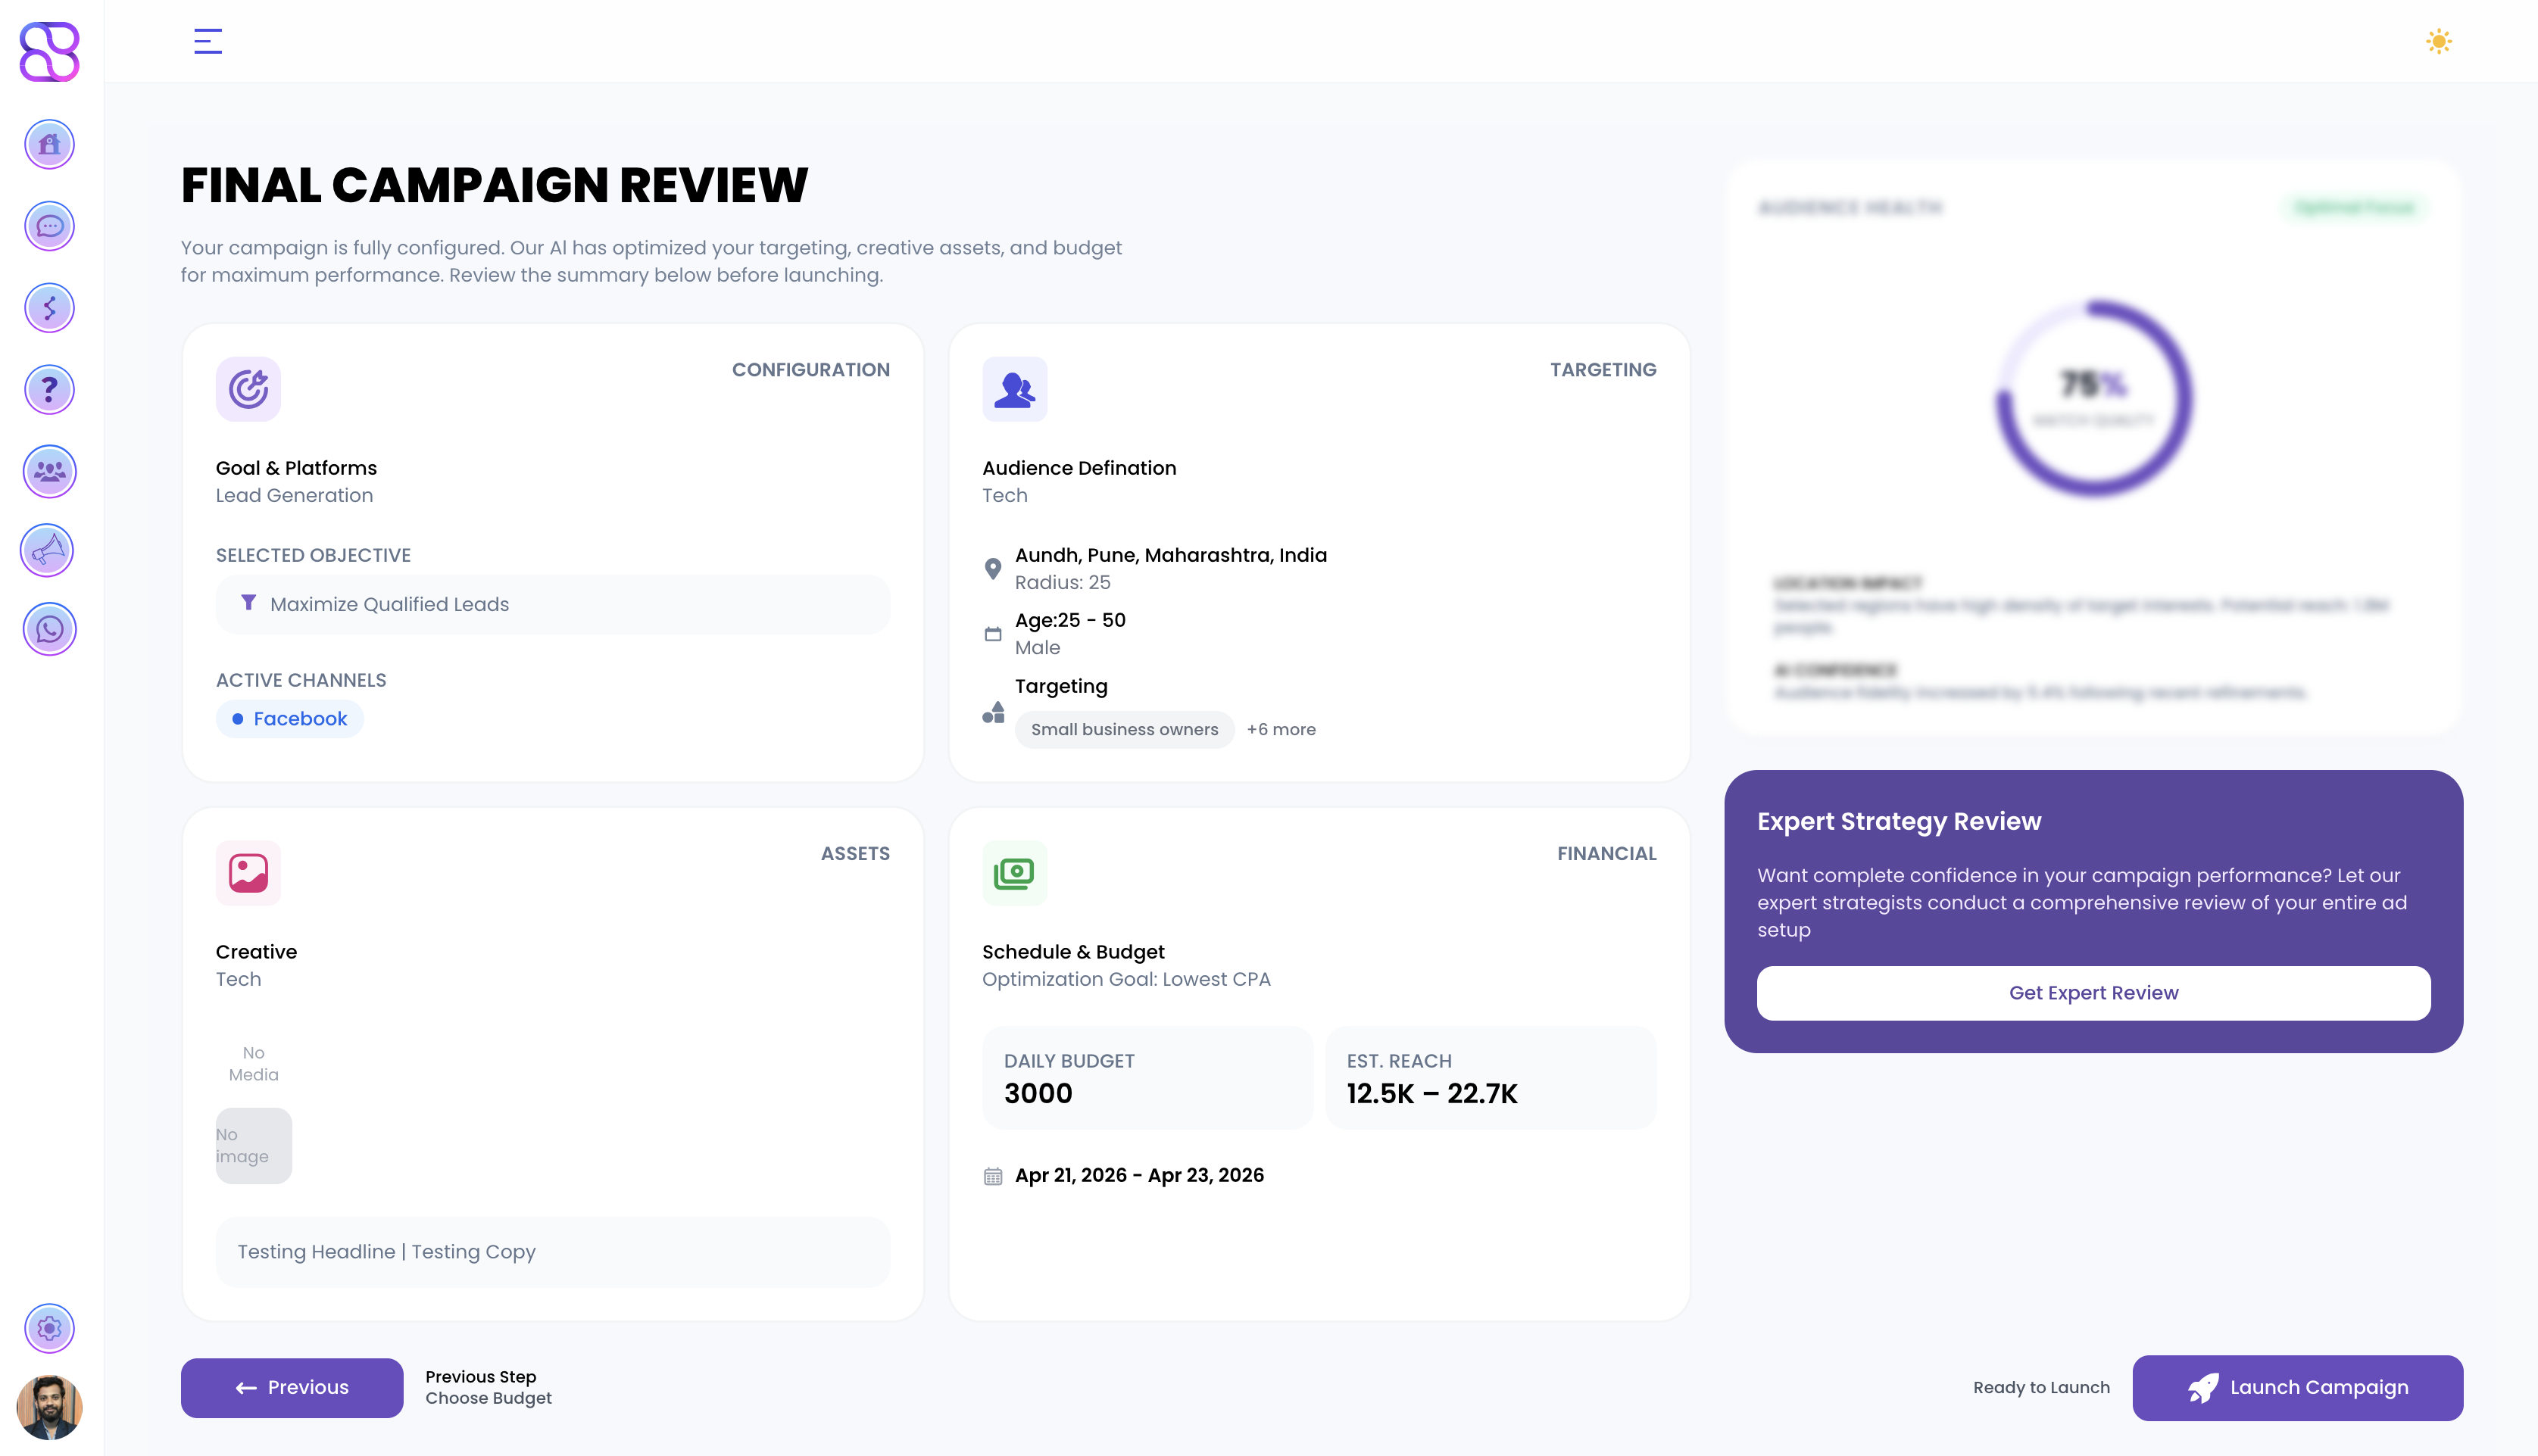
Your campaign is fully configured. Review the complete summary before going live.
The review screen shows four summary panels:
- Configuration — Goal & platforms, selected objective, and active channels
- Targeting — Audience definition, location, age, gender, and interest targeting
- Assets — Creative name and preview with headline and ad copy
- Financial — Schedule & budget, optimization goal, daily budget, estimated reach, and campaign dates
Once satisfied, click Launch Campaign to go live.
Best Practices
- A/B Testing: Test different ad creatives and audiences
- Budget: Start with the AI Recommended Budget and scale based on performance
- Monitoring: Check campaign performance regularly in Analytics
- Optimization: Use AI recommendations and the Reach Optimizer to improve results