Ad Campaigns
This guide explains how to use the AI Campaigns Manager to create, launch, and optimize Meta (Facebook & Instagram) campaigns directly from your platform, without opening Meta Ads Manager.
It covers:
- Product overview & key highlights
- Meta connection workflow
- Audience creation
- Campaign creation
- Dashboard & performance tracking
- Billing overview
- Retargeting workflow
- Troubleshooting & best practices
1. Product Overview
1.1 What is AI Campaigns Manager?
AI Campaigns Manager is an automated advertising tool that connects to Meta Business Suite and lets you run Facebook and Instagram campaigns inside your AI Chat Assist platform, without touching Meta Ads Manager.
It uses AI and your existing data for:
- Audience targeting
- Campaign automation
- Billing management
- Retargeting flows
- Unified performance analytics
1.2 Key Highlights
- Seamless Meta integration – Facebook Login → Page → Instagram → Ad Account
- No Ads Manager needed – complete campaign creation flow inside the platform
- Audience creation inside the tool – save and reuse audiences
- Automated campaign flow – clear 3-step guided setup
- Clean dashboard – track performance and key KPIs at a glance
- Integrated billing – see spend, history, and campaign-wise costs
- Retargeting flows – build audiences from user actions and lead journeys
2. Meta Connection Guide
2.1 Purpose of Meta Connection
Connecting Meta allows the platform to:
- Access your Facebook Page
- Use your Instagram account for ads
- Select and manage Ad Accounts
- Create, launch, and monitor campaigns automatically
2.2 Connection Workflow
Step 1: Start Meta Connection
- Go to AI Campaigns Manager > Meta Integration
- Click Connect Facebook
Step 2: Choose Facebook Login
- A Meta login window will appear
- Log in with your Facebook credentials (or continue if already logged in)
Step 3: Select Business Assets
Choose the assets you want to use:
- Select the Business Manager
- Select the Instagram Account
- Select the Facebook Page
- Select the Ad Account
Step 4: Grant Permissions
Enable the required permissions so the platform can manage your ads:
- Manage ads
- Manage business assets
- Access pages and Instagram accounts
- View and manage ad performance
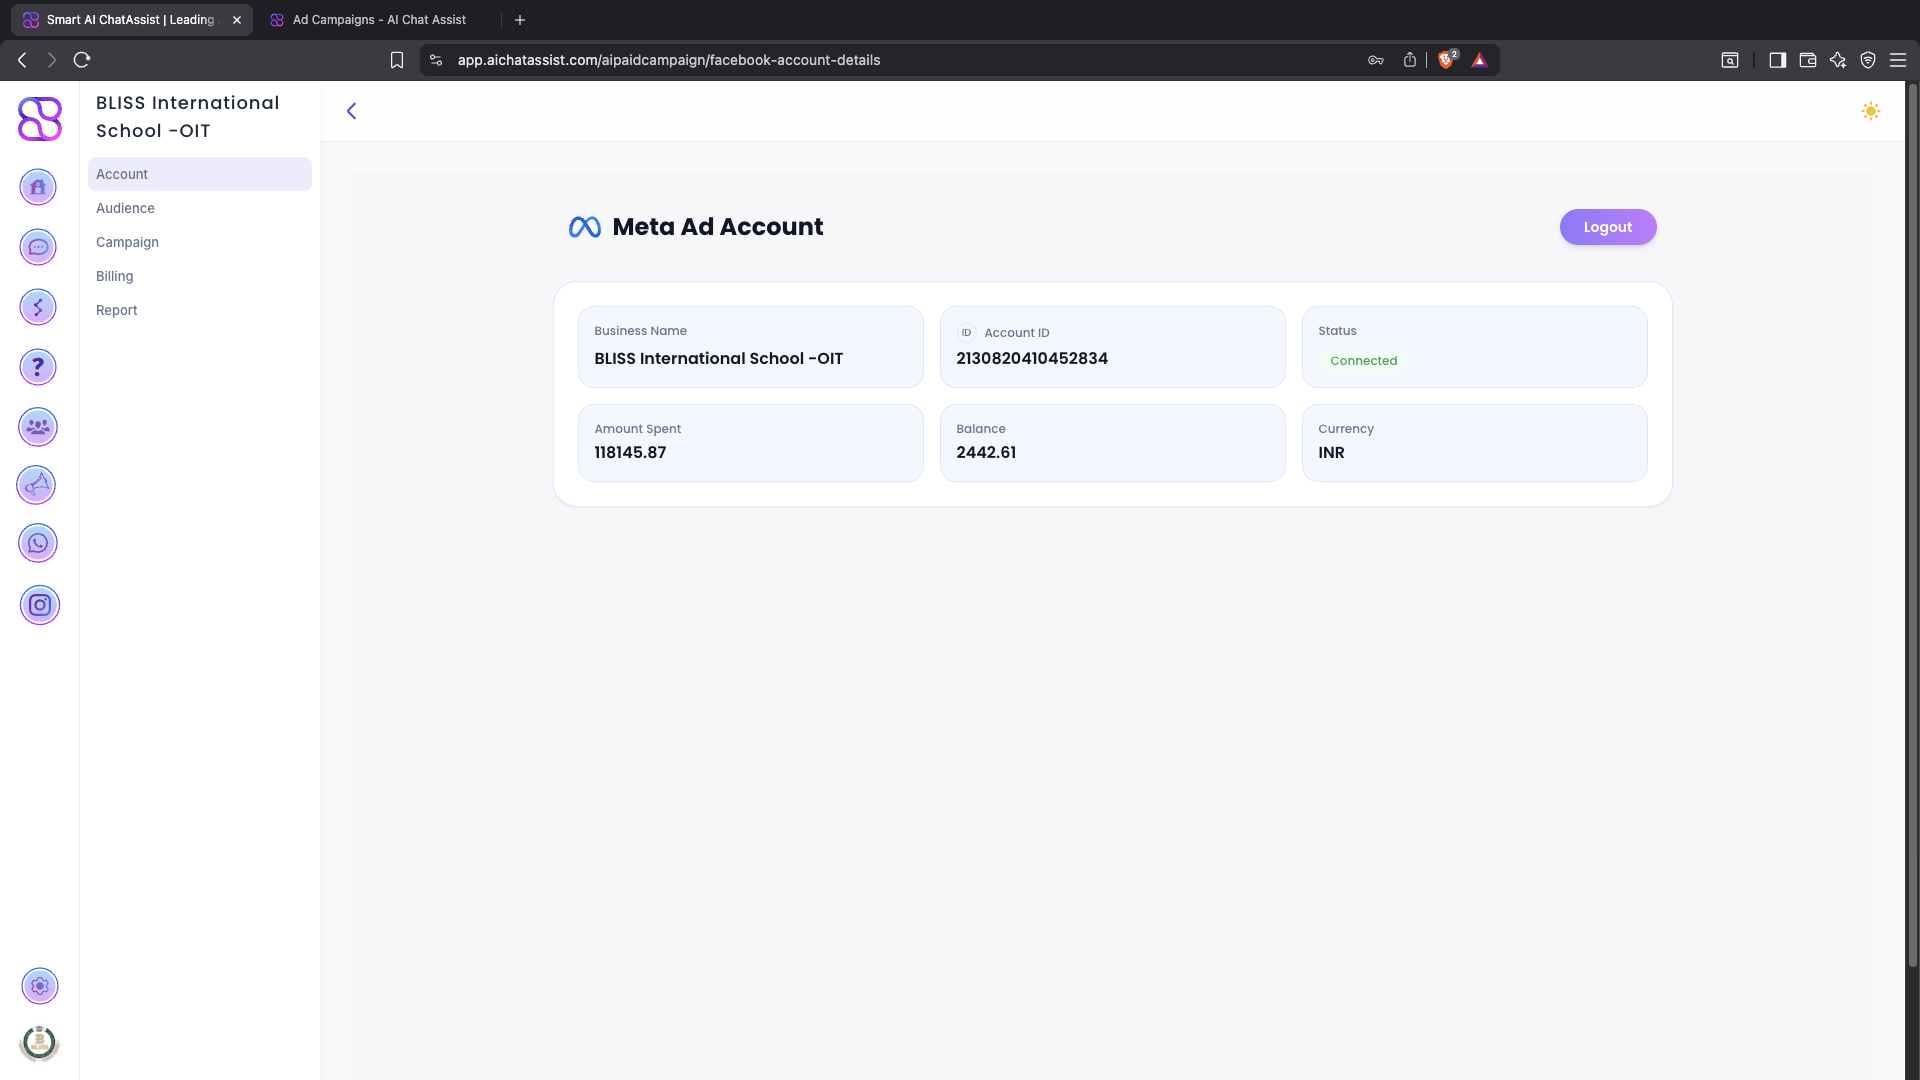
Step 5: Verification
Once connected:
- Dashboard updates with the selected assets
- Connection badge shows Connected
- You can move to Audience Creation and Campaign Creation modules
3. Audience Creation
3.1 Overview
The Audience module lets you define, save, and manage audiences based on:
- Age
- Gender
- Location (country/region)
- Interest categories
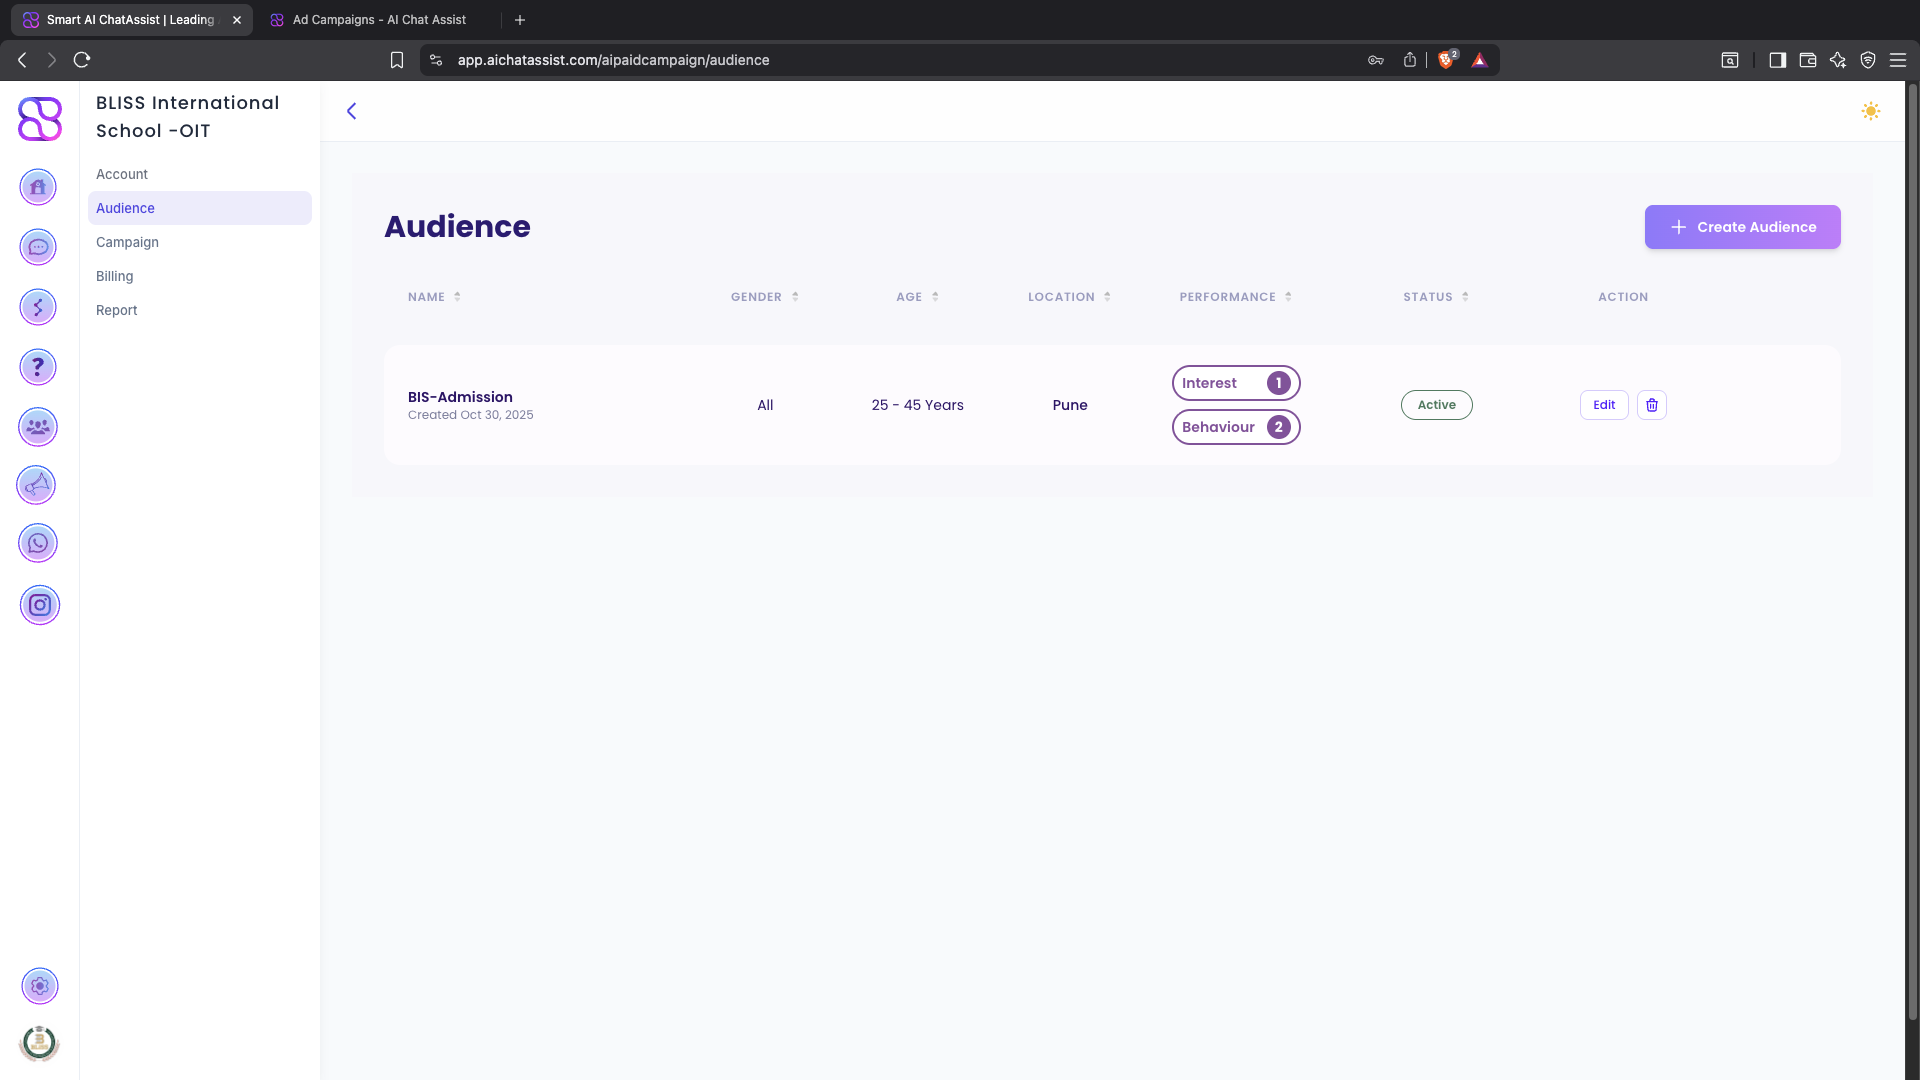
You can save custom audiences and reuse them while creating campaigns. Saved audiences are shown in a table with:
- Name
- Gender
- Age
- Location
- Performance (e.g., interest/behaviour tags)
- Status (e.g., Active)
- Action (Edit / Delete)
3.2 Audience Creation Steps
Step 1: Open Audience Builder
- In the left sidebar, go to AI Campaigns Manager > Audience
- On the top-right of the Audience page, click Create Audience
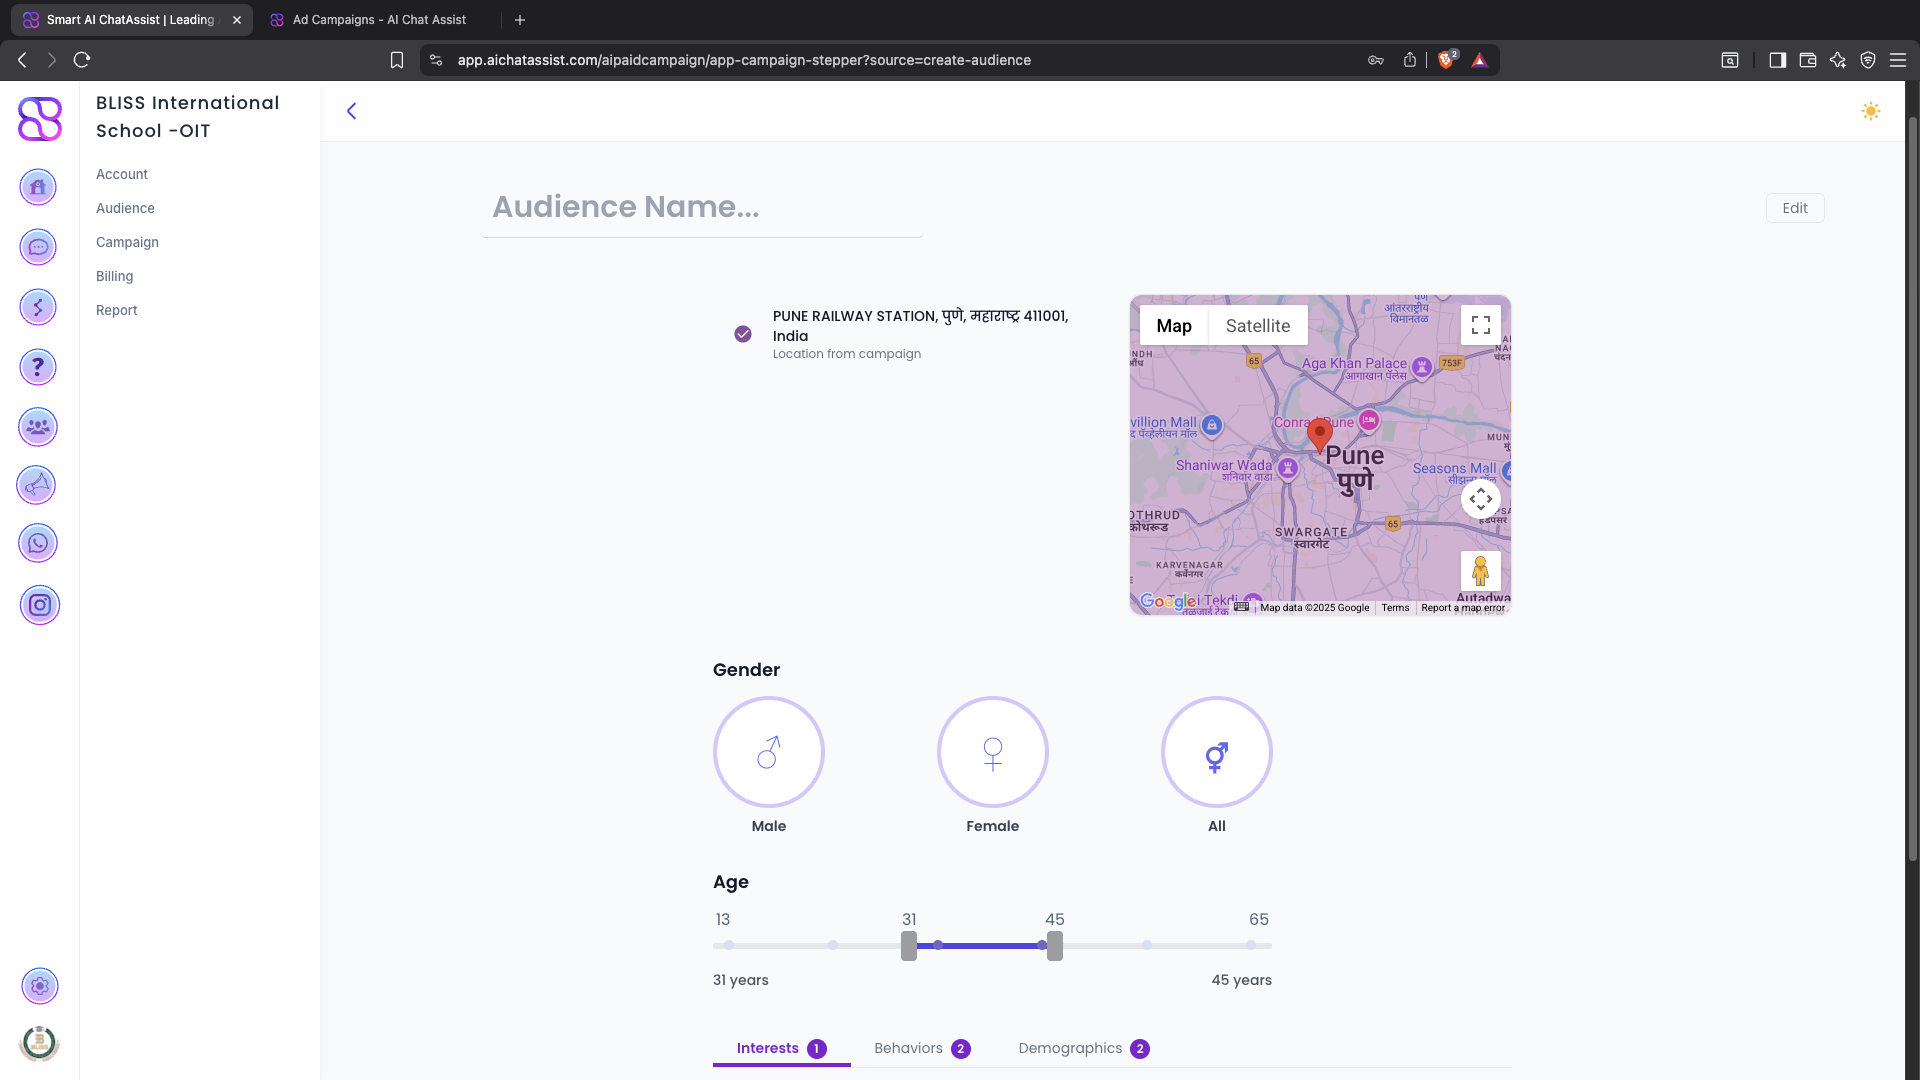
Step 2: Set Basic Filters
- Select Age Range
- Select Gender
- Select Location (Country / Region)
Step 3: Add Interests
- Search for interest keywords (e.g., fitness, real estate, travel)
- Add one or more interest categories that match your target user
Step 4: Save the Audience
- Enter an Audience Name (e.g., “Fitness Leads – 25-40, India”)
- Review Gender, Age, Location and Interests/Behaviours
- Click Save Audience
- The new audience appears in the Audience table (with Name, Gender, Age, Location, Performance, Status, Action)
- The saved audience becomes available in the Campaign Creation flow
4. Campaign Creation
4.1 Overview
Campaign creation is a guided 3-step flow:
- Campaign Details
- Creative Selection
- Budget & Review
4.2 Step-by-Step Campaign Creation
Step 1: Campaign Details
- Enter Campaign Name
- Select Objective (e.g., Traffic / Website Visit / Conversions)
- Select Audience (choose from saved audiences in the Audience module)
- Optionally override Age, Gender, Location for this specific campaign
- Choose Placement (default: Instagram; can also include Facebook depending on your setup)
Step 2: Select Creative
- Choose Instagram Post from the connected Instagram account
- Or Upload Creative (image/video)
- Add Primary Text (main ad copy)
- Add Call to Action (CTA) (e.g., Learn More, Sign Up, Book Now)
- Enter Destination URL such as:
- Website landing page
- Chatbot URL or deep link
Step 3: Budget & Review
- Enter Daily or Lifetime Budget
- Set Start Date and End Date
- Review Estimated Reach (if available)
- Review the campaign summary:
- Objective
- Audience
- Placements
- Creative
- Budget & schedule
- Click Launch Campaign
The platform will create the campaign automatically via the Meta API.
5. Dashboard Overview
5.1 Dashboard Elements
The Dashboard gives you a high-level view of:
- Total Active Campaigns
- Total Budget Spent
- Impressions
- Clicks
- Leads generated
- Performance graph (campaign trends over time)
5.2 Active Campaigns List
Each campaign row typically shows:
- Status: Active / Learning / Completed
- Budget spent
- Reach
- Clicks
- Cost per result (e.g., Cost per Lead, Cost per Click)
5.3 Quick Actions
From the dashboard you can quickly:
- Pause / Resume a campaign
- Adjust budget (increase or decrease)
- Edit audience
- Edit creative
- View detailed performance for a specific campaign
6. Billing Overview
6.1 Billing Section Features
The Billing section helps you:
- Track connected Ad Account billing
- View current balance
- View payment history
- See total ad spend across campaigns
- Monitor campaign-wise spend
6.2 Billing Page Layout
You will typically see:
- Total Spend card
- Billing Cycle Dates
- List of Charges / Transactions
- Breakdown by Campaign for quick cost analysis

7. Retargeting Workflow
7.1 What is Retargeting?
Retargeting allows you to show ads to people who have already interacted with your brand, such as users who:
- Visited your chatbot
- Clicked your previous ads
- Engaged with your Instagram posts
- Performed specific events or actions
This helps you improve ROI by focusing on warmer audiences.
7.2 How Retargeting Works in AI Campaigns Manager
There is no separate Retargeting option in the dashboard. Instead, retargeting is handled automatically by the backend based on user behaviour and events.
Behind the scenes, the system:
- Listens to chatbot events (chatbot open, message sent, workflow completed), ad clicks, and Instagram engagement
- Builds and updates retargeting audiences in Meta based on these signals
- Automatically attaches these audiences to relevant campaigns or ad sets (as configured in the backend logic)
You do not need to manually create retargeting audiences in the UI. Once your Meta account is connected and campaigns are running, the platform will:
- Keep audiences in sync with the latest user activity
- Ensure warm users are included in appropriate campaigns for follow‑up and remarketing
Any changes to retargeting rules or logic are managed by the backend configuration, not from the AI Campaigns Manager dashboard.
8. Troubleshooting
8.1 Meta Connection Issues
- Ensure you have admin access to the Facebook Page & Ad Account
- Verify your Business Manager is active and in good standing
- If the connection breaks or expires, reconnect Meta from Settings > Meta Integration
8.2 Campaign Not Delivering
- Budget might be too low for the selected audience
- Audience might be too small or overly restricted
- Creative may violate Meta ad policies – check for policy warnings in your Meta account
- Campaign may still be in Learning phase – give it some time
8.3 Billing Issues
- Confirm payment method is correctly set inside Meta billing settings
- Ensure spending limit is high enough and not exhausted
- Check if there are any unpaid invoices or account holds in Meta
9. Best Practices
9.1 Audience
- Use narrow, relevant interests for better lead quality
- Create multiple saved audiences and test them
- Use retargeting for warm audiences and lookalikes for scale (if enabled in your setup)
9.2 Creative
- Use bright, scroll-stopping visuals
- Keep copy short, clear, and benefit-driven
- Add a strong CTA (e.g., Book Now, Get Offer, Sign Up)
- Align ad messaging with what users will see on your landing page or chatbot
9.3 Budget
- Start testing with ₹300–₹500/day per campaign (or equivalent in your currency)
- Run small tests first, then scale only winning campaigns
- Avoid changing budgets too frequently to prevent resetting the learning phase